Chapter 3: FRU Removal and Replacement Procedures
Replacing Node Hard Drives
92 Quantum DXi6900 G1 User’s Guide
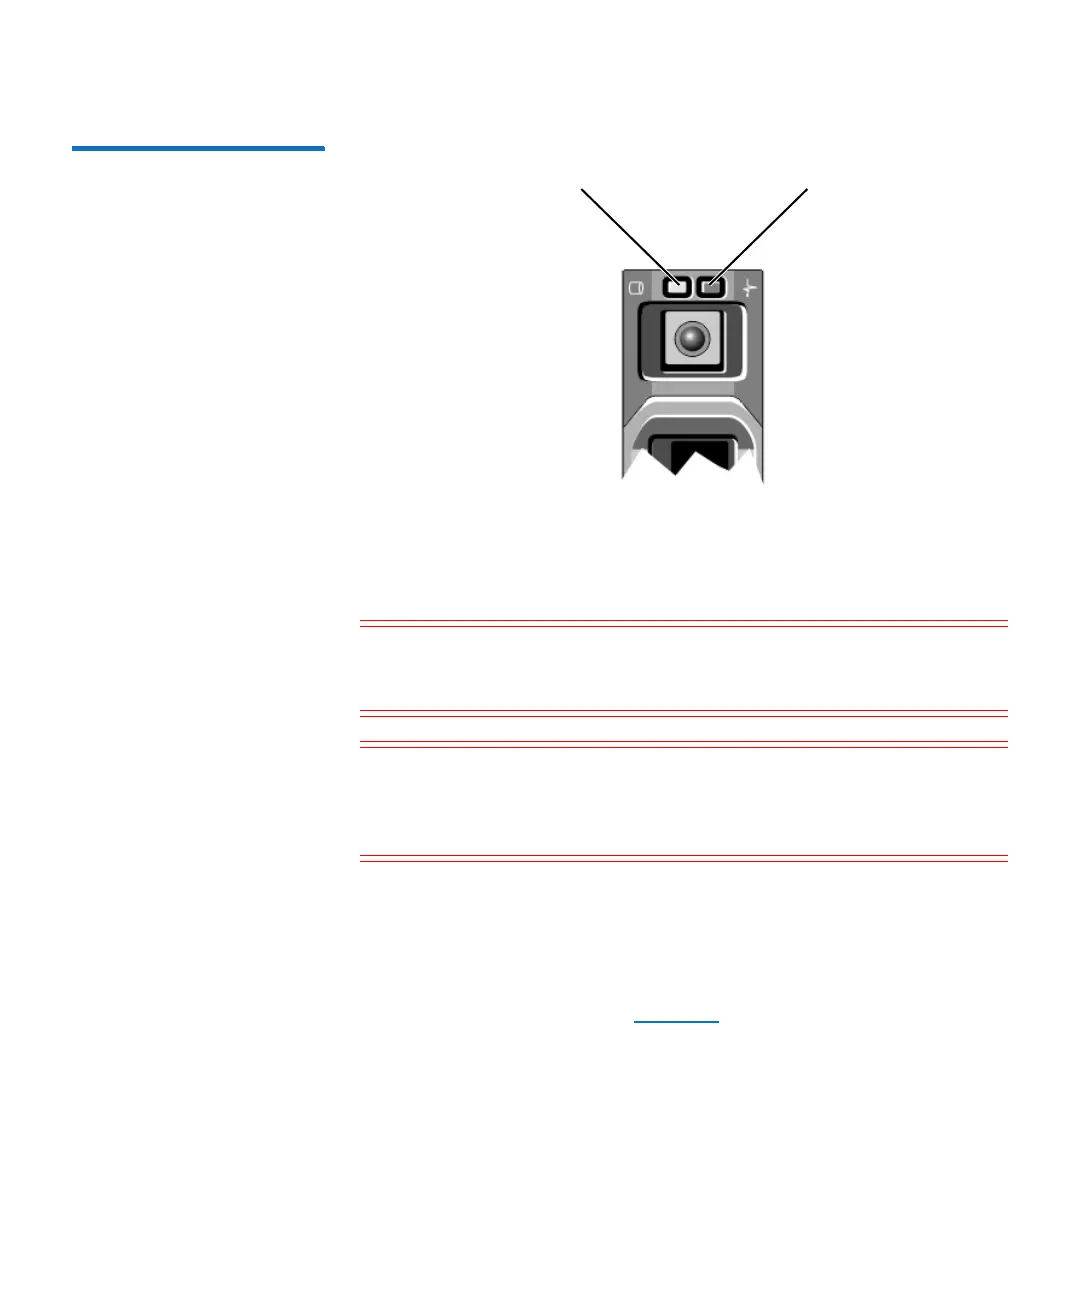
Figure 47 Node Drive Carrier
LEDs
Removing a Drive from the Node
To remove the failed hard drive from the DXi6900 G1 Node:
Caution: You must replace the drive within three minutes after
removal to prevent the possibility of overheating the
equipment.
Caution: Bumping drives against another surface can damage the
drive mechanism or connectors. To avoid damage when
removing or installing a drive, always place your hand
under the drive to support its weight.
1 If installed, remove the front bezel from the Node.
2 Carefully unpack the replacement drive and set it on a dry, level
surface near the Node.
3 On the failed drive, press the release button to open the hard-drive
carrier release handle (see
Figure 48).
4 Slide the hard-drive carrier out until it is free of the hard-drive slot.
Drive activity
indicator (green)
Drive status indicator
(green and amber)
Blinking amber indicates
drive failure

 Loading...


