LG/B4 FEEDER KIT (B474) 15 February 2006
1-32
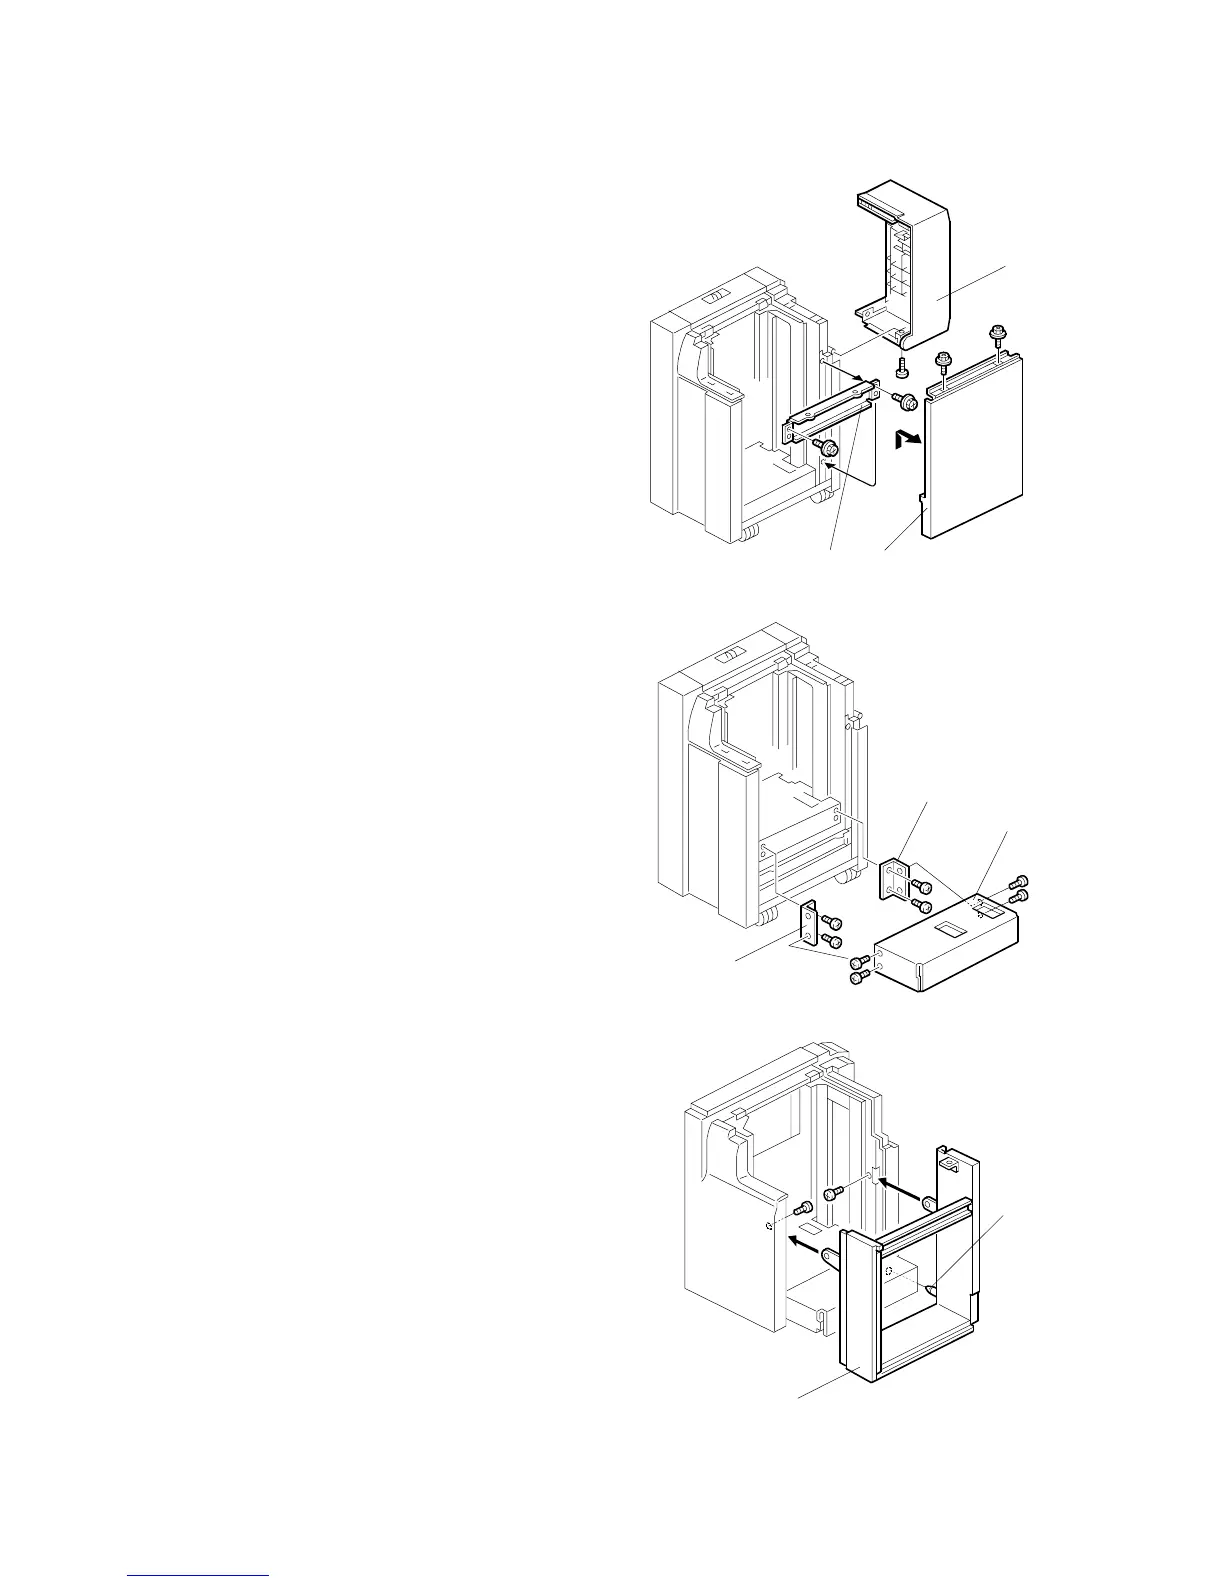
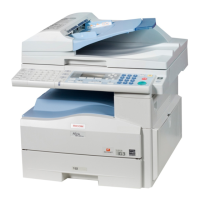
5. Remove the LCT cover [A] (" x 1).
6. Remove the right stay [B] and re-
attach it below (" x 2).
7. Remove the right cover [C] (" x 2).
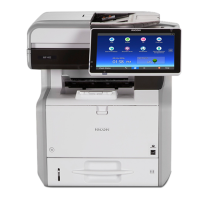
8. Attach the front bracket [D] with the
beveled corner down (" x 2).
NOTE: If the brackets are difficult to
install, raise the bottom plate with
your hand.
9. Attach the rear bracket [E] with the
beveled corner down (" x 2).
10. Attach the bottom plate extension [F]
with the hex nuts (" x 4).
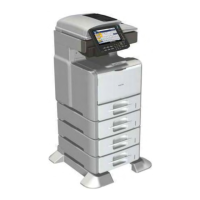
11. Align the positioning pin [G].
12. Attach the B4/LG frame [H] with the
hex nuts (" x 2).
The kit is set for B4. If you need to
change the paper size to LG, do the
following steps.
B474I001.WMF
B474I502.WMF
B474I553.WMF
[H]
[G]
[D]
[E]
[F]
[A]
[C]
[B]