10. CAMERA/VIDEO/EXTERNAL EQUIPMENT
10-6
FLIR camera
Images from an infrared camera allow you to navigate easily at night or in bad weath-
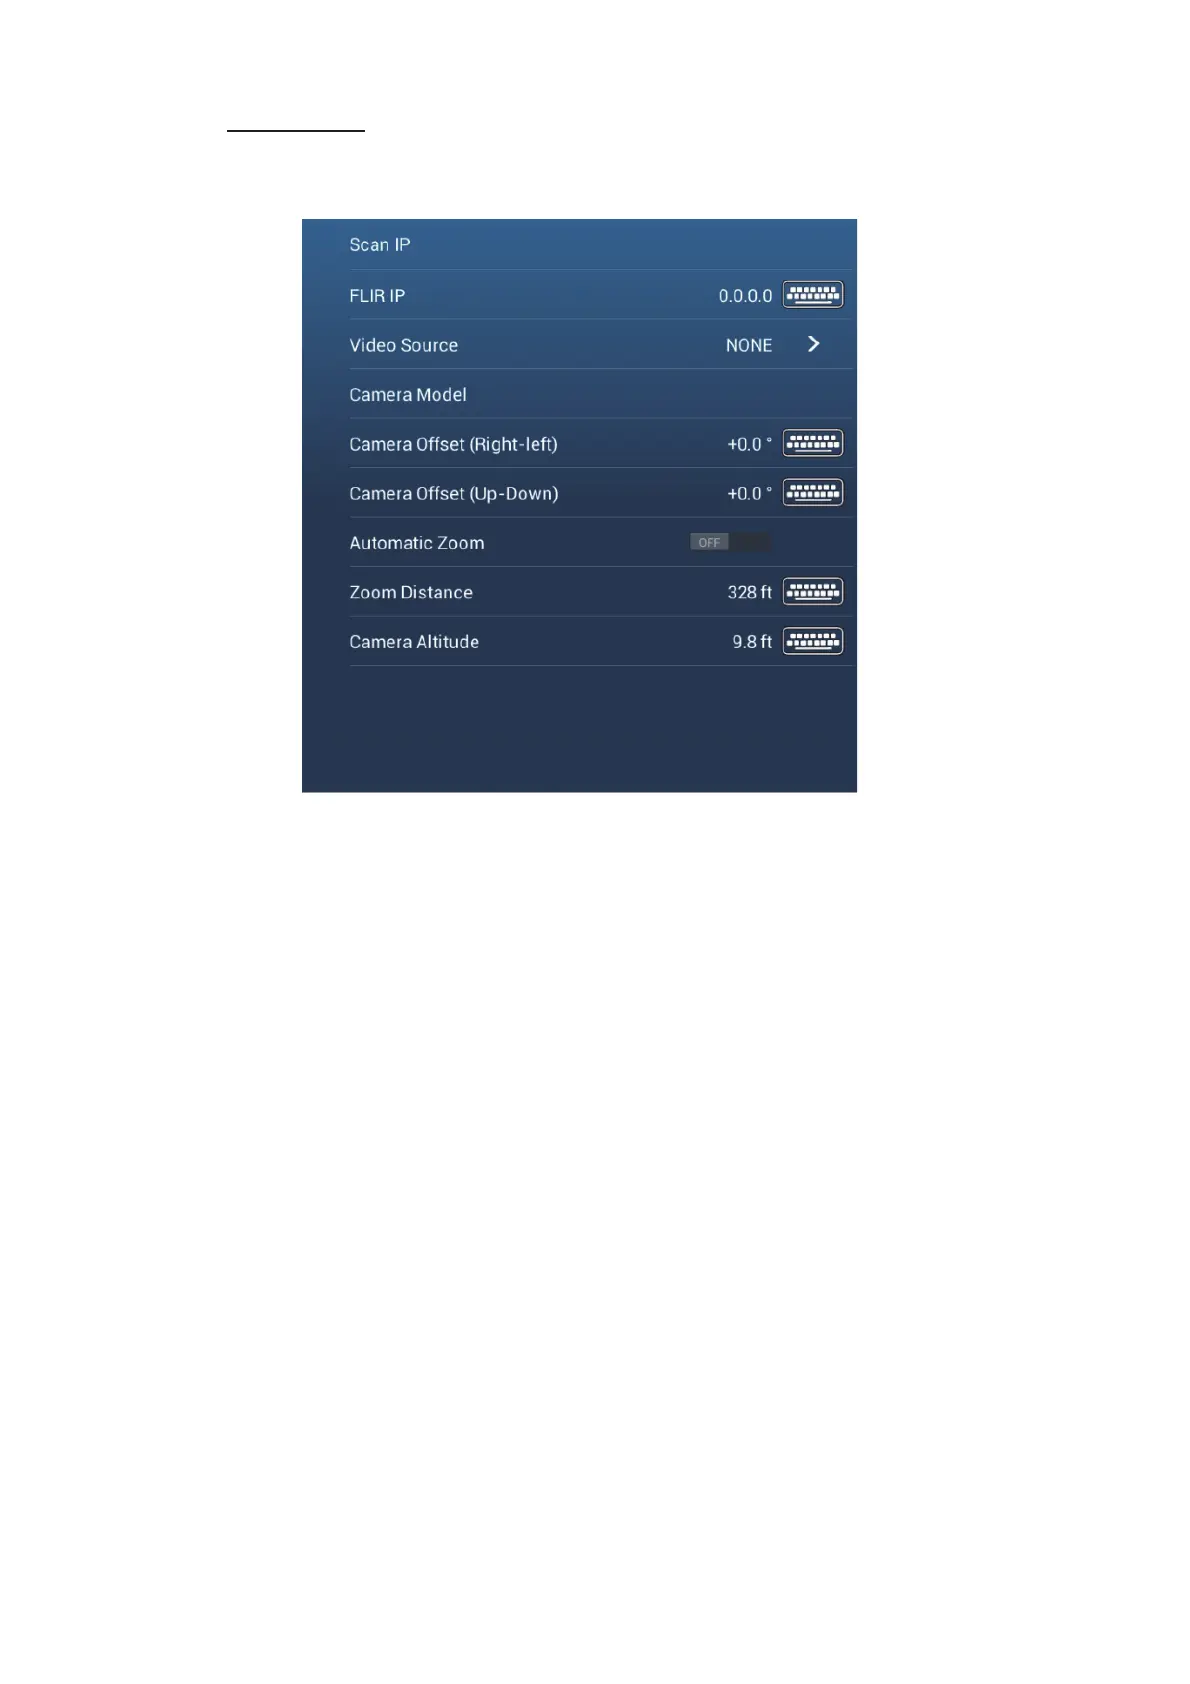
er. Open the Home screen, then tap [Settings]→[Camera]→[FLIR Installation].
Note: To use the PTZ function of the FLIR camera with the NavNet TZtouch3, a set-
ting (Nexus CGI Interface, port: 8090) is required at the FLIR camera. See the opera-
tor’s manual of the FLIR camera for details.
[Scan IP]: Tap [Scan IP] to scan the IP address automatically when connecting an
FLIR camera.
[FLIR IP]: Enter the IP address manually with the software keyboard then tap [9].
[Video Source]: Select the port where your FLIR camera is connected.
[Camera Model]: Select the FLIR camera model connected to your MFD.
• FLIR M-Series: M324CS, M324S
• FLIR M200: M132, M232
• FLIR M400: M400
[Camera Offset (Right-left)]: Adjust the side position of the FLIR camera.
[Camera Offset (Up-down)]: Adjust the up-and down position of the FLIR camera.
[Automatic Zoom]:Turn on to turn on the automatic zoom.
[Zoom Distance]: Set the distance to zoom automatically.
[Camera Altitude]: Set the altitude for the FLIR camera.
 Loading...