6
PREPARATORY PROCEDURES AND SETTING
6.4 Part Names and Functions
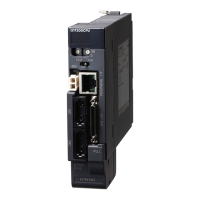
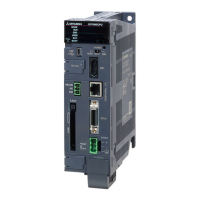
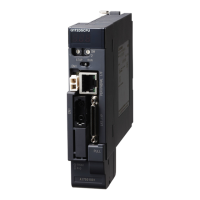
6.4.1 Part names and functions of the Q12DCCPU-V
6 - 25
1
OVERVIEW
2
SYSTEM
CONFIGURATION
3
SPECIFICATIONS
4
FUNCTIONS
5
ACCESS VIA NETWORK
MODULES
6
PREPARATORY
PROCEDURES AND
SETTING
7
I/O NUMBER
ASSIGNMENT
8
MEMORIES AND FILES
* 1 Keep the dummy CompactFlash card in a safe place after replacing it so that it can be used again.
* 2 Operate the RUN/STOP/MODE and RESET/SELECT switches by hand.
Using a tool such as a screwdriver can cause a failure.
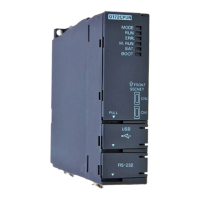
Table 6.5 Part names
Name Description
1) Indicator LEDs
For the indicator LEDs, refer to the following.
(1) in this section
2) 7-segment LED
For the 7-segment LED, refer to the following.
(2) in this section
3)
4)
10BASE-T/100BASE-TX interface
connector (RJ45)
Used to connect a C Controller module to 10BASE-T/100BASE-TX.
(The C Controller module determines 10BASE-T or 100BASE-TX depending on
the target device.)
5) Serial number plate Indicates the serial number of the C Controller module.
6) EJECT button Used to eject a CompactFlash card from a C Controller module.
7)
CompactFlash card installation
slot
Slot into which a CompactFlash card is installed.
(A dummy CompactFlash card is factory-installed.
*1
)
8)
RUN/STOP/MODE switch
*2
For the RUN/STOP/MODE switch, refer to the following.
(3) in this section
9)
RESET/SELECT switch
*2
For the RESET/SELECT switch, refer to the following.
(4) in this section
10) USB interface connector Used to connect the C Controller module to a USB (connector type: miniB).
11) Battery
Used to back up data in the standard RAM, data in the battery-backed-up RAM,
and clock data.
12) Battery connector pin
Used to connect a battery lead wire.
(The lead wire is disconnected from the connector before shipping to prevent
battery drain.)
13) RS-232 interface connector Used to connect a C Controller module to an RS-232 cable.
 Loading...