6
PREPARATORY PROCEDURES AND SETTING
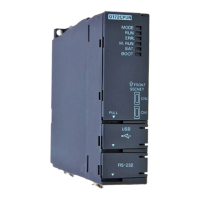
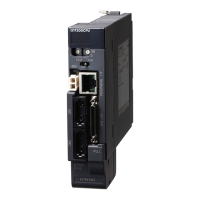
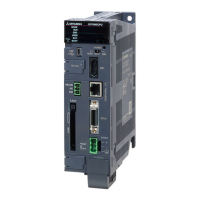
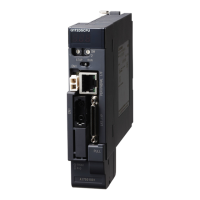
6.5 Cable Connection
6 - 37
1
OVERVIEW
2
SYSTEM
CONFIGURATION
3
SPECIFICATIONS
4
FUNCTIONS
5
ACCESS VIA NETWORK
MODULES
6
PREPARATORY
PROCEDURES AND
SETTING
7
I/O NUMBER
ASSIGNMENT
8
MEMORIES AND FILES
6.5 Cable Connection
This section explains how to connect cables to the C Controller module.
To fully utilize the C Controller module functionality and achieve a reliable system, wiring
resistant to noise is required.
• Ground the shield of the RS-232 cable to a single point.
• When connecting an external device with an RS-232 cable, use a connector shell
introduced in the following for the C Controller module side.
Page 3-4, Section 3.3
• Take sufficient safety measures when installing a 10BASE-T/100BASE-TX
network system.
• Consult qualified service personnel for connections of cable terminals and
installation of a trunk line cable.
• Use a 10BASE-T/100BASE-TX cable that meets the standards shown in the
following.
Page 2-25, Section 2.4
• For the cable bend radius near the connector, refer to the following.
Page App-6, Appendix 2
• Confirm the specifications of the external device before connecting it.
• Do not short the FG and SG signals of the RS-232 cable.
When the FG and SG signals are connected inside of the external device, do not
connect the FG signal to the C Controller module.
 Loading...