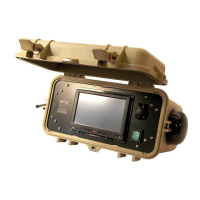
Gettingstarted
12ClicktheHorizontalAxistab.
TheHorizontalAxistabintheEchogramdialogboxallowsyoutochoosethe
horizontalscaleoftheechogram.Thiscontrolshow“fast”theechogrammoves
fromrighttowardsleftacrossthedisplay.
13Trythevariousoptionstoseethevariationsontheechogram.
14ClickOKtosavethecurrentsettingsandclosethedialogbox.
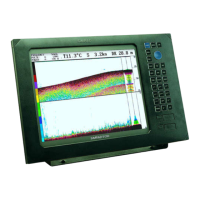
Checkingtherangesettings
Purpose
Thisproceduredescribeshowtocheckandadjusttheverticalrangesettings.
Relatedtopics
•Rangefunctiononpage144
•StartRangefunctiononpage146
Procedure
1Observetheverticalrangeoftheechograms.
Notethattheverticalrangeissetupdifferentlydependingontheechogramtype.
2Clickinasurfacerelatedechogramtomakeit“active”.
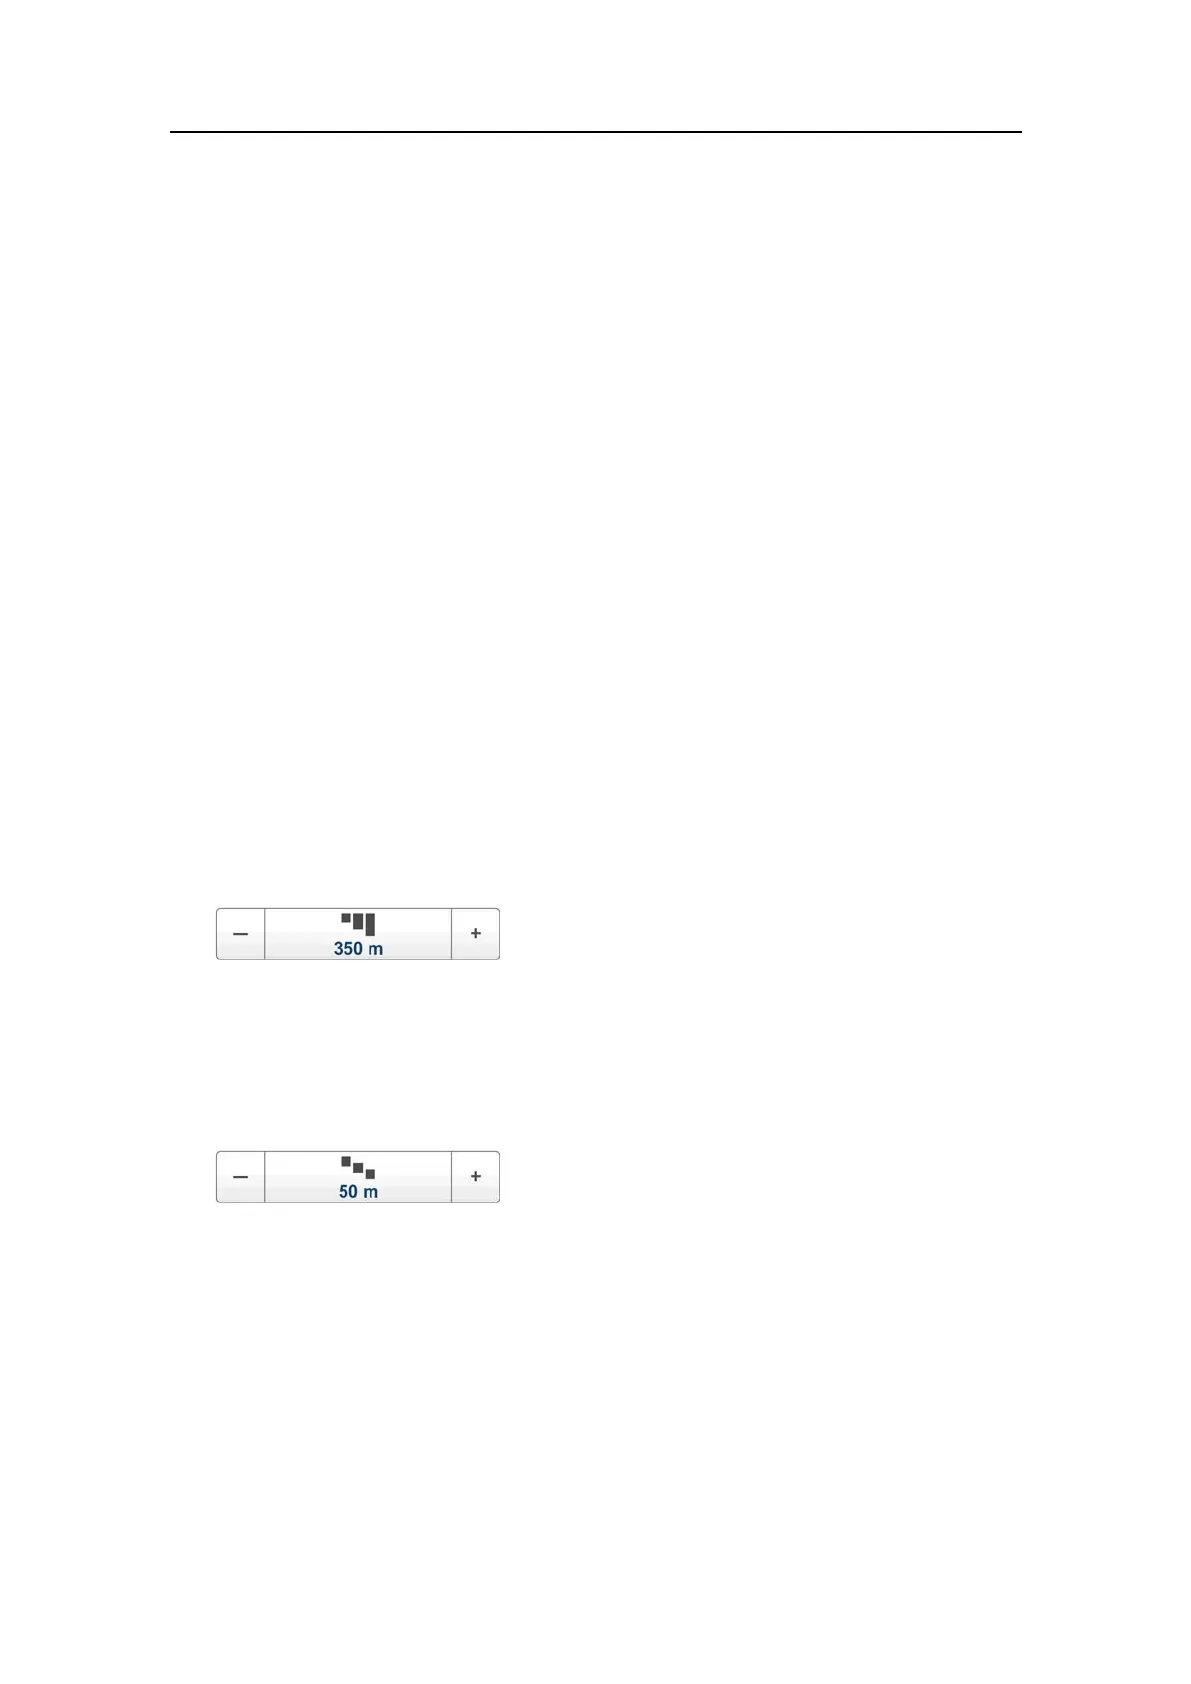
3ObservetheRangebuttonontheMainmenu.
TheRangefunctionallowsyoutospecifytheverticalrangeofthewatercolumn
coveredbytheechogram.Therangeisdenedfromaselectedstartrange,and
downtoavaluebeneaththecurrentbottomdepth.Thevalueshownandselectedis
bydefaultappliedonlytothecurrentlyselectedechogram.
4ObservetheStartRangebuttonontheMainmenu.
TheStartRangefunctionallowsyoutospecifythestartdepthoftheechogram,that
isfromwhichdepthinthewatercolumnthepresentationshallstart.Thevalue
shownandselectedisappliedtothecurrentlyselectedechogramtype.
Example1StartRangeinasurfacerelatedechogram
Inasurfaceechogram,settheStartRangevalueto0meters.Thiswillmake
theechogramstartfromtheseasurface(providedthatthetransduceroffsethas
beendened).SetRangetothecurrentdepthplus20meters.Theechogram
willnowshowtheareafromtheseasurfaceanddownto20meters“below”
thebottom.Thebottomcontouriseasilydetectedwhenthedepthchanges.
351718/C
31