7-16
IM 701210-05E
7.7 Realtime Recording to the Internal Hard Disk
(Optional)
<For a description of this function, refer to page 2-35.>
Procedure
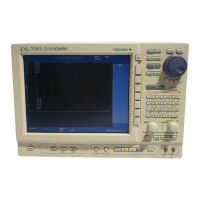
MEASURE
CURSOR RESET SELECT
CH
ALL CH
MODE
POSITION
SIMPLE/ENHANCED
ACQ
START/STOP
SETUP DISPLAY
ZOOM
DUAL
CAPTURE
HISTORY
MATH
1
CH
2
CH
3
CH
4
CH
5
CH
6
CH
7
CH
8
CH
9
CH
10
CH
11
CH
12
CH
13
CH
14
CH
15
CH
16
DELAY
MANUAL TRIG
V/DIV TIME/DIV
TRIGGER
TRIG D
VERTICAL
HORIZONTAL
CAL
X-Y
SEARCH
7
DSP 1
8 9
DSP 2
654
1
0
23
ENTER
m
DSP 6DSP 5
LOGIC A
LOGIC B
EVENT
DSP 3 DSP 4
EXP
GO/NO-GO
ACTION
FILE
SHIFT
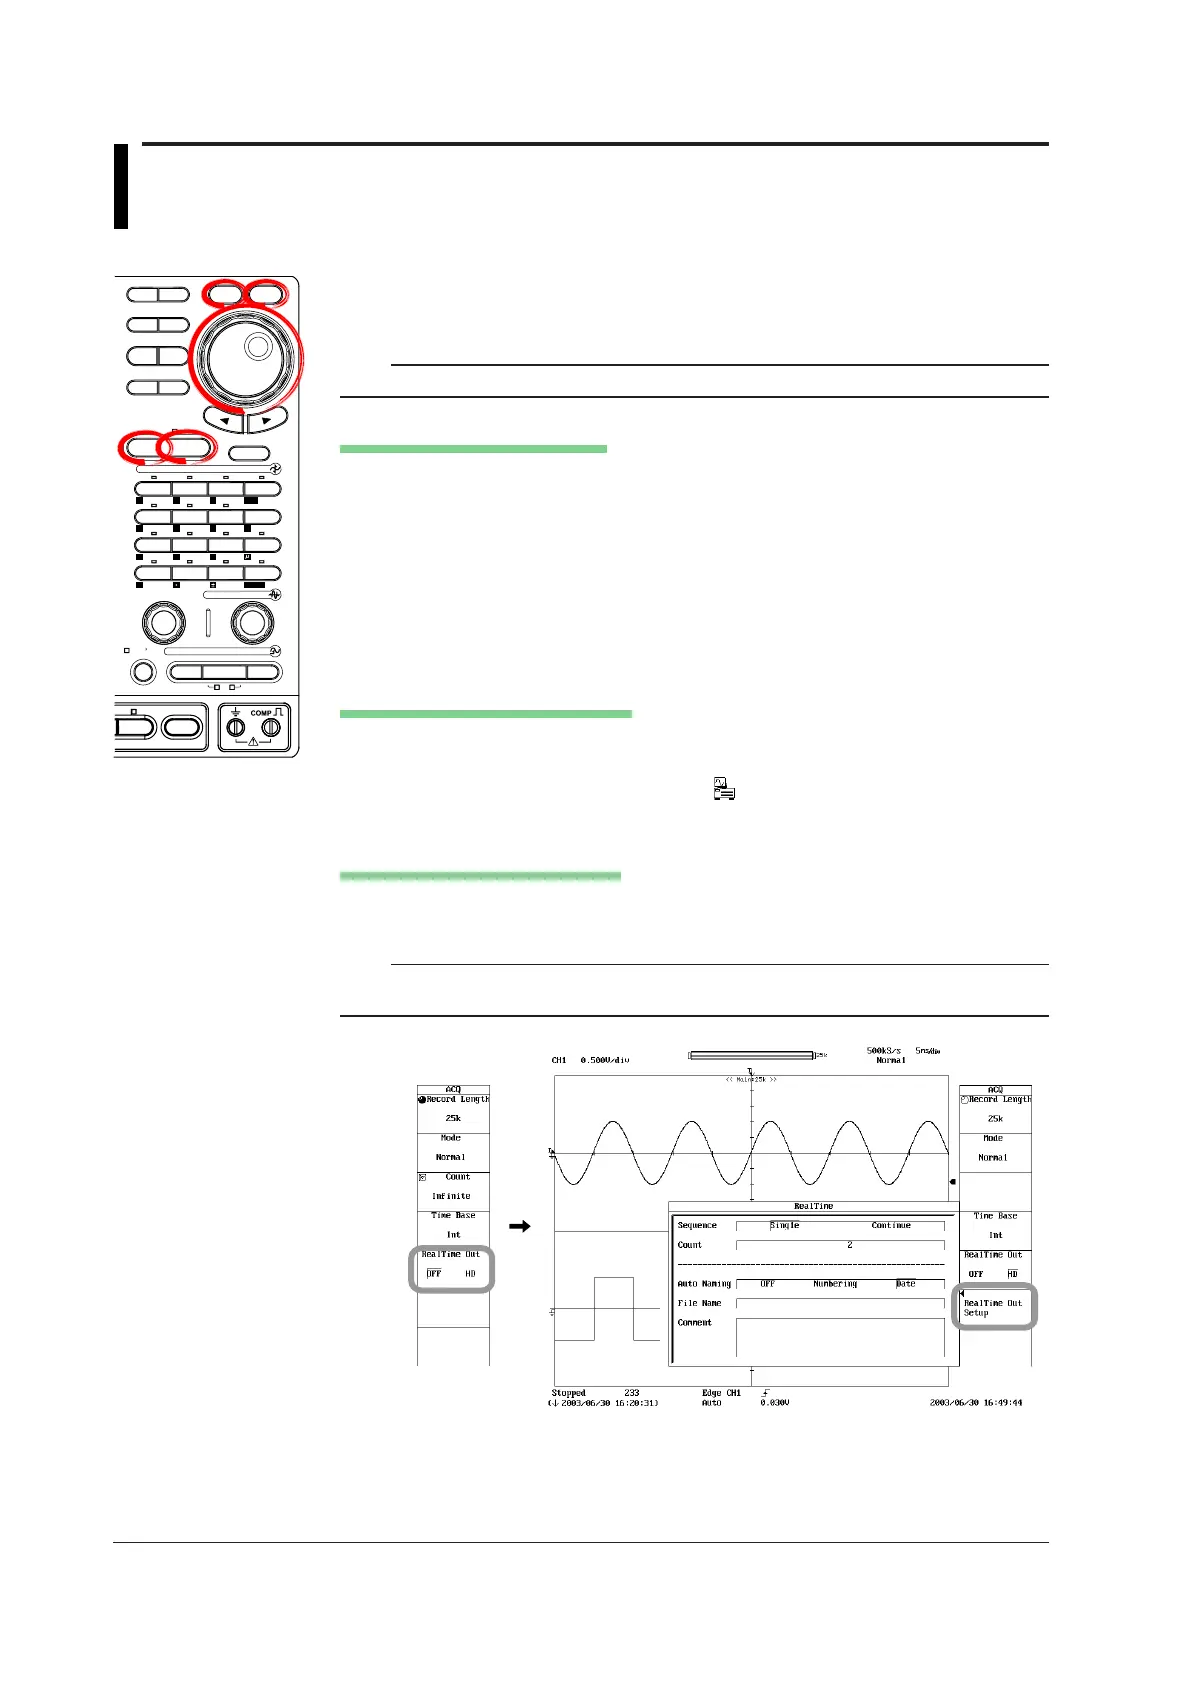
1. Press ACQ.
2. Press the RealTime Out soft key to select HD.
Note
The RealTime Out menu does not appear if Time Base is set to Ext.
Setting the Realtime Recording
3. Press the RealTime Out Setup soft key. A setup dialog box opens.
4. Use the jog shuttle and SELECT to set Sequence to Single or Continue.
5. If you selected Continue in step 4, use the jog shuttle and SELECT to set
Count to a value in the range of 2 to 128.
6. Use the jog shuttle and SELECT to select the Auto Naming method from OFF,
Numbering, and Date.
7. As necessary, enter the File Name and Comment according to the procedures
given in section 4.2.
Executing the Realtime Recording
8. Press the START/STOP key to start the waveform acquisition. Realtime
recording is executed.
While realtime recording is executing,
is displayed at the upper left corner of
the screen.
Aborting the Realtime Recording
9. Press the START/STOP key to stop the waveform acquisition. Realtime
recording is aborted.
Note
If you stop the waveform acquisition by pressing the START/STOP key, realtime recording is
aborted even if it is within the specified recording time.
 Loading...