9-9
IM 701210-05E
Recording in Recorder Mode (Realtime Recording) (Only on the DL750P)
9
Setting Details
Setting the Print Interval of Scale Values
10. Use the jog shuttle and SELECT to set Scale to OFF, 200mm, 400mm, or
800mm.
Setting the Print Interval of Channel Labels
11. Use the jog shuttle and SELECT to set CH Label to OFF, 200mm, 400mm, or
800mm.
Setting the Print Interval of Time
12. Use the jog shuttle and SELECT to set Time to OFF, 200mm, 400mm, or 800mm.
Setting the Gauge Print
13. Use the jog shuttle and SELECT to set Gauge to OFF, ON, or Fine.
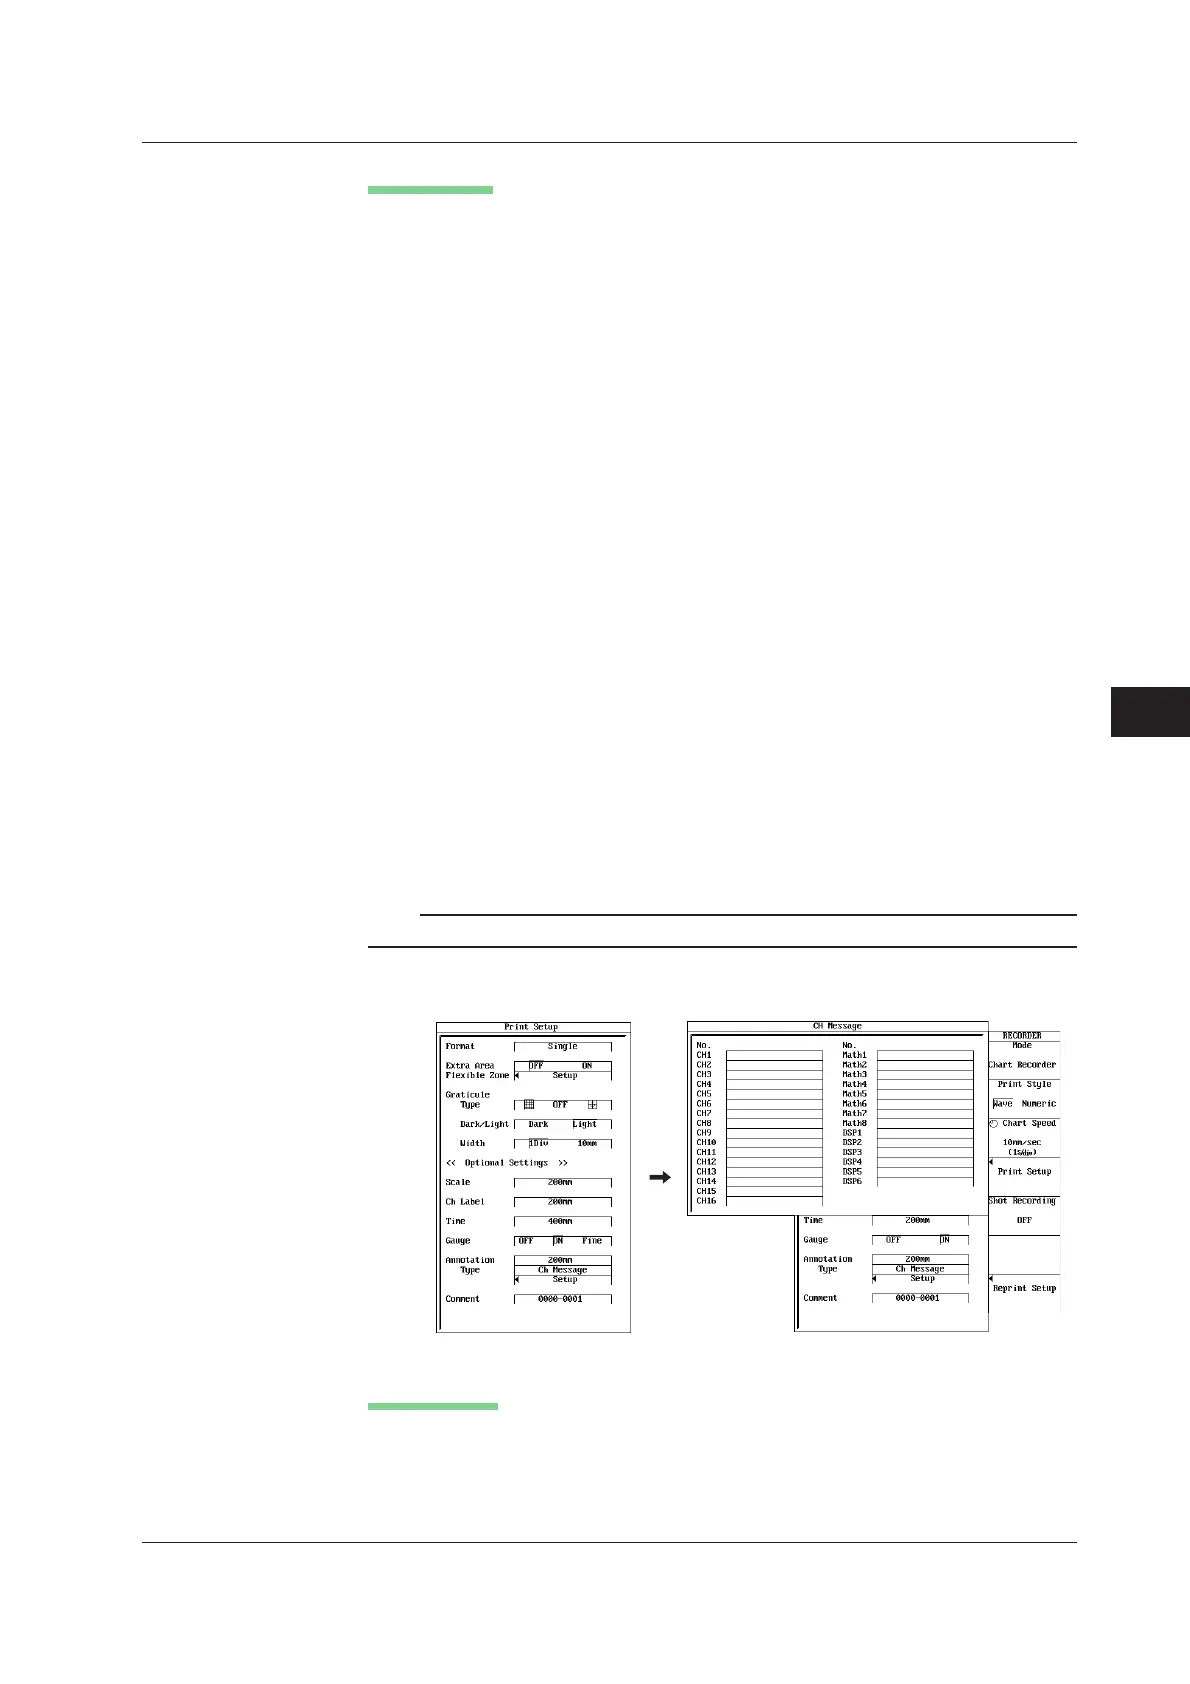
Setting the Annotation
14. Use the jog shuttle and SELECT to set the print interval of annotations in the
right column of Annotation to OFF, 200mm, 400mm, or 800mm.
15. Use the jog shuttle and SELECT to set the type of annotation to be printed in
the right column of Type to CH Information, CH Message, or CH Data.
If CH Message is selected, proceed to step 16.
If CH Information or CH Data is selected, proceed to step 17.
16. Use the jog shuttle and SELECT to select Setup. Then, enter the message
you wish to print for the channel using up to 80 characters according to the
procedure in section 4.2.
Setting a Comment
17. Use the jog shuttle and SELECT to select Comment. Then, enter the comment
text you wish to print using up to 20 characters according to the procedure in
section 4.2.
Note
The comment setting is linked with the PRINT menu > Comment setting.
When Annotation Type is set to CH Message
Explanation
Display Format
Select the number of divisions of the recording area when recording to the built-in printer.
Single: 1 division Triad: 3 divisions Octal: 8 divisions
Dual: 2 divisions Quad: 4 divisions Hexadecimal: 16 divisions
The display (recording) format setting is linked with the DISPLAY menu > Format setting.
9.4 Setting the Recording Format of T-Y Waveform Recording
 Loading...