Brooks Automation 8. System Alignment
Part Number: 605914 Rev. B Teach the Robot to the TopLigner Vacuum Aligner
WithintheMarathonExpressthedefaultstationassignmentfortheVacuumAlignerisStation7.
Referto"StationCoordinateSystem"onpage108foradetaileddescriptionofthestation
assignments.
Step Action
1.
HometheTopLigner.
HOME
2.
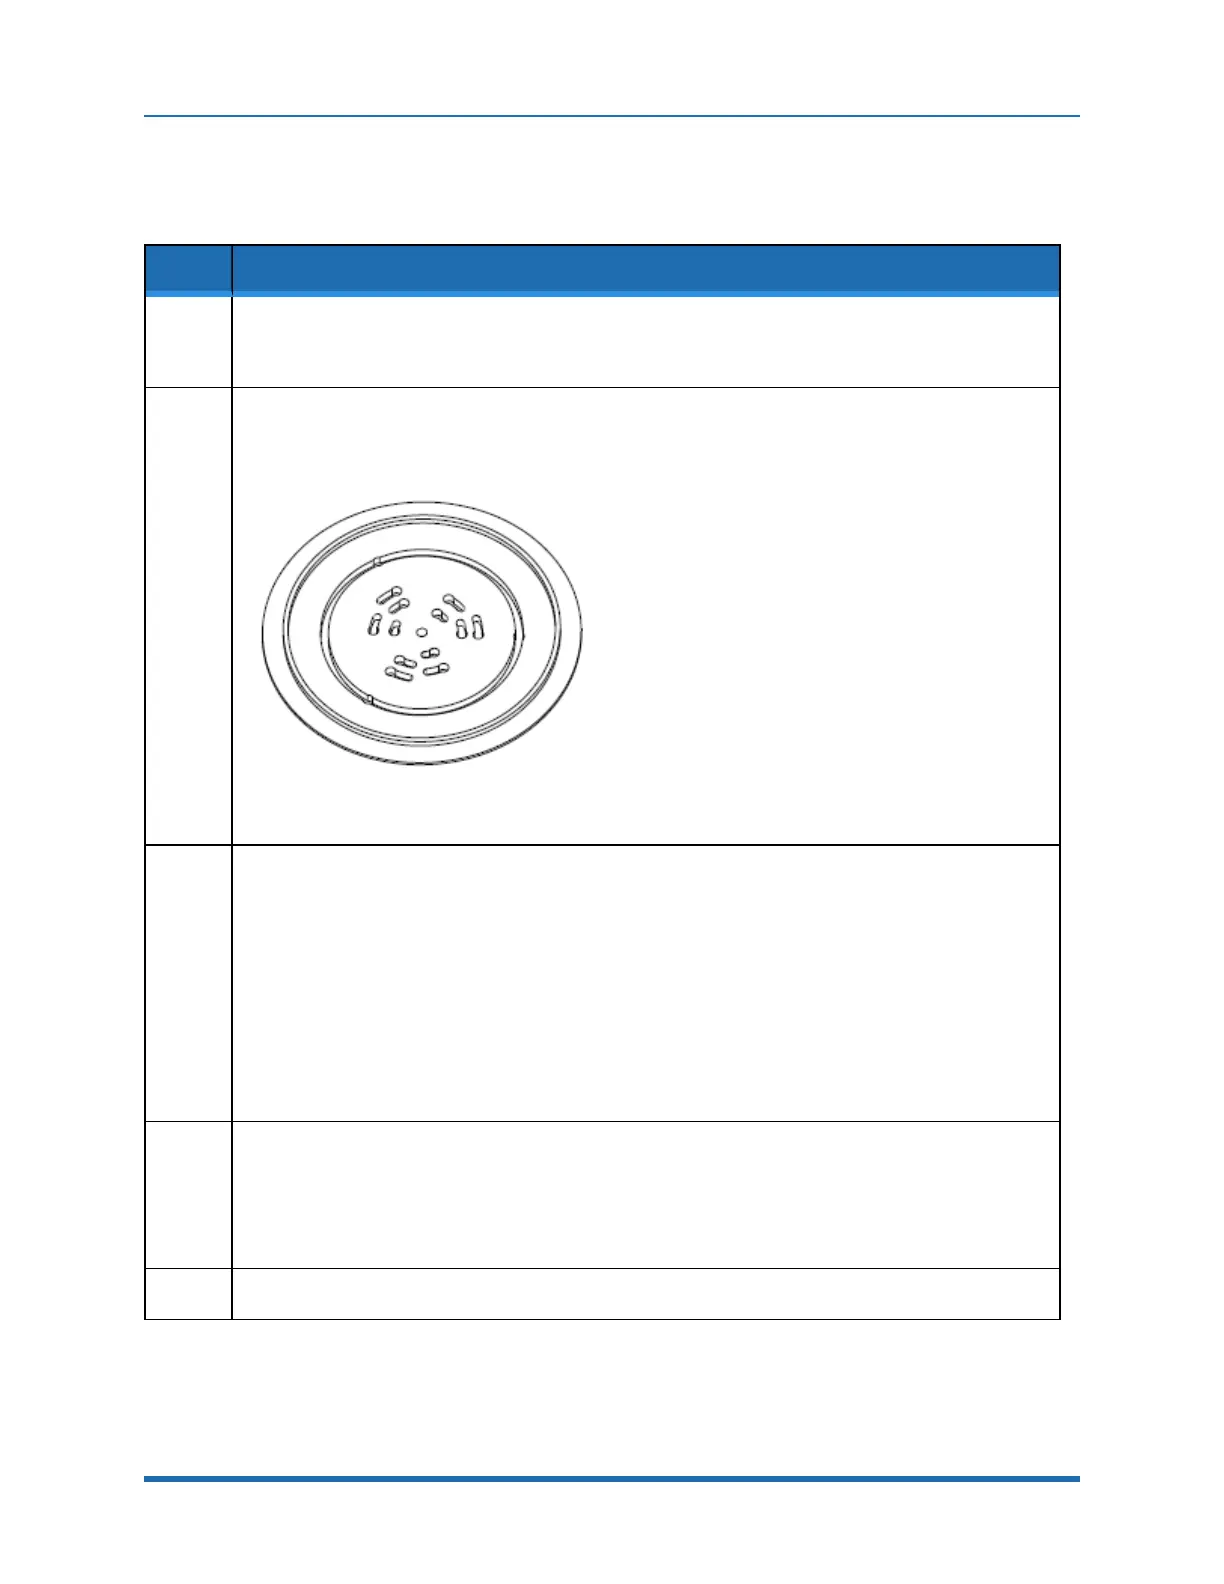
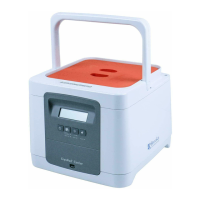
PlacethealignmentfixtureovertheTopLigner’schuck,fittingthewafersupportpinsonthechuckinto
thematingholesonthebottomofthefixture.
Ensurethecutoutsonthebottomofthefixtureseatfullyonthewafersupports.
Figure 8-1: TopLigner Alignment Fixture
3.
Usingtherobot’sCDM,teachtherobottheRandTvaluesfortheTopLigner.
SETUP -> STATIONS -> 7 -> CR -> LEARN R, T, BTO -> HAND LOCATE
a. Manuallymovetherobot’sendeffectoruntiltheendeffector’sUshapedslotfitsaroundthe
AlignmentFixtureandthebottomofthe“U”iscloseto,butnottouching,thefixture.
b. InspecttheclearanceoftheendeffectorslotaroundtheAlignmentFixture.Theclearance
shouldbeequalonallsides(approximately+.002in.).Ifnot,movetherobotintheRandTaxes
untiltheendeffectoriscenteredaroundthealignmentcylinderwiththeproperspacing.
c. OncetheendeffectorispositionedcorrectlysavetheRandTvaluesfortherobotusingthe
CDM.
ESCAPE -> STORE -> R -> T -> QUIT
4.
Usingtherobot’sCDM,movetherobot’sarmoutoftheTopLigner.
SETUP -> STATIONS -> 7 -> CR -> LEARN R, T, BTO -> HAND LOCATE
a. Movetherobot’sarmoutoftheTopLignerandexituseoftherobotusingtheCDM.
QUIT
5.
RemovetheRobot/AlignerCenteringFixturefromtheTopLigner.
Copyright © 2023, Brooks Automation, Inc.
153