CHAPTER 17
Maintenance and Troubleshooting
306 DL.3 Digital Light User Manual
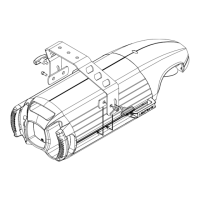
Reinstalling the projector into DL.3 fixture
1. Push the Lens Lock Lever downward. Make s
ure that the lens is properly locked.
2. Replace the light-block shee
t and the projector cover.
3. Keeping the DL.3 fixture head tilt-locked at 9
0° horizontal, feed the Zoom & Focus wires
through the front of the projector.
4. Slide the projector (lens first; feet down) back i
nto the DL.3 fixture head. Once fully inside
the head of the fixture, pull excess slack from the Zoom & Focus wires out through the front
of the fixture's head so that the wires can be reconnected to the head logic card.
5. Line up the projector mounting holes to the holes on the projector mounting plate.
6. Using a 5mm Allen Wrench, reattach the 4 projector screws to the mounting plate.
NOTE: Tighten screws once they are all in the projector.
7. Reconnect Zoom (HD1) and the Focus (HD2) cables to the head-logic board.
8. On the rear of the proj
ector; reconnect:
•Projector Power
•G
BRHV Component Video (INPUT 2)
•Projector Control Serial Cable (CONTROL PORT)
9. Replace the top bezel.
10. Replace the rear bezel careful
ly aligning the gasket around the lamp.
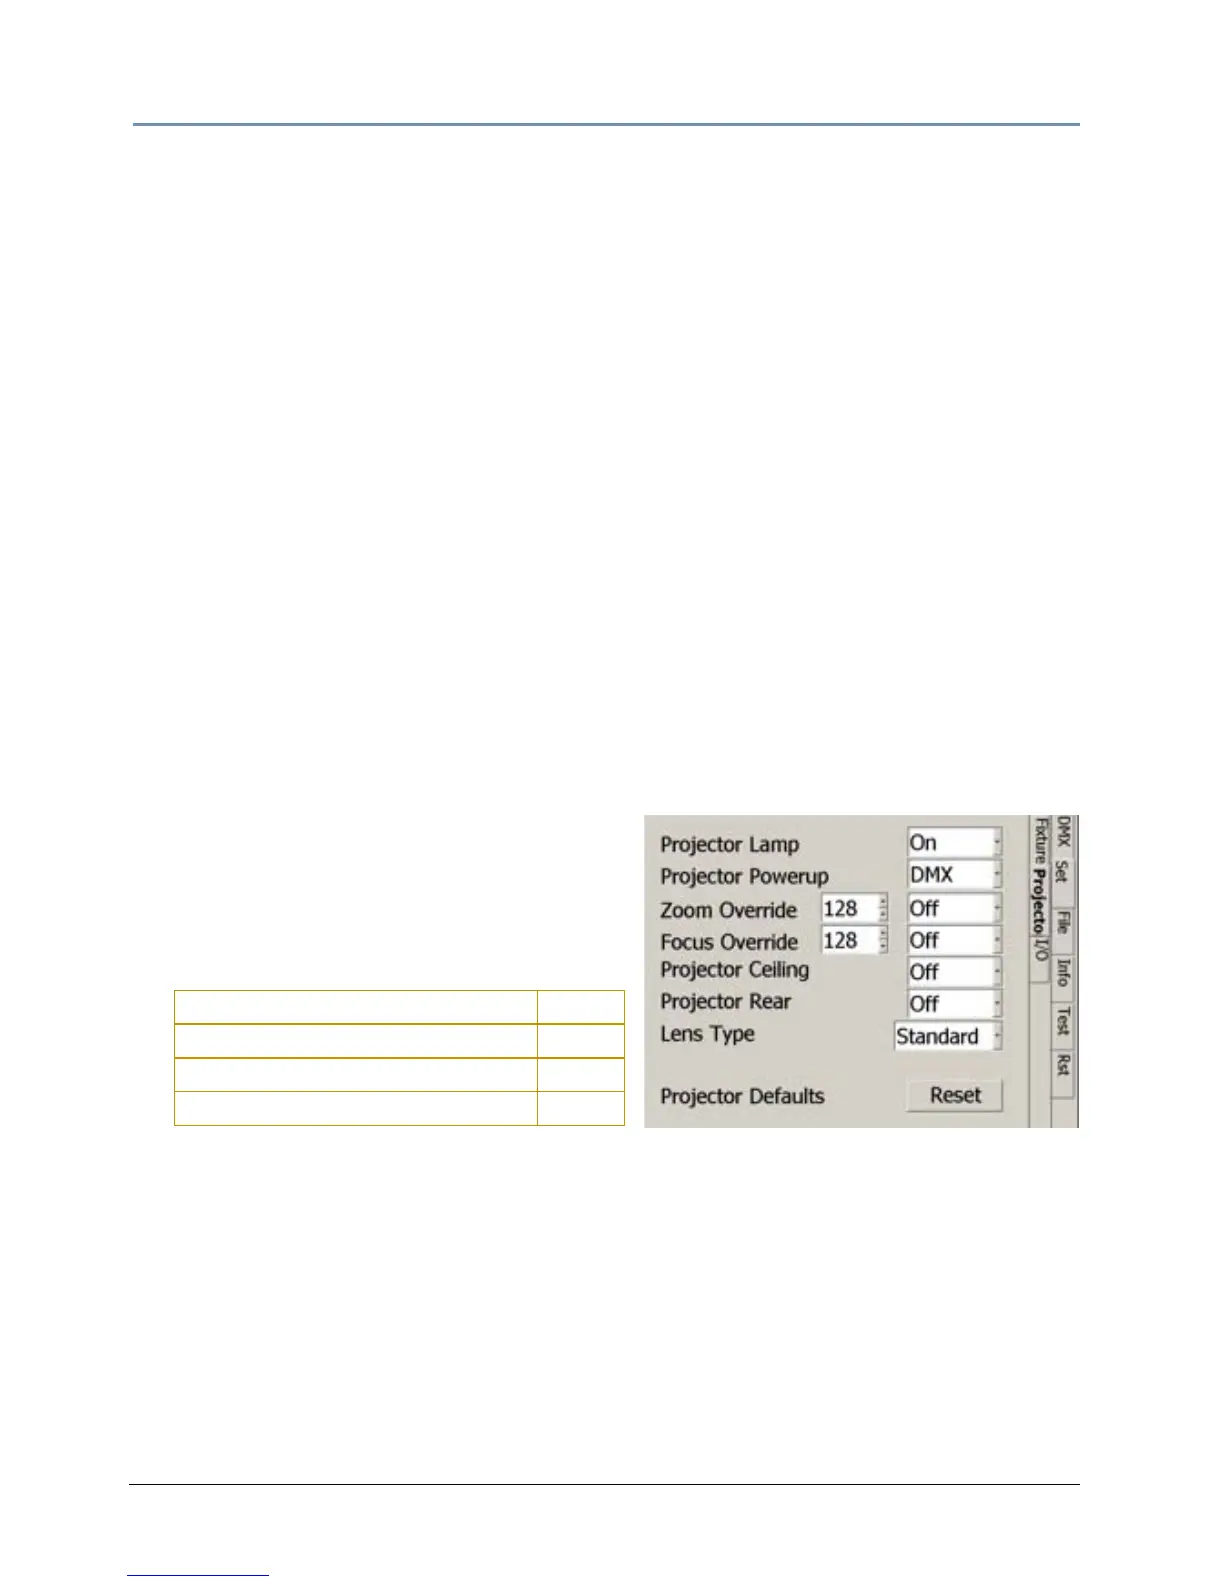
Configuring the fixture for the new lens
1. Connect fixture to power.
2. Access the menu system and navigate to
the Set
_Projector screen. Select the installed
lens from the drop down list options in the
Lens Type field.
Standard Zoom Len
s 1.8-2.3:1
Accessory Lon
g Throw Zoom lens 2.4-4.3:1
Accessory U
ltra Long Throw Zoom lens 4.3-6.0:1
Accessory W
ide Angle Zoom lens 1.3-1.8:1