CHAPTER 17
Maintenance and Troubleshooting
DL.3 Digital Light User Manual 305
Replacing the Lens
Use the following steps to access and replace the DL.3
lens with any of the lens options available for the fixture.
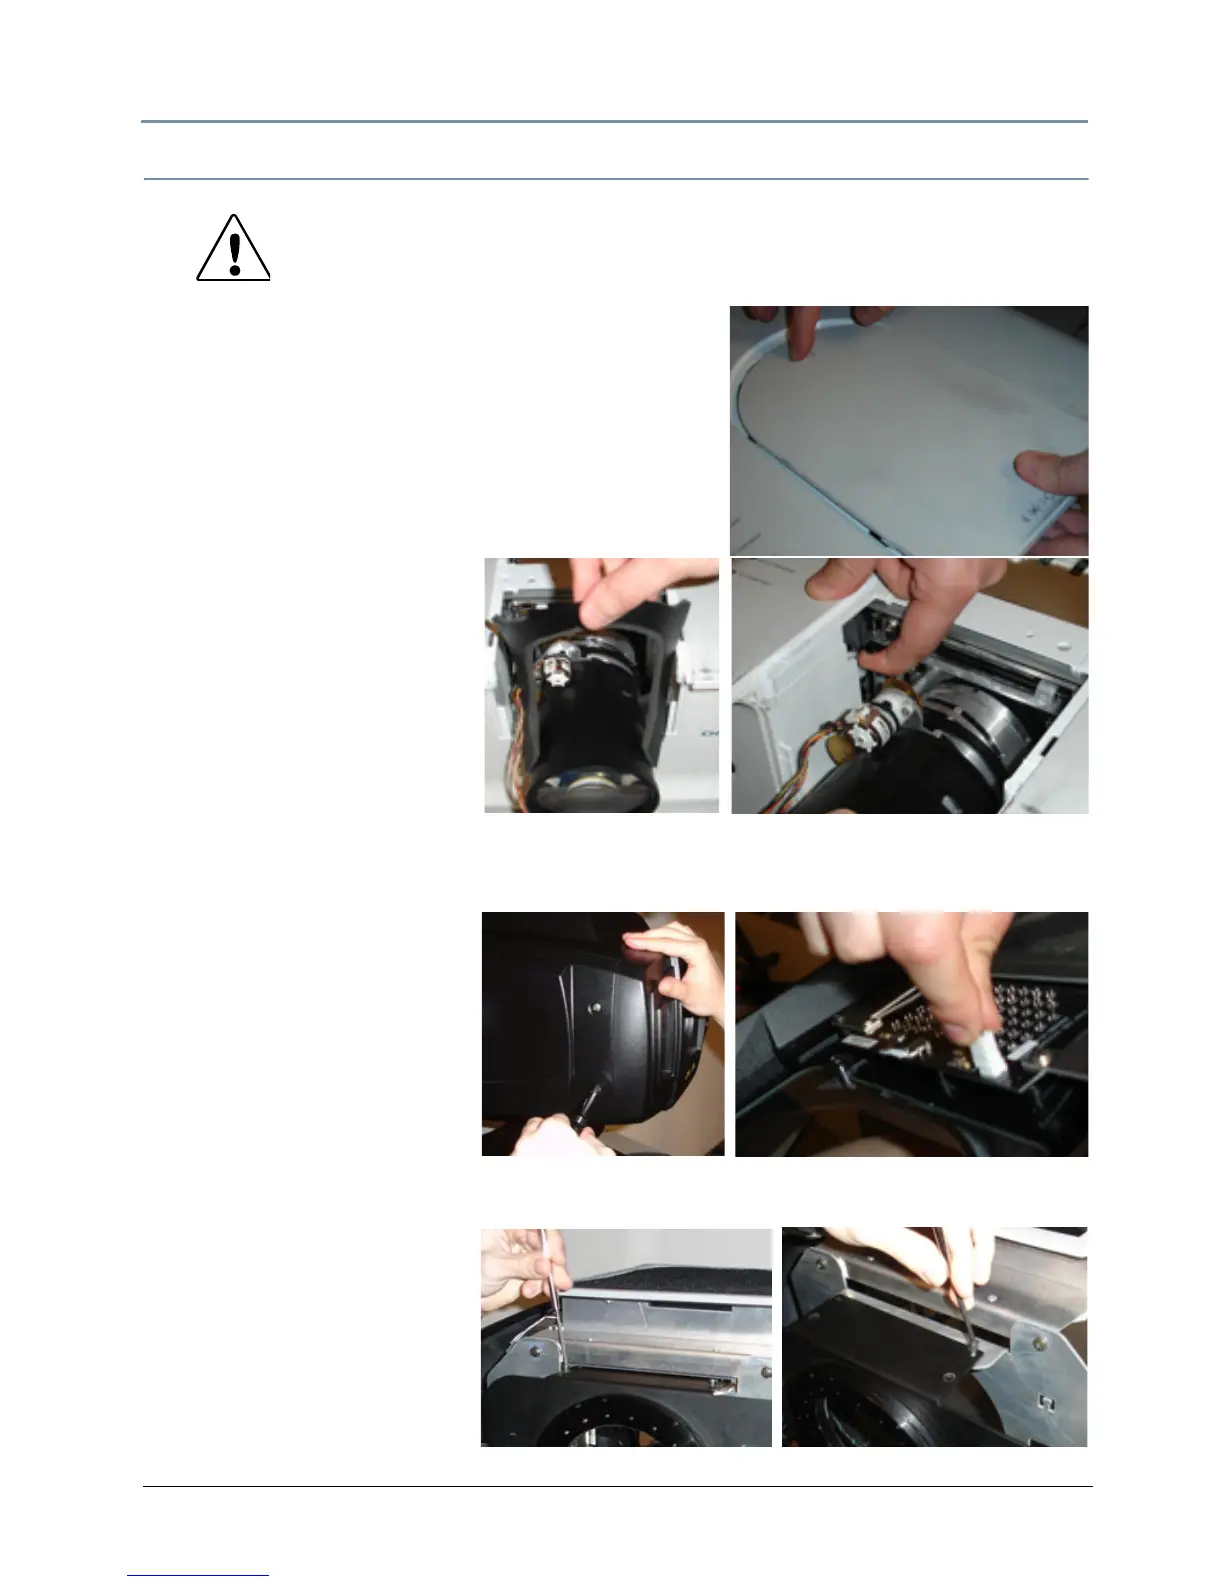
Accessing the lens
1. Follow the steps for remov
ing the projector from the
unit in the section preceding this one,
2. While pressing the release button
on the top projector
cover, slide the top cover toward front to remove it.
Replacing the lens
3. Slide the light-block sheet
upw
ard and remove it.
4. Hold the lens with one hand
and pu
ll the Lens latch
upward with the other hand.
5. Remove the lens from the
projector
.
6. Fit the new lens to the
projector
. Make sure that the lens is fully inserted to the projector to re-engage the latch.
Adjusting the Iris Plate for the Acc
essory Long Zoom lens
If you are installing the Accessory
Long Th
row
(2.4-4.3:1) zoom lens, you
will need to adjust the Iris
plate to accommodate the
addition
al length it adds.
7. Loosen the four captive
screws
that hold the front
bezel to the unit.
8. Slowly drop the bezel away from the fixture and
detach the IR illuminator wire.
9. Remove the four screws (two
on
the top and two on the
bottom) holding the iris plate
to the frame.
10. Slide the plate forward and
reinsert the screws in the
Ac
cessory position.
CAUTION: To avoid damaging the lens, do not touch glass.
Lens installation and replacement should be made
by
qualified service personnel.