3.
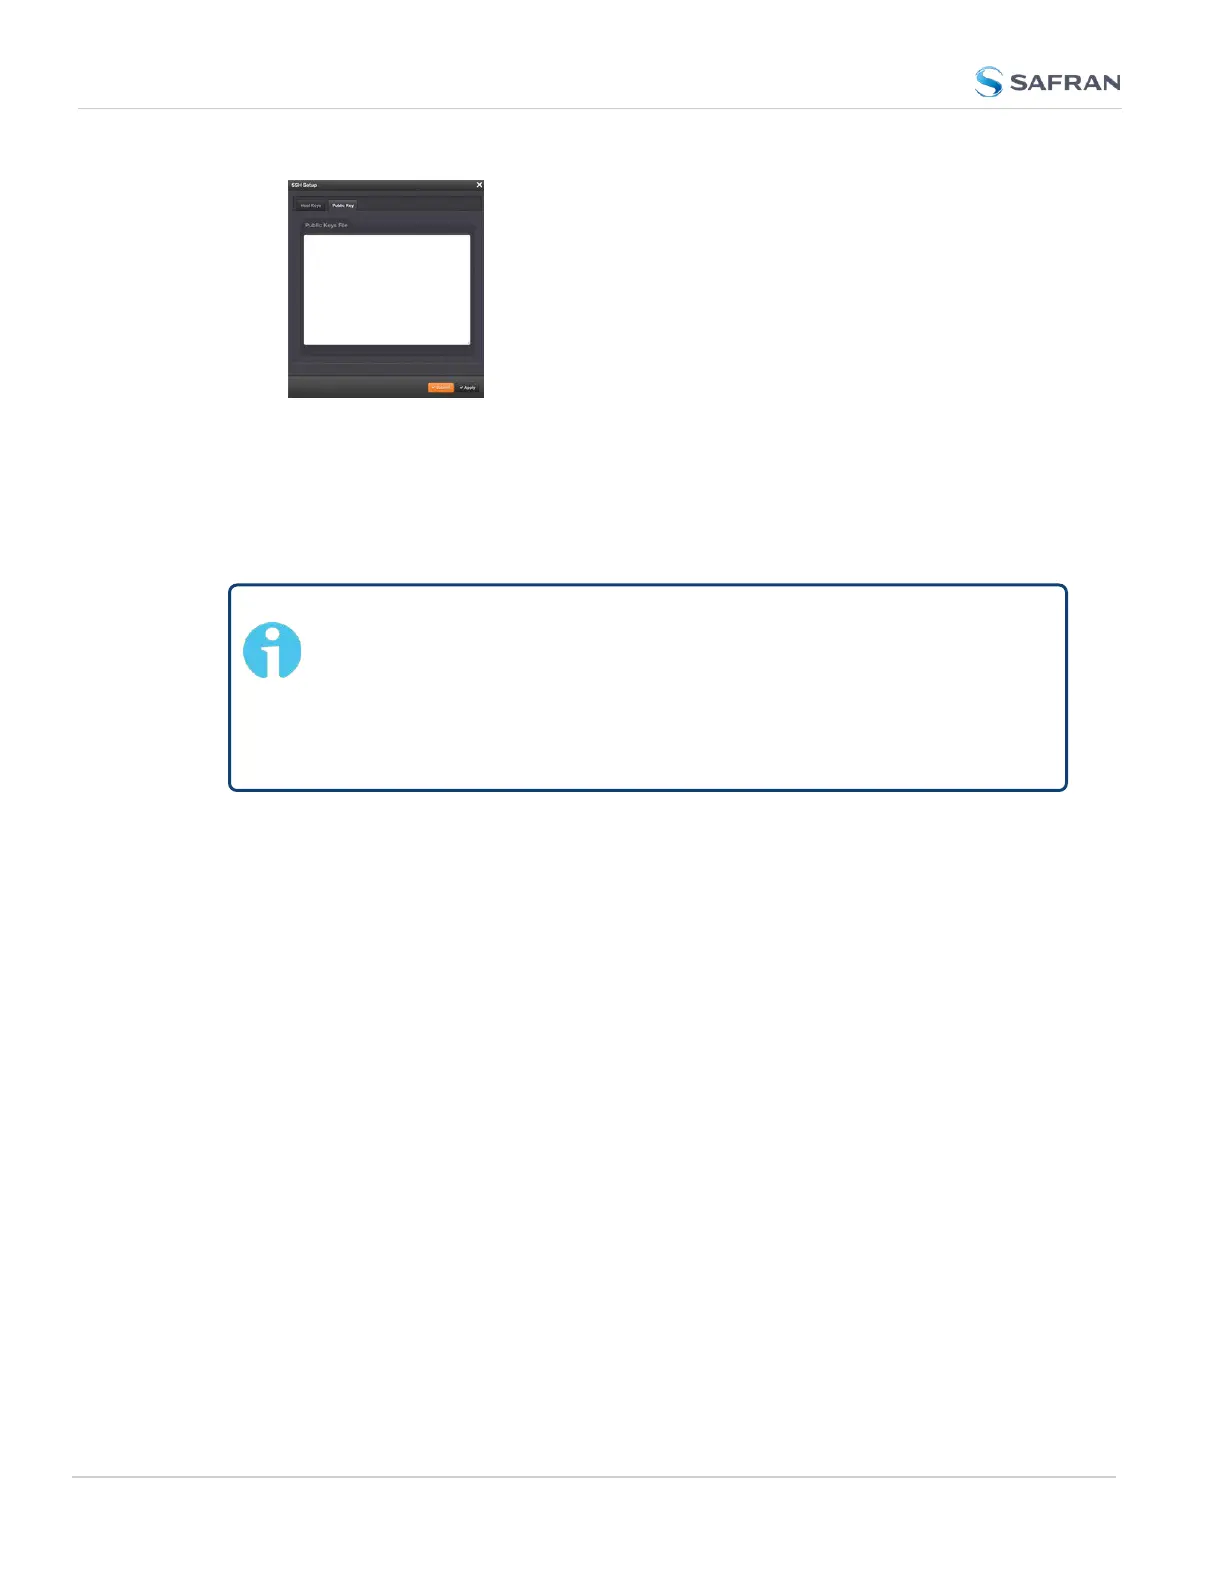
Edit the authorized_keys file as desired.
4.
Click the Submit button or Apply button.
The file is to be formatted such that the key is followed by an optional comment,
with only one key per line. The file format, line terminations, and other EOL or
EOF characters should correspond to UNIX conventions, not Windows.
Note: If you delete ALL Public Keys, Public/Private Key authen-
tication is disabled. If you have selected SSH authentication using the
Public Key with Passphrase option, login and file transfers will be for-
bidden. You must select a method allowing the use of account pass-
word authentication to enable login or file transfers using SCP or
SFTP.
Editing the "authorized_key" File via CLI
Secure shell sessions using an SSH client can be performed using the admin or a
user-defined account. The user may use Account Password or Public Key with
Passphrase authentication. The OpenSSH tool SSH-KEYGEN may be used to cre-
ate RSA and DSA keys used to identify and authenticate user login or file trans-
fers.
The following command lines for OpenSSH SSH client tool are given as examples
of how to create an SSH session.
Creating an SSH session with Password Authentication for the admin
account
ssh spadmin@10.10.200.5
spadmin@10.10.200.5's password: admin123
You are now presented with boot up text and/or a “>” prompt which allows the
use of the Safran command line interface.
98
CHAPTER 2 • SecureSync 2400 User Manual Rev. 5.2
2.14 Configure Network Settings
 Loading...