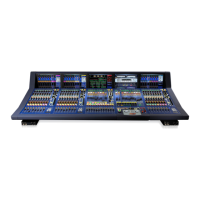
110 Chapter 6: Output Bay
XL8 Control Surface
Operator Manual
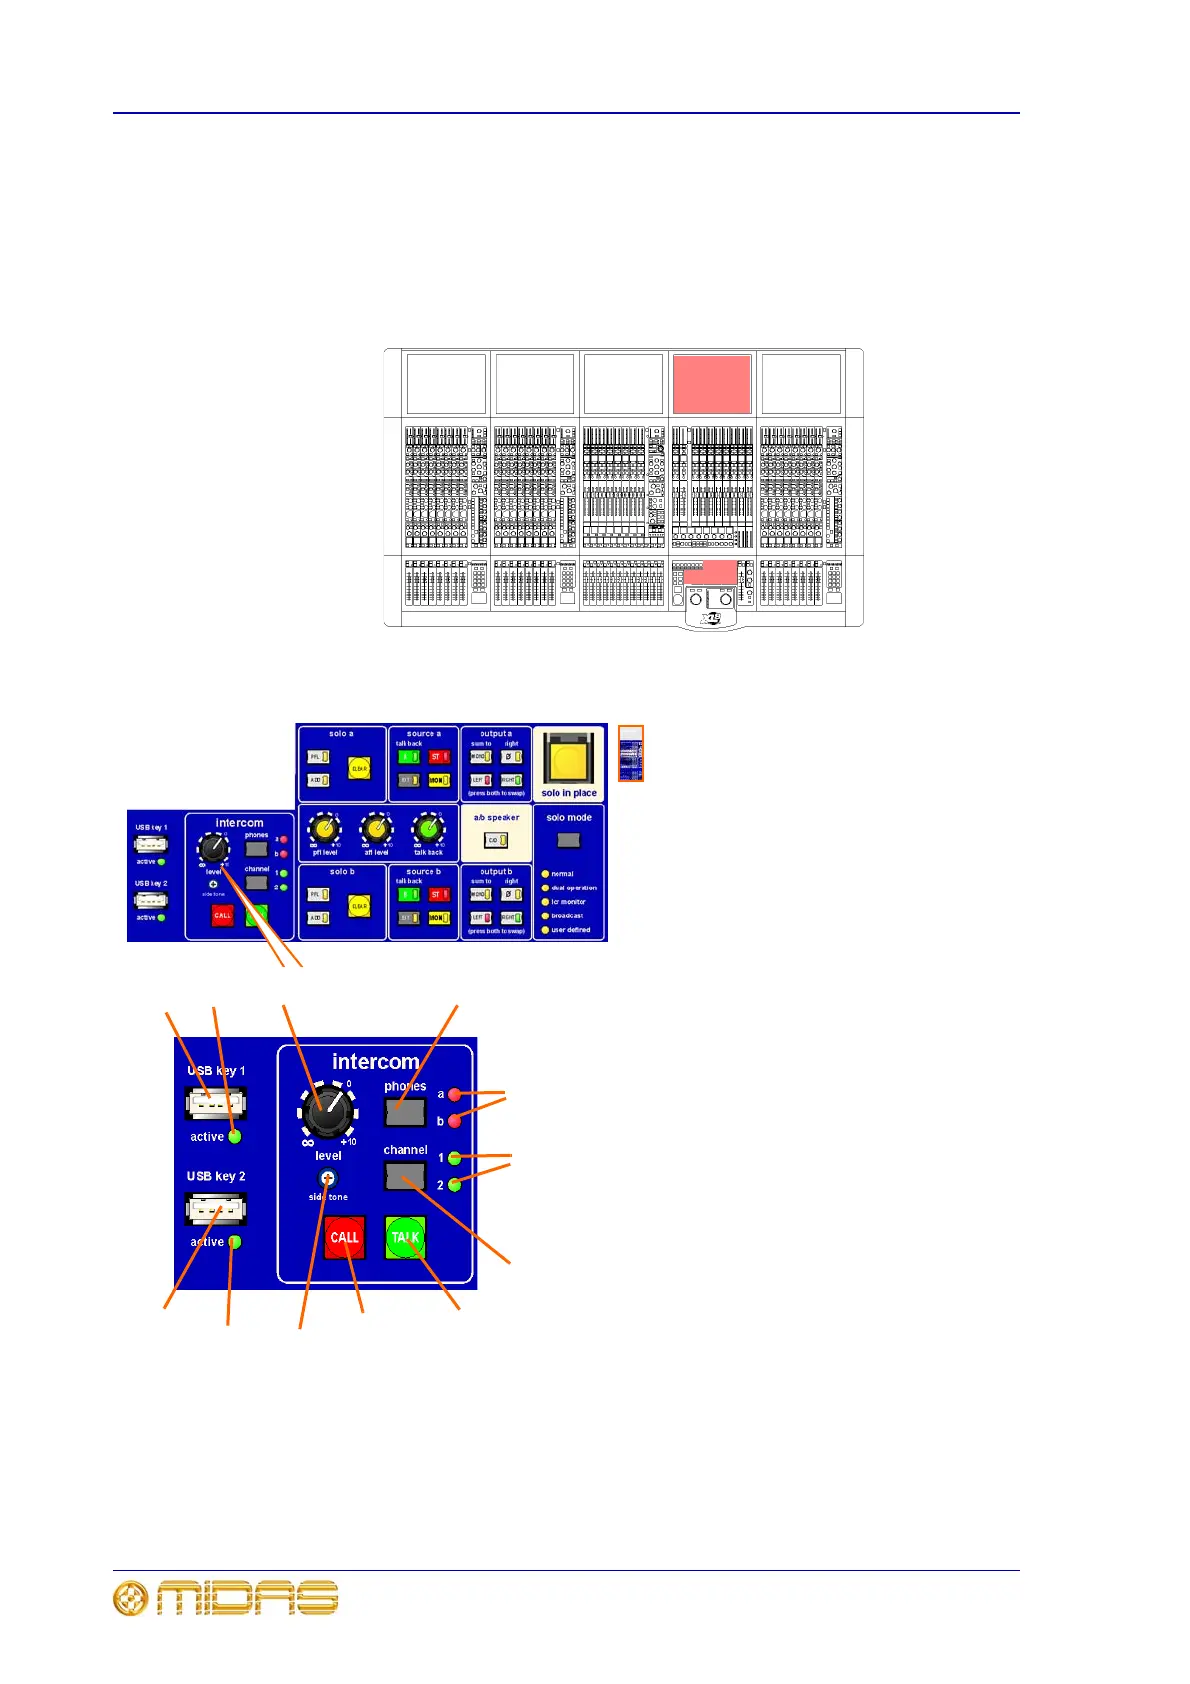
Monitoring
To match the two-bus solo system, there are two monitor outputs, A and B. The
monitor output controls do not have support from the screens and are not affected by
automation. Monitor paths A and B are virtually identical in operation except that
monitor “A” has a few additional features, for example, a fader level control. Refer to
“Monitors” on page 202 for more details.
intercom and USB keys
1 a and b LED indicators (on phones and channel
switches) show which channel is in operation.
2 channel button for selecting channel 1 or channel
2.
3 TALK button for switching talk on/off. This is a
dual operation button, whereby a quick press will
switch it on or off, while a prolonged press will keep it
switched on until it is released.
4 CALL button. Press when you want to speak to
someone on the intercom. It sends signal down
intercom line of selected channel that flashes a red
lamp on, for example, a belt pack.
5 side tone for adjusting the amount of your voice
you want to hear through your headset.
6 active LED to indicate that communication in
progress.
7 USB key 1 and USB key 2 are USB connectors for connecting memory sticks for uploading/downloading
files, particularly show files.
8 level control knob adjusts level of signal being received by the intercom.
9 phones button for selecting channel that headphones are monitoring.
7
8
9
1
1
2
3
4
6
7
6
5
Notes:
As the intercom system in the XL8 Control
Centre is a Telex RTS system (compatible with
any TW system), the belt packs will require an
RTS power supply. If you are using non-Telex
RTS components you will need adaptors.
Although the intercom system in the XL8 is
self-powered it doesn’t provide power for the
intercom line. External power supplies are
required for any devices connected to the
intercom. Also, the line requires a termination,
which can be provided by the RTS power
supplies or special adaptors. Contact Midas
Technical Support for further details.