OKI Data Infotech Corporation CONFIDENTIAL
Chapter 6 Parts Replacement (Disassembly/Reassembly)
6-50
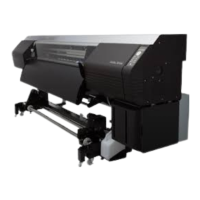
6.7 Disassembling and Reassembling the Controller Box
6.7.1 PCB-ASSY-IPB5-100 and PCB-ASSY-ACT3 boards
<Removal>
1. Before starting the procedure, be sure to
turn off the main power switch at the
back of the printer.
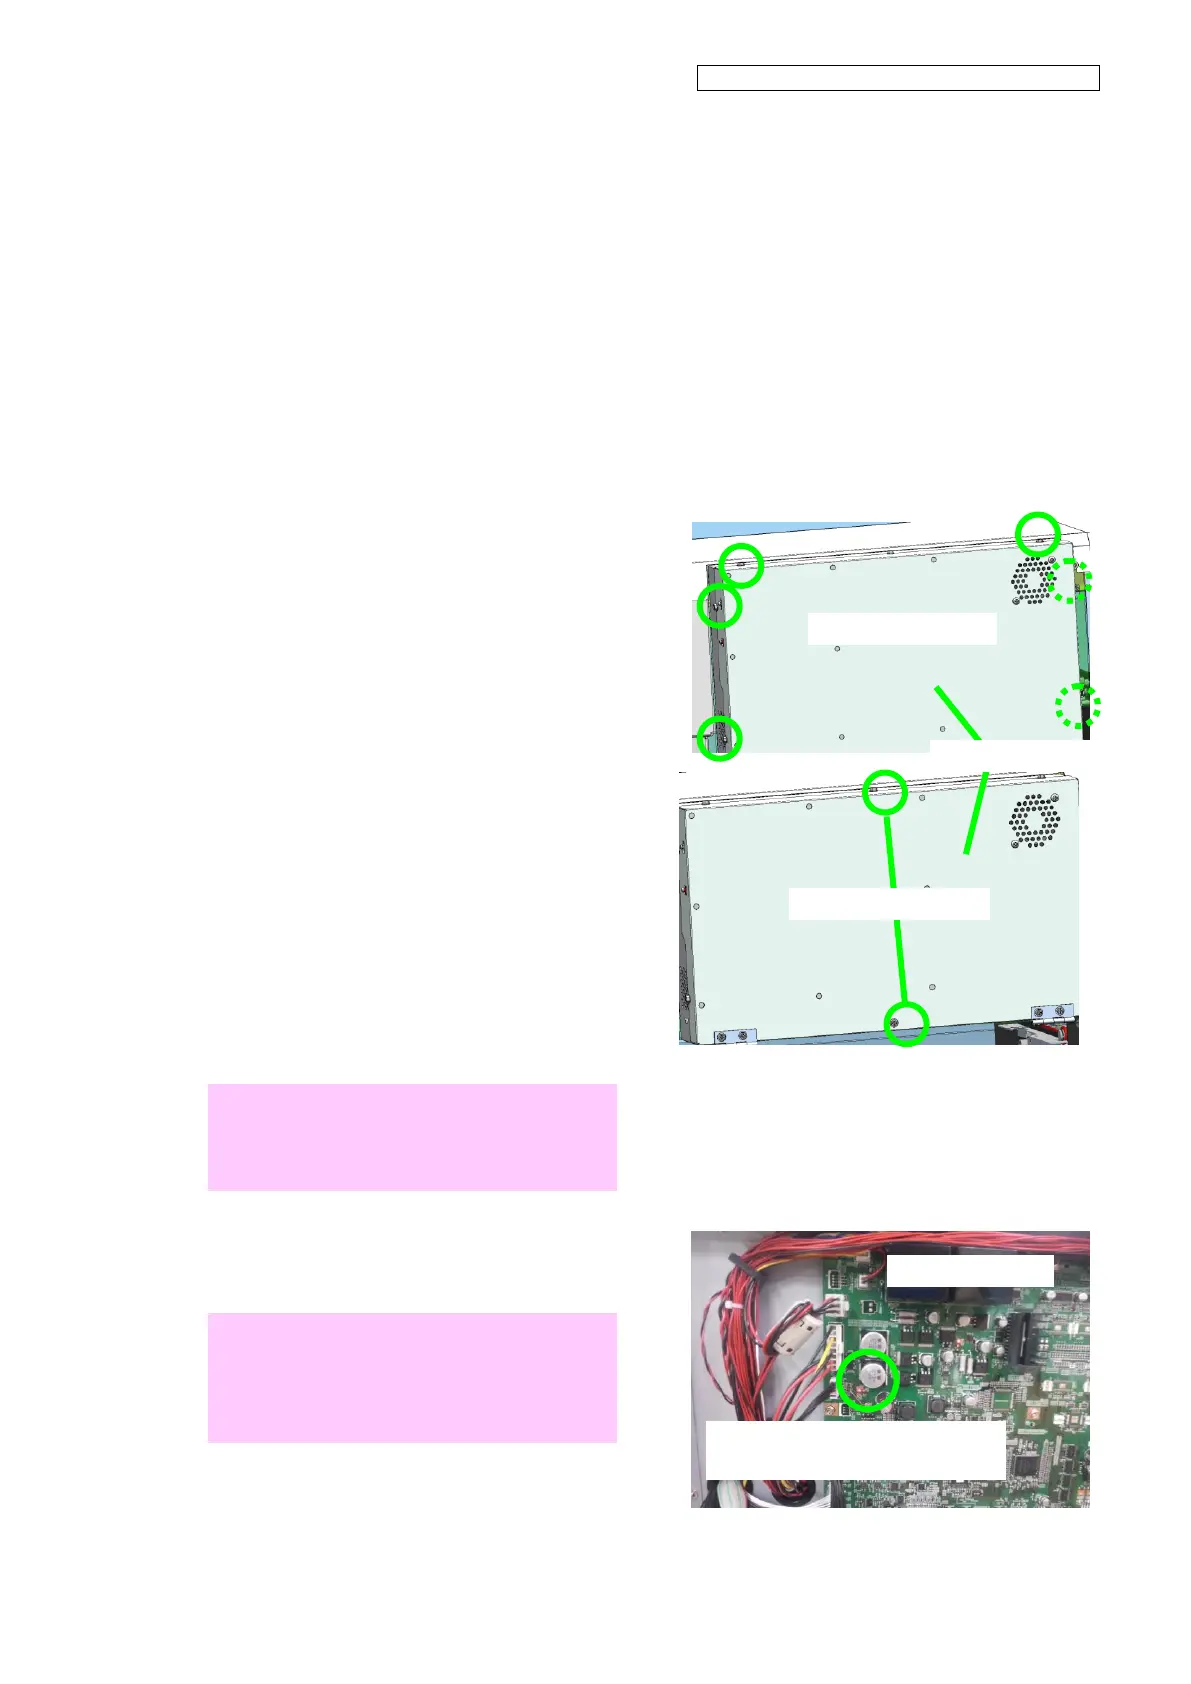
2. Loosen the six screws located in the
U-shaped groove on the top and both
sides of the EL-COVER-MW. Remove
the two screws located in the round
holes on the EL-COVER-MW, then
slowly open the EL-COVER-MW.
Note
Always open or close the EL-COVER-MW
slowly, as rough handling may damage the
parts.
3. Remove the cables connected to the
boards from their clamps.
Warning
Before performing step 3, wait until the lamp
goes off for your safety. Note that electricity
remains in the board as long as the
PCB-ASSY-ACT3 lamp is lit.
Do not touch the board with your hands
when the PCB lamp is lit.