Proceed as follows to connect the cores in the connection plug:
1. Check that the 4 actuators are locked in the pressed state and that the terminals are open
(condition when delivered).
2. Insert the cores into the open terminals.
– For cross-sections of 4 mm² or greater, it is helpful if the protective conductor, W1, V1 and
U1 are inserted simultaneously.
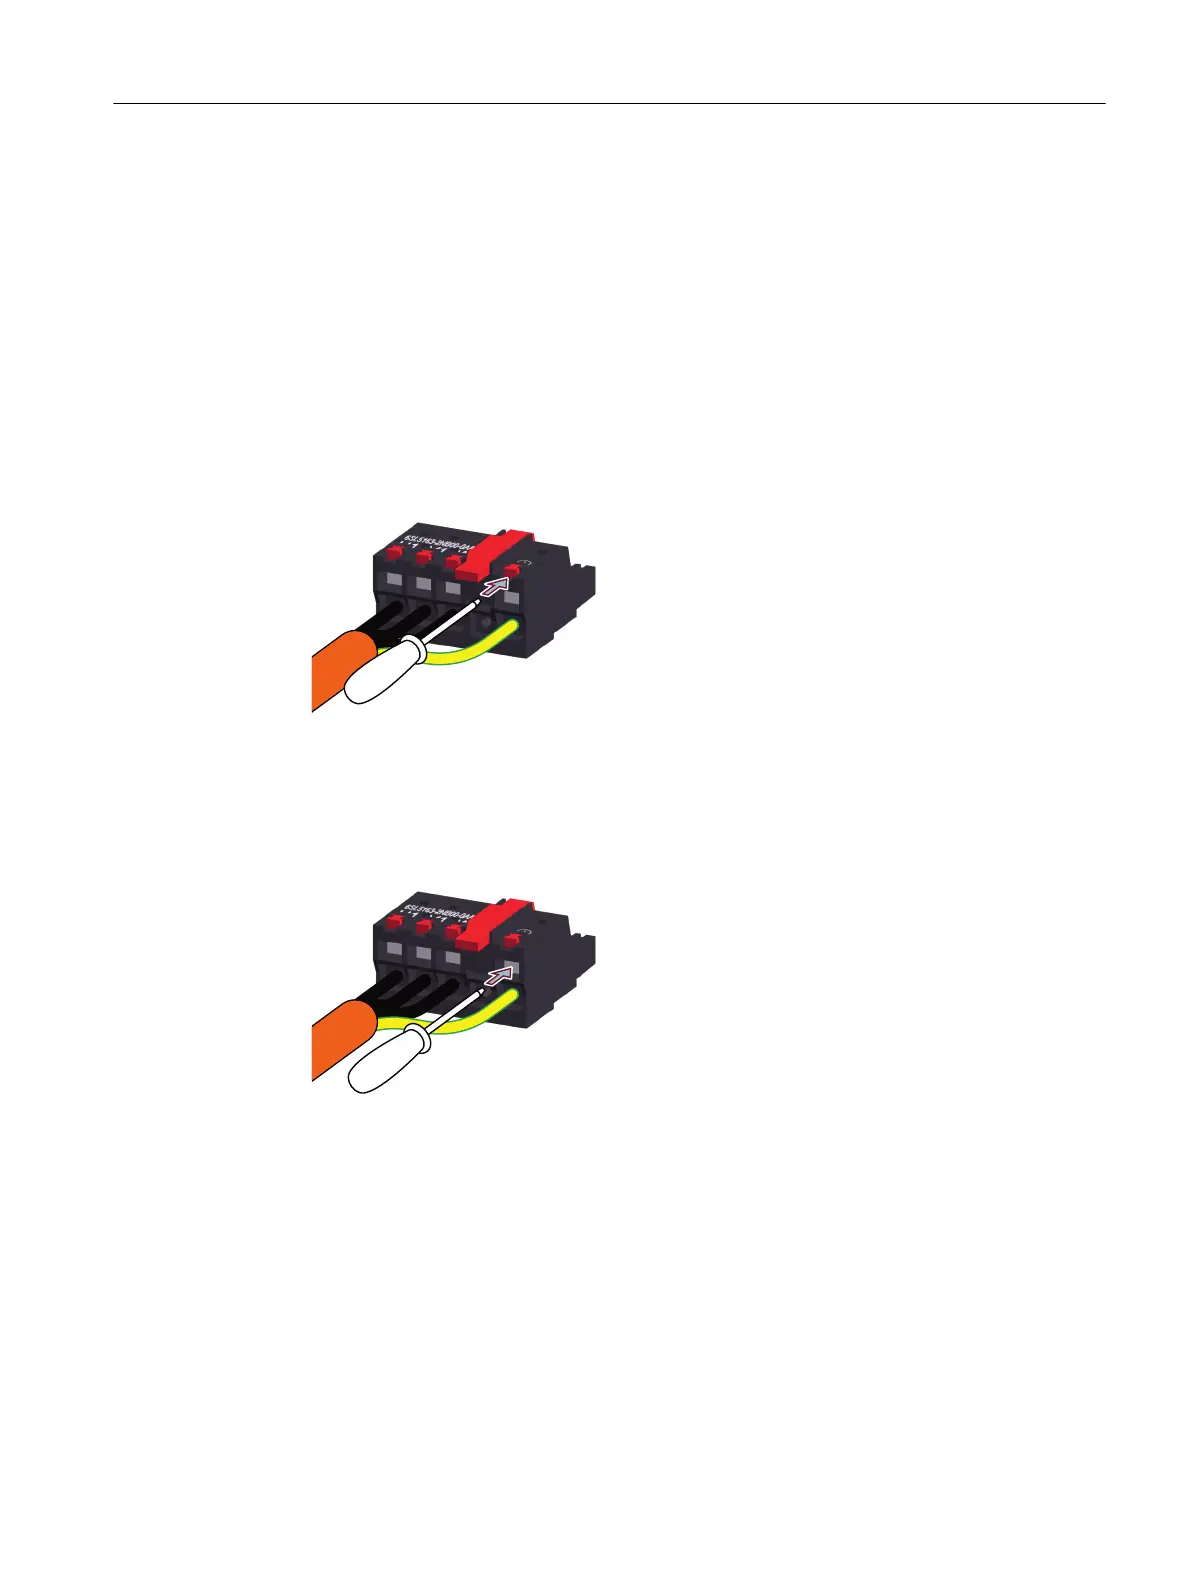
3. Engage the terminals by sliding the slotted screwdriver horizontally under the locking lever
and pressing the locking lever upward.
– Start with the protective conductor, W1, V1 and U1 and check that the terminals are
engaged by gently pulling on the cores.
– The cores must be inserted as far as they will go.
Figure7-13 Wiring the line supply cable to the connection plug
Opening the terminals
Proceed as follows to open the terminals should this become necessary:
1. Using a slotted screwdriver 1.0 x 5.5 mm, press the terminals horizontally into the housing
one after the other until they latch.
Figure7-14 Releasing the terminals of the connection plug
2. Withdraw the cores from the housing.
If cores are dicult to withdraw from the open terminal, pressing the actuator up as far
as it will go at the same time will help. This action opens the spring-loaded terminal to its
maximum.
Smart Line Modules
7.12Line connection
Booksize power units
Equipment Manual, 09/2023, A5E53307519B AA 135
 Loading...