Procedure
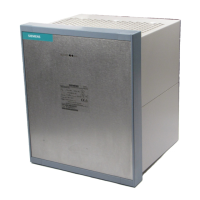
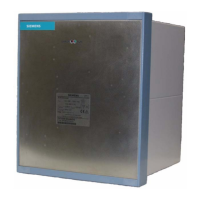
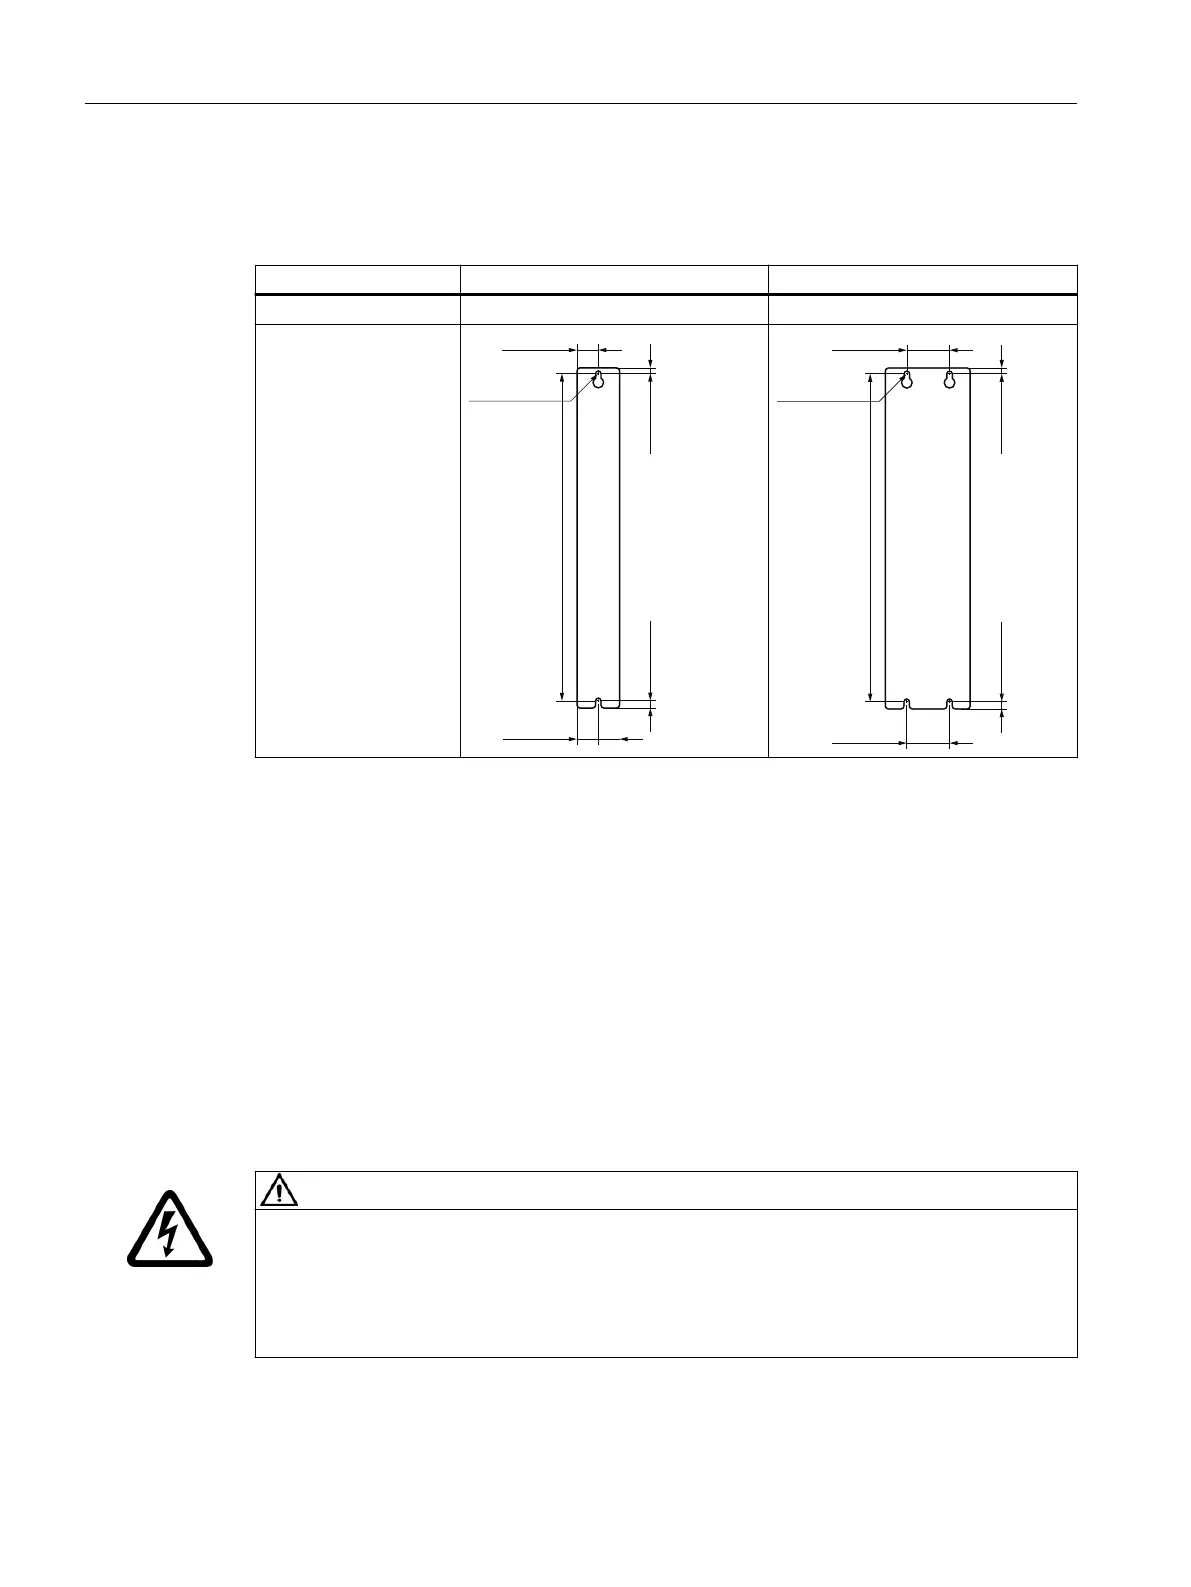
Table 8-11 Rear views of the Motor Modules 3...30A, 2x3...2x18A in mm and (inch)
Rated current 3...30A, 2x3...2x18A 30A, 2x18A
Width 50mm 100mm
Rear view
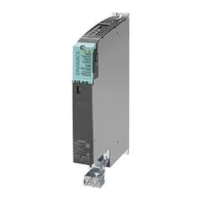
Proceed as follows to mount the Motor Modules onto the mounting panel:
1. Prepare the mounting panel.
2. First, screw the 4 screws in far enough so that you can attach the component.
3. Attach the component.
4. Tighten the screws nger-tight. Tightening torque: 0.5Nm (4.4lbfin)
5. Then tighten the screws fully. Tightening torque: 6Nm (53.1lbfin)
8.3.8 Connecting the shield for X21/X22 cables
Requirement
WARNING
Electric shock due to impermissible screw length
If you use a dierent shield connection clamp than recommended here, note the following:
Excessively long screws can come into contact with live parts and can therefore result in death
or serious injury.
• Only use screws with a permissible insertion depth of 4- 6mm.
Permissible cable diameter: 3-8 mm
Motor Modules
8.3Motor Modules 3 ... 30 A and 2x3 ... 2x18 A
Booksize power units
174 Equipment Manual, 09/2023, A5E53307519B AA
 Loading...