3. Configuration
As the projector project an image under an angle, the original image will be shown as
trapezium.
The image will be squared with the masking function by masking the shaded areas.
3.6.2.2 Resizing with the arrow keys
Tip on to return to the initial values for he selected dots while resizing the image.
Before starting the resizing, it is preferable to select a test pattern.
How to resize?
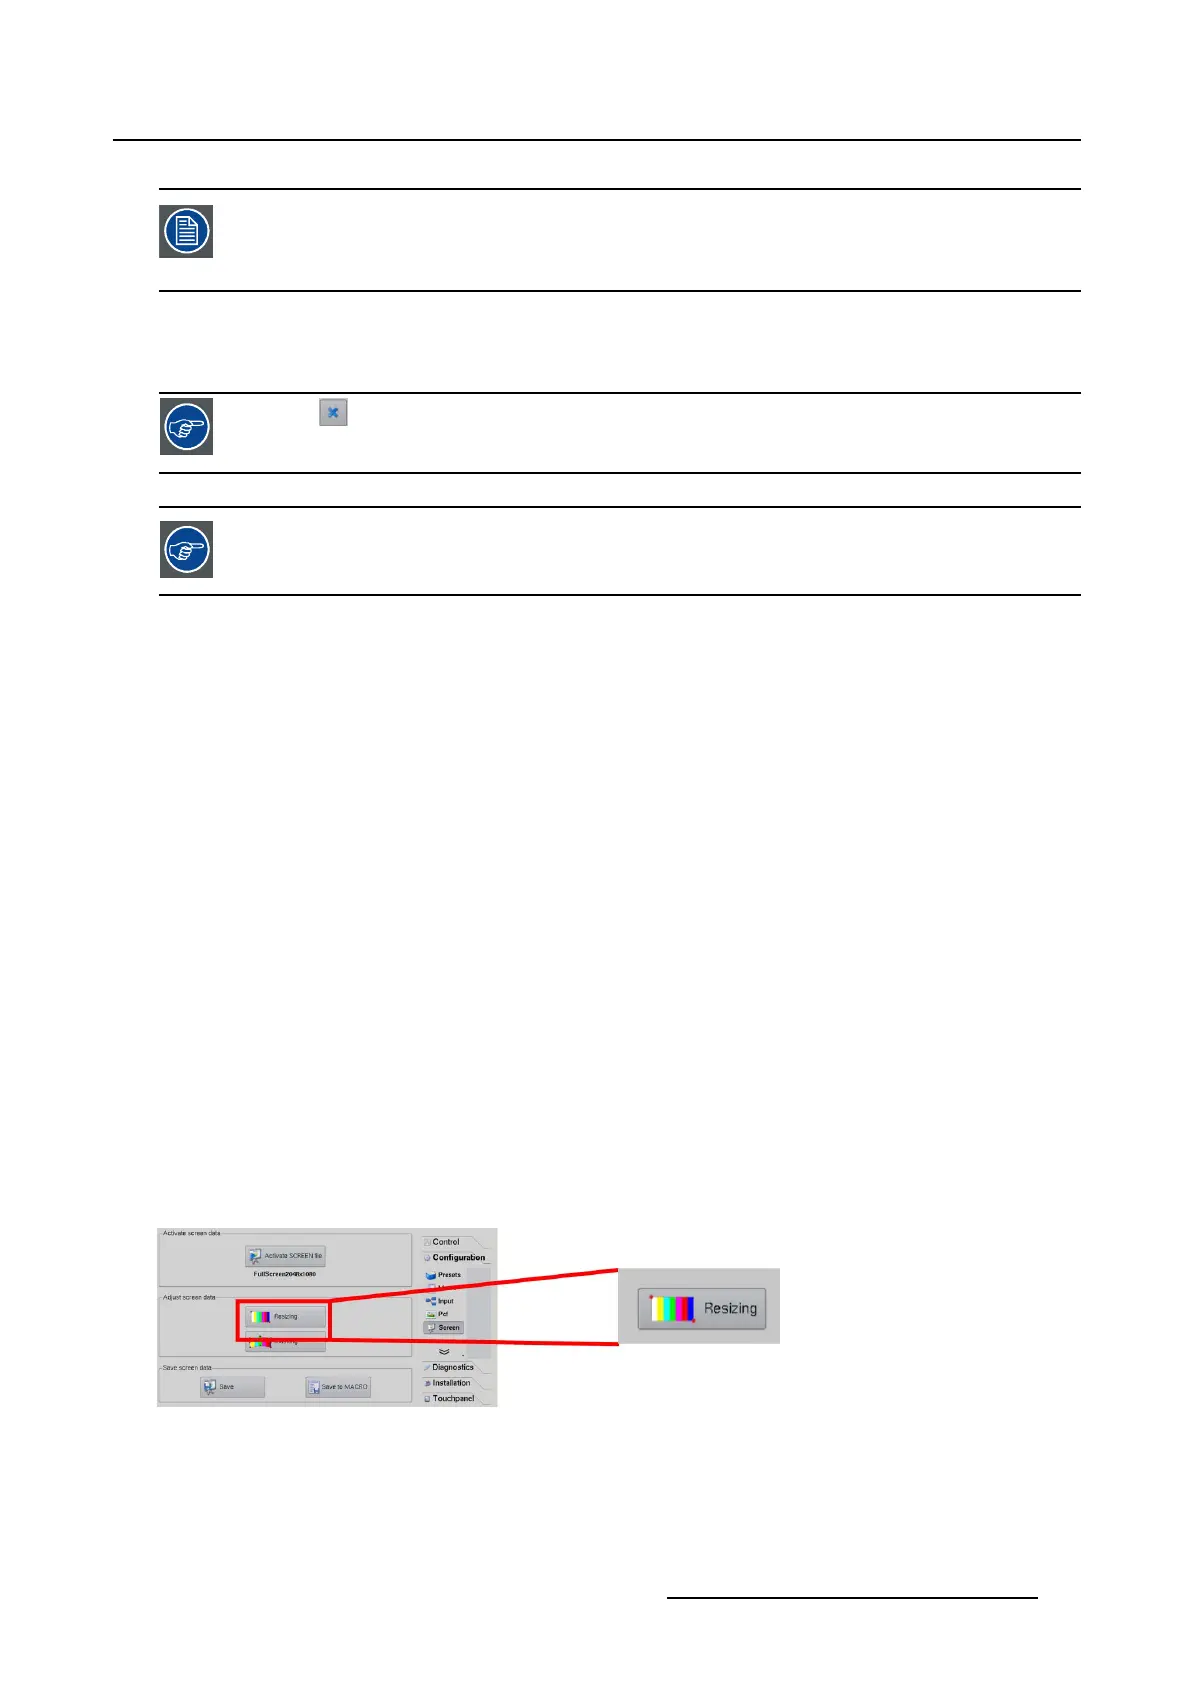
1. While in Configuration,tiponSCREEN.
The Screen overview is displayed.
2. Tip on Resizing. (image 3-21)
The Resizing window opens. (image 3-22)
3. As it is preferable to resize on a test pattern rather then on the normal image, sel
ect a pattern by tipping
on one of the pattern short cuts. (image 3-23)
The following patterns can be selected:
- full white
- RGB 12 bit alignment pattern
- Framing uncorrected pattern
- Focus green pattern
4. Select a red button by tipping on it. To select both buttons together, tip first on the shift key of the virtual
keyboard and then select the second button. (image 3-24)
Note: Shift key remains pressed until it is tipped again.
A selected button becomes clear red.
5. Move the selected button by tipping on the arrow keys on the keypad interface.
Note: The representation on the interface is not an exact representation of the resizing on the screen.
Therefor, always look to the screen to see the exact resizing.
6. When finished, tip Close to return to the Screen overview menu.
Image 3-21
R59770488 COMMUNICATOR TOUCH PANEL 06/06/2012 51
 Loading...