3. On the Tab Selection screen of the Control Panel, press ◀ or ▶ to select the Settings/Adj. tab ( ).
Note
• If the Tab Selection screen is not displayed, press the Menu button.
4. Press the OK button.
The Set./Adj. Menu is displayed.
5. Press ▲ or ▼ to select Maintenance, and then press the OK button.
6. Press ▲ or ▼ to select Replace P.head, and then press the OK button.
7. Press ▲ or ▼ to select the Printhead for replacement.
Select Printhead L when replacing the left printhead, Printhead R when replacing the right printhead, and L & R
Printheads when replacing both. Make sure your selection is correct.
8. Press the OK button.
Ink is now filled.
After about three minutes, a message is shown on the Display Screen instructing you to open the Top Cover.
Replace the Printhead
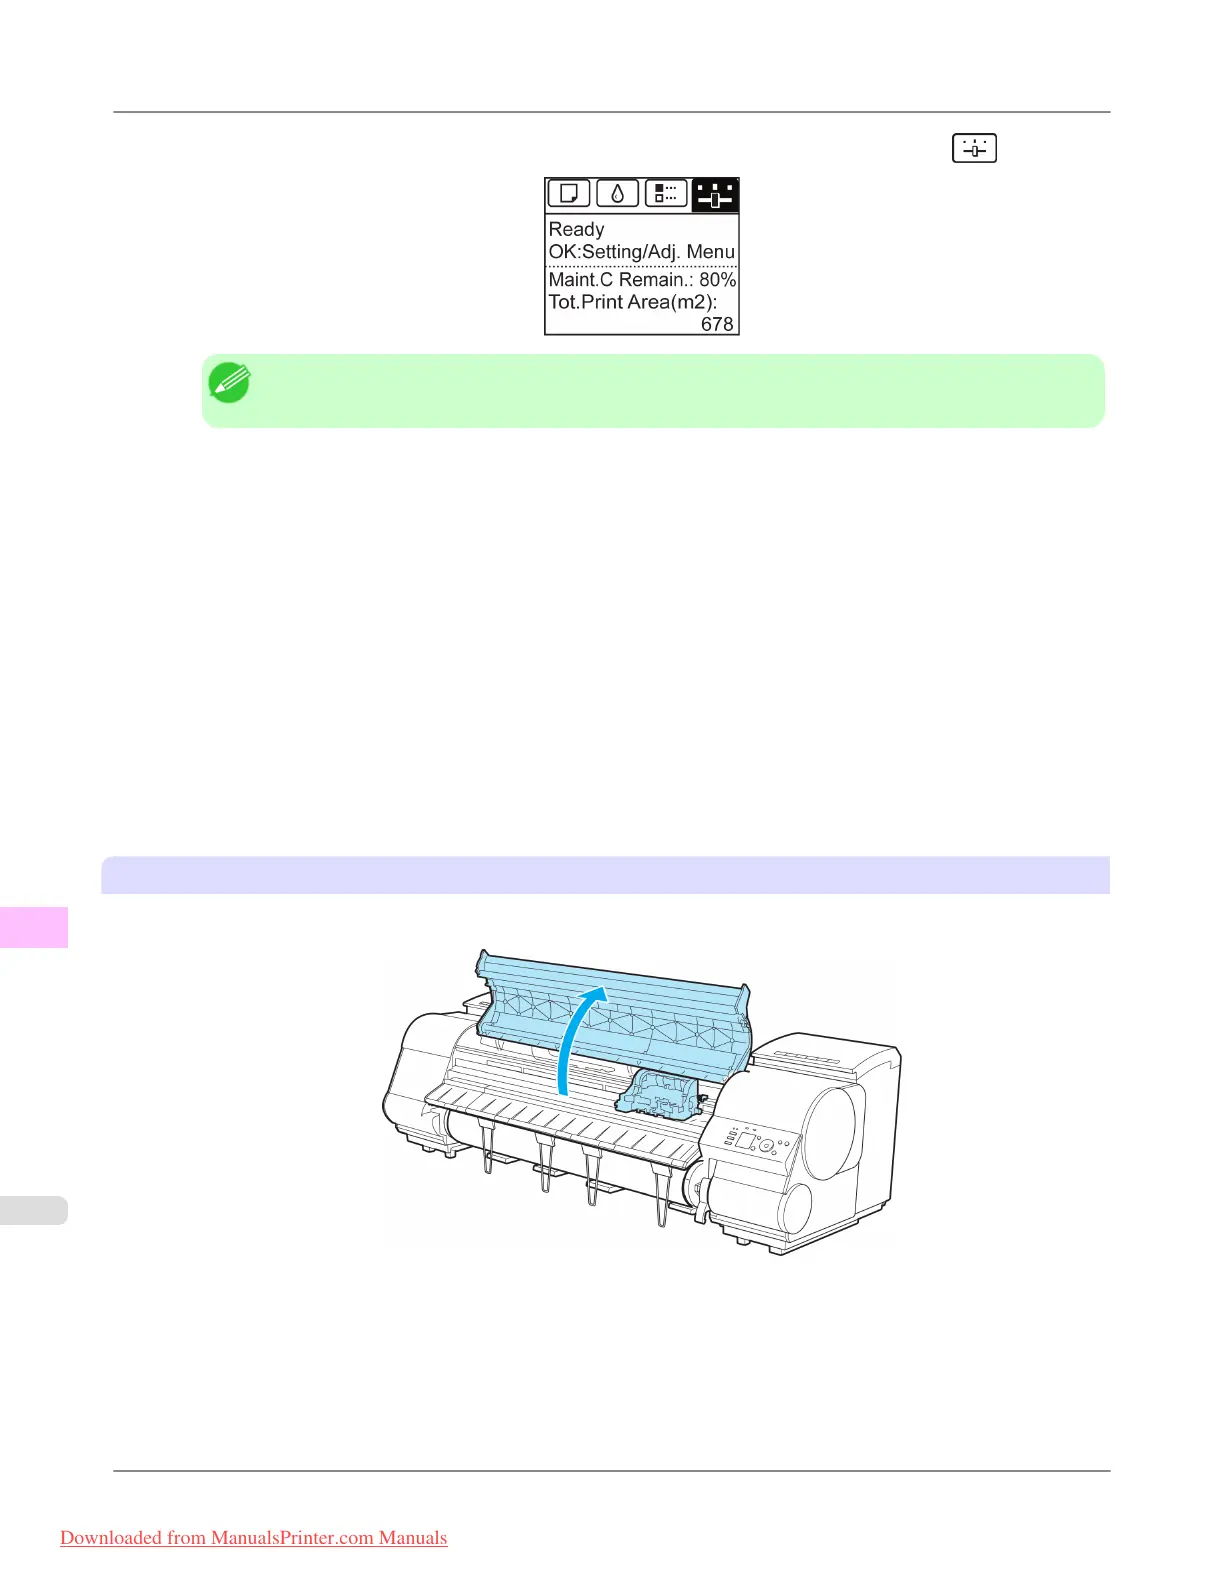
1. Open the Top Cover.
Instructions are now shown on the Display Screen regarding head replacement.
Maintenance
>
Printheads
>
Replacing the Printhead iPF8300
11
1002
Downloaded from ManualsPrinter.com Manuals