• Loading Sheets in the Printer →P.802
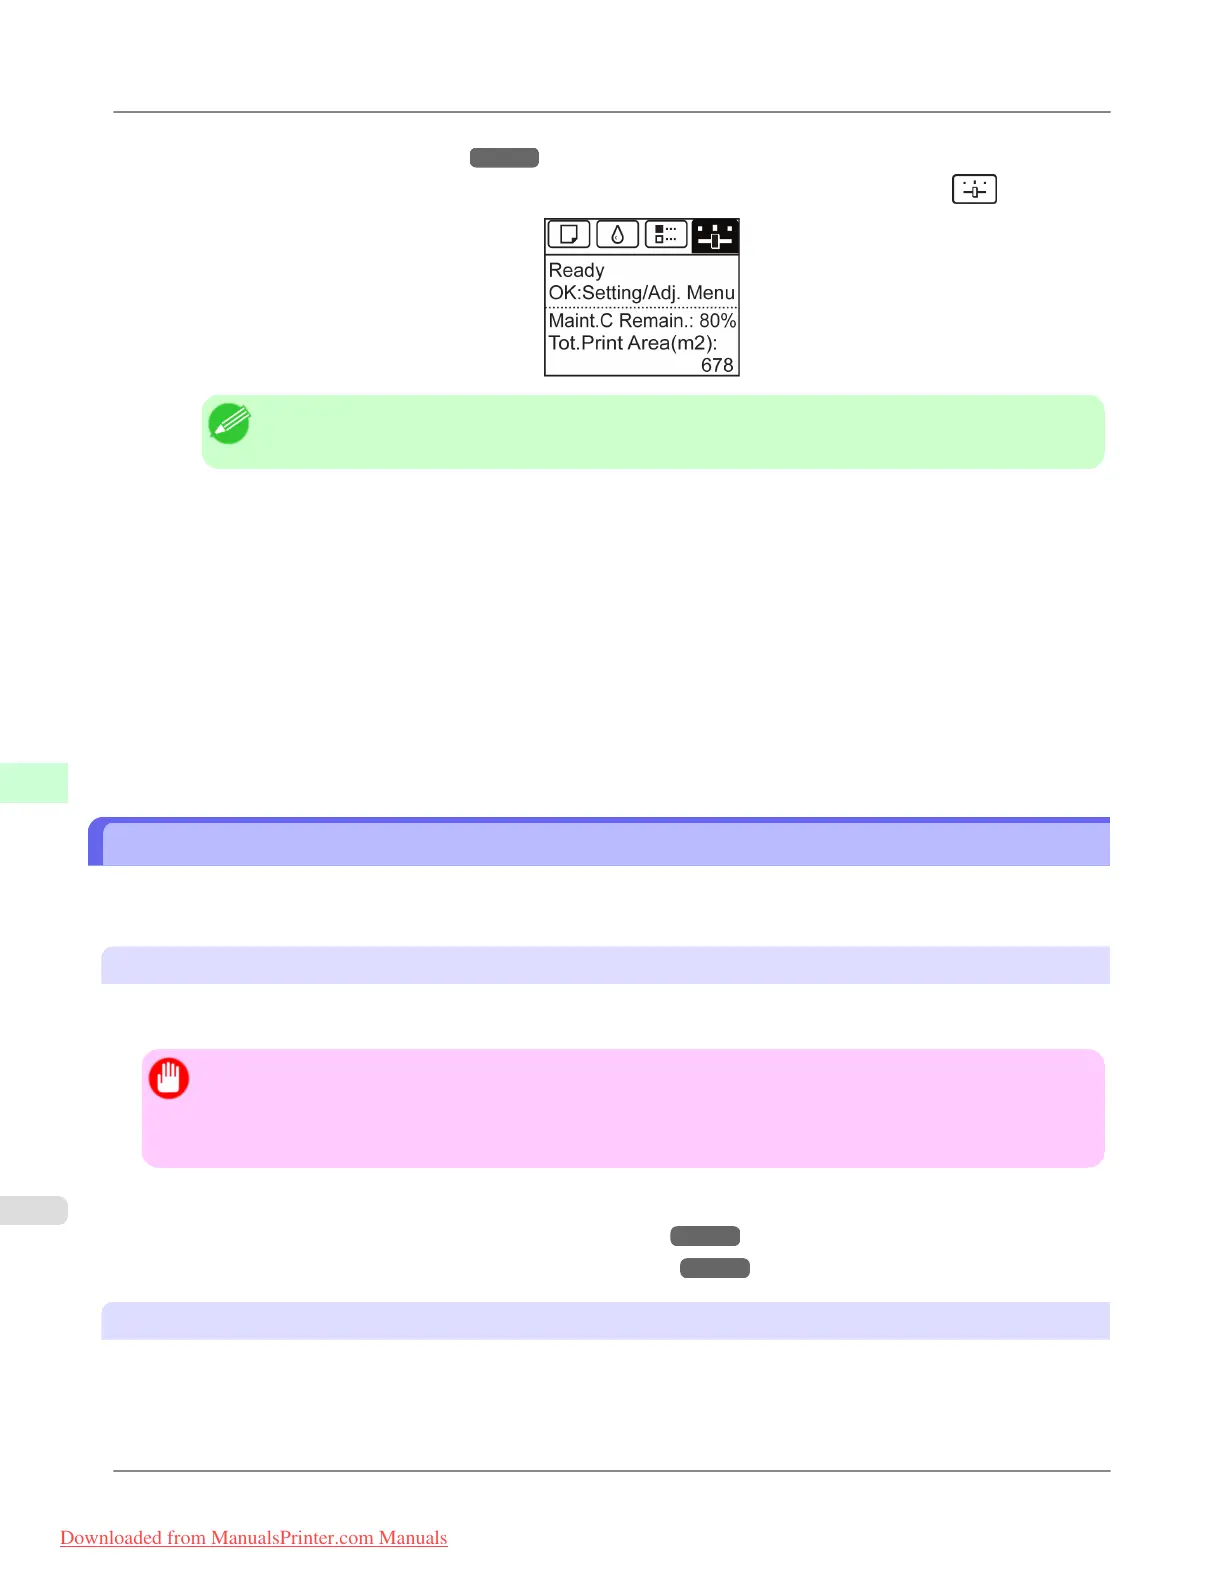
2. On the Tab Selection screen of the Control Panel, press ◀ or ▶ to select the Settings/Adj. tab (
).
Note
• If the Tab Selection screen is not displayed, press the Menu button.
3. Press the OK button.
The Set./Adj. Menu is displayed.
4. Press ▲ or ▼ to select Adjust Printer, and then press the OK button.
5. Press ▲ or ▼ to select Calibration, and then press the OK button.
6. Press ▲ or ▼ to select Auto Adjust, and then press the OK button.
The printer now measures environmental conditions, checks the paper, and prints a test pattern for color calibration.
The printer automatically reads the test pattern and sets the adjustment value.
Printing in Ideal Colors for Light in the Viewing Environment
You can print in the colors that look best when viewed under the light where the printed image will be displayed.
There are two ways to adjust the color tone for the ambient light, as follows.
By selecting color tones on Chart before printing
On the printed Chart, note the number of the set of colors with the desired color tone and enter this number in the printer
driver before printing.
Important
• This function is only supported in Windows and Mac OS X 10.4 or later.
• The colors in this function may differ slightly depending on the system software used (Windows 32/64 bit or
Macintosh).
For instructions on selecting color tones on Chart before printing, refer to the following topic:
• Selecting Color Tones on Charts Before Printing (Windows) →P.857
• Selecting Color Tones on Charts Before Printing (Mac OS X) →P.861
Printing in Colors Matching the Measured Ambient Light
Measure the light level in the viewing environment and enter the results in the printer driver before printing.
Adjustments for Better Print Quality
>
Color adjustment
>
Printing in Ideal Colors for Light in the Viewing Environment iPF8300
8
856
Downloaded from ManualsPrinter.com Manuals