24
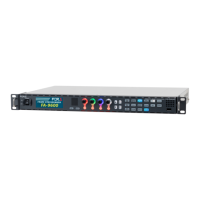
3. Operation
3-1. Front Panel Operation
◆ Lock Button
All front panel operations are disabled when the LOCK button is lit.
To lock the front panel, press the LOCK button. The button light will turn on.
To unlock the front panel, hold down the LOCK button. The button will turn off.
◆ Selecting a Menu
Both Video and Audio menus are assigned to some menu buttons.
The VIDEO/AUDIO button allows you to select Video or Audio menus and lights to
indicate which menu is enabled. The blue button light indicates Video menus (upper
menu labels) are enabled, and the orange light indicates Audio menus (bottom menu
labels) are enabled. Press the button to change the light color.
Menu buttons
◆ Arrow buttons
Moving between menu pages
Use up/down double-arrow buttons to move between menu pages.
Moving between menu items
Use up/down single-arrow buttons to move between menu items
in menu pages. The buttons are lit if available and unlit if unavailable.
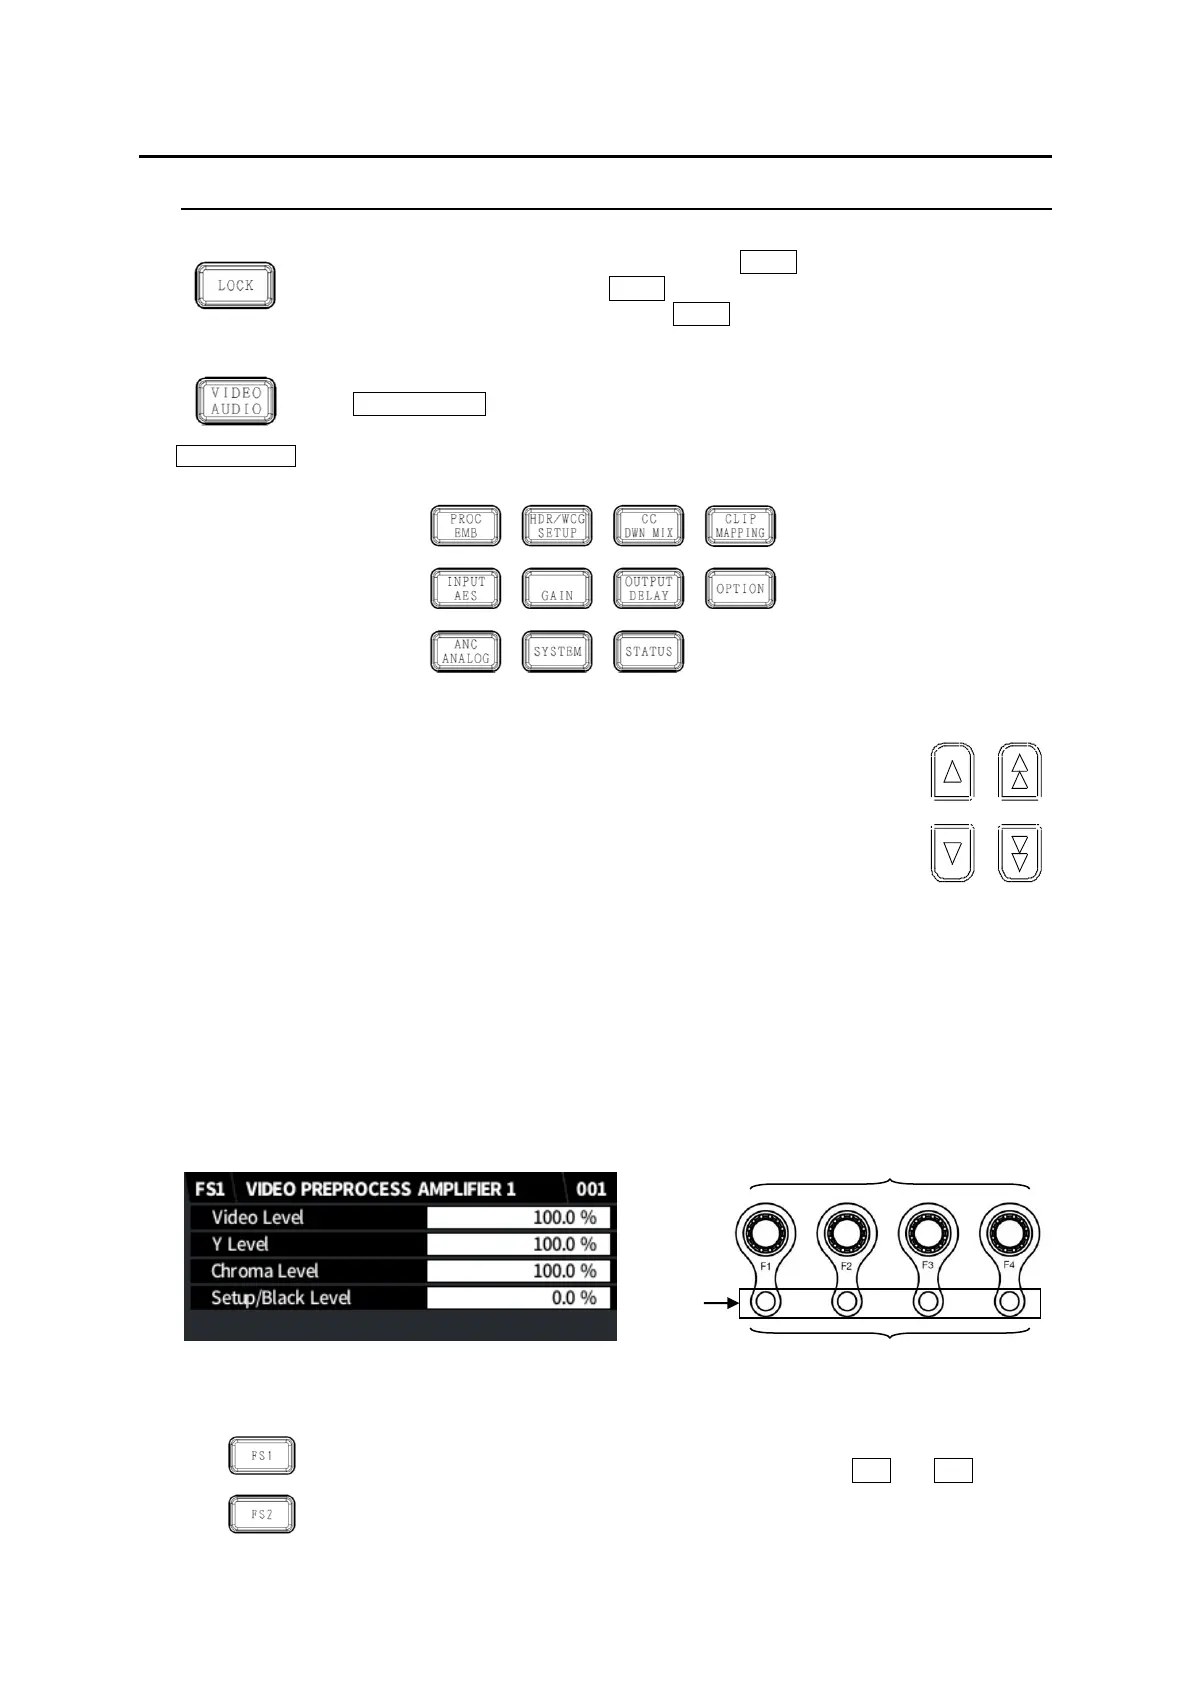
◆ Setting Parameters
Pressing a menu button displays the corresponding menu as shown below on the menu
display and control knob (F1-F4) outlines will light if the buttons are available for menu setting.
Lighting orange indicates that the selected parameter is set to default.
To change parameter values, press the corresponding function buttons. (A buzzer sound will be
heard if the setting value exceeds the allowable parameter range.)
To set a parameter to its default value, press the corresponding UNITY button below F1-F4. (In
such cases, repressing the UNITY button reverts it to the previous state.)
LCD display
◆ FS1/FS2 Selection Buttons
“FS1” and “FS2” in front of menu titles indicate that the menu can be set
independently between FS1 and FS2. Select an FS using the FS1 and FS2 buttons.
In 3D-LUT mode, only FS1 is available.
 Loading...