Order sorter section
1/3
2. Replacement and adjustment of parts
27440-5
27440-5
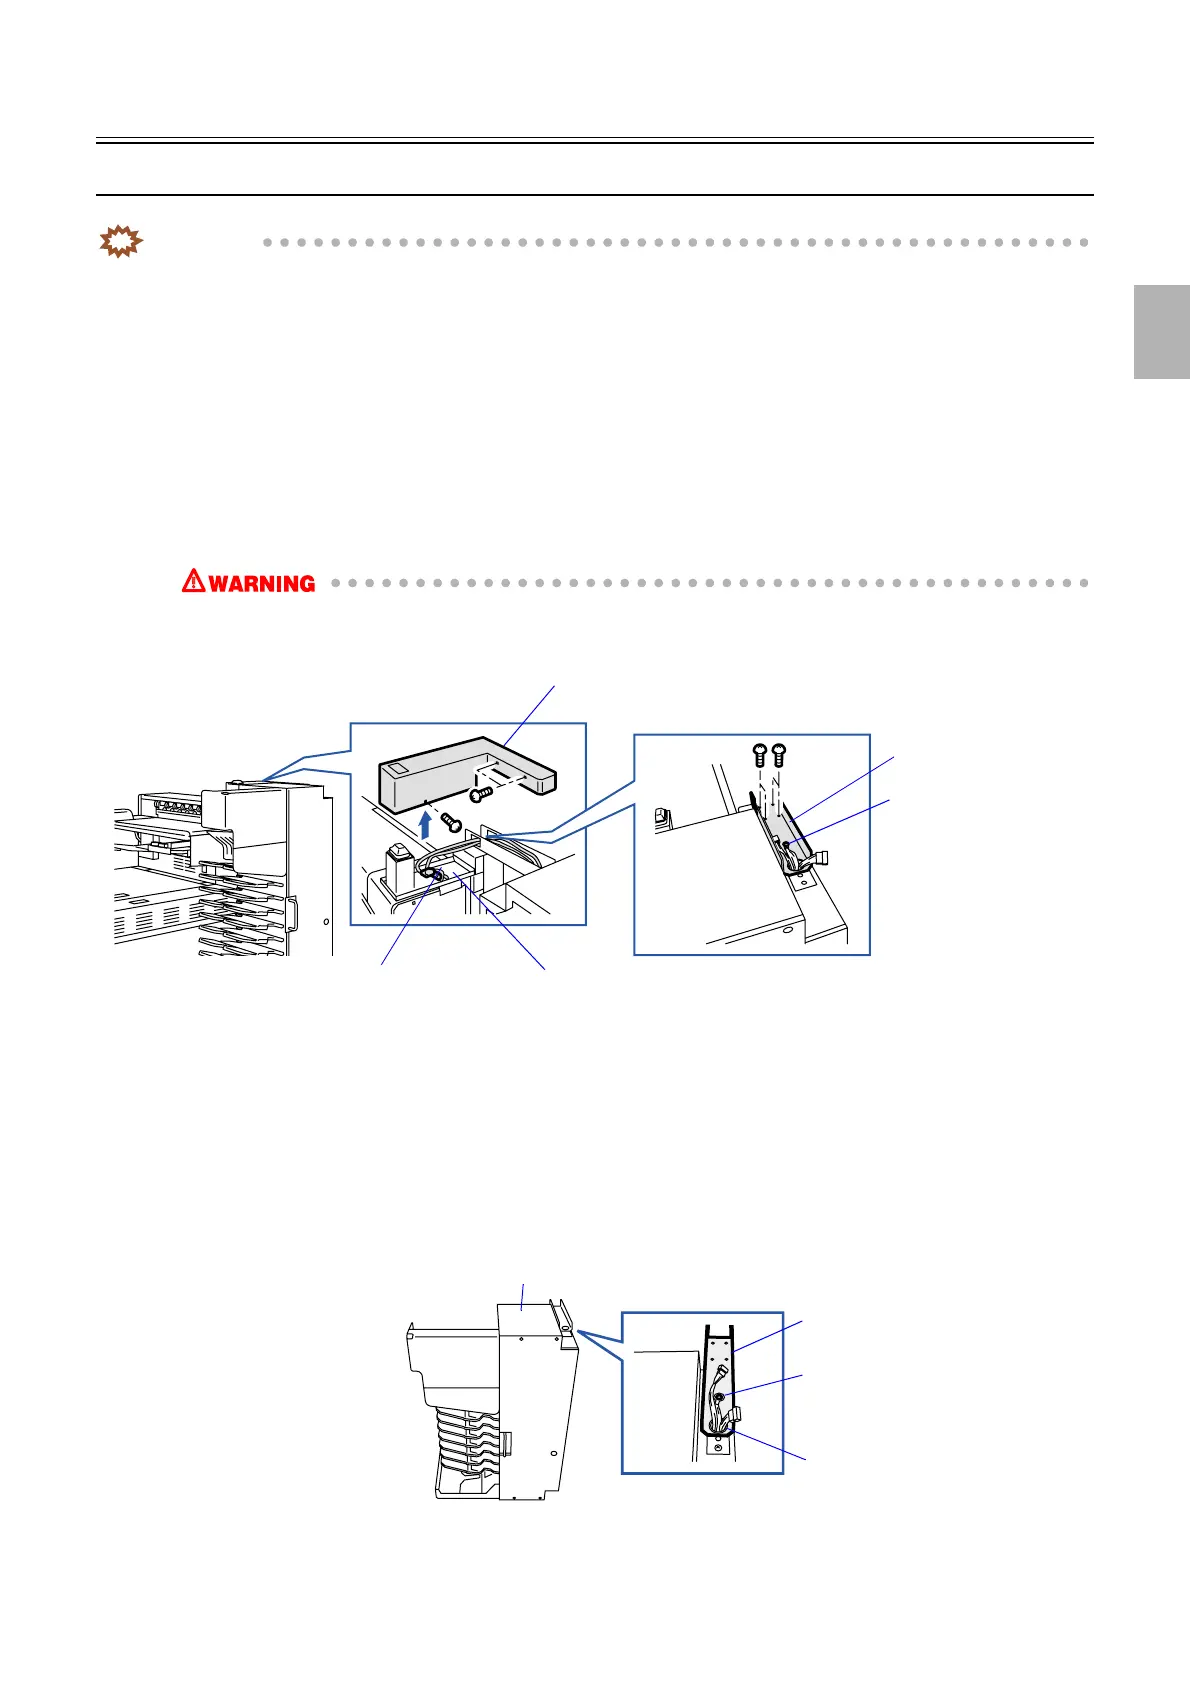
Removing the print sorter unit [print sorter unit (10-inch type)]
IMPORTANT
• Be careful not to drop the print sorter unit.
• Do not perform this work alone.
!
!!
! Procedure
1. Remove the connector cover. (three screws)
2. Disconnect the connector(s).
J/P713: Relay connector
J/P820: Relay connector
Grounding wire (one screw)
3. Remove the angle bracket. (two screws)
• When removing the angle bracket, support the print sorter unit not to fall.
• Since the print sorter unit is very heavy, when you remove this unit, please work carefully.
4. Remove the print sorter unit.
!
!!
! Precautions when reattaching
1. Insert the angle bracket to the print sorter unit.
Pass the ground wire and connector from the print sorter unit through the hole on the angle bracket.
2. Fix the ground wire. (one screw)
Connector cover
J/P820
J/P713
Angle bracket
Ground wire
G085439
Angle bracket
Print sorter unit
Hole
Ground wire
G081210
Distributed by: minilablaser.com