Printer Mechanical Adjustment
1/4
3. Mode
36070
36070
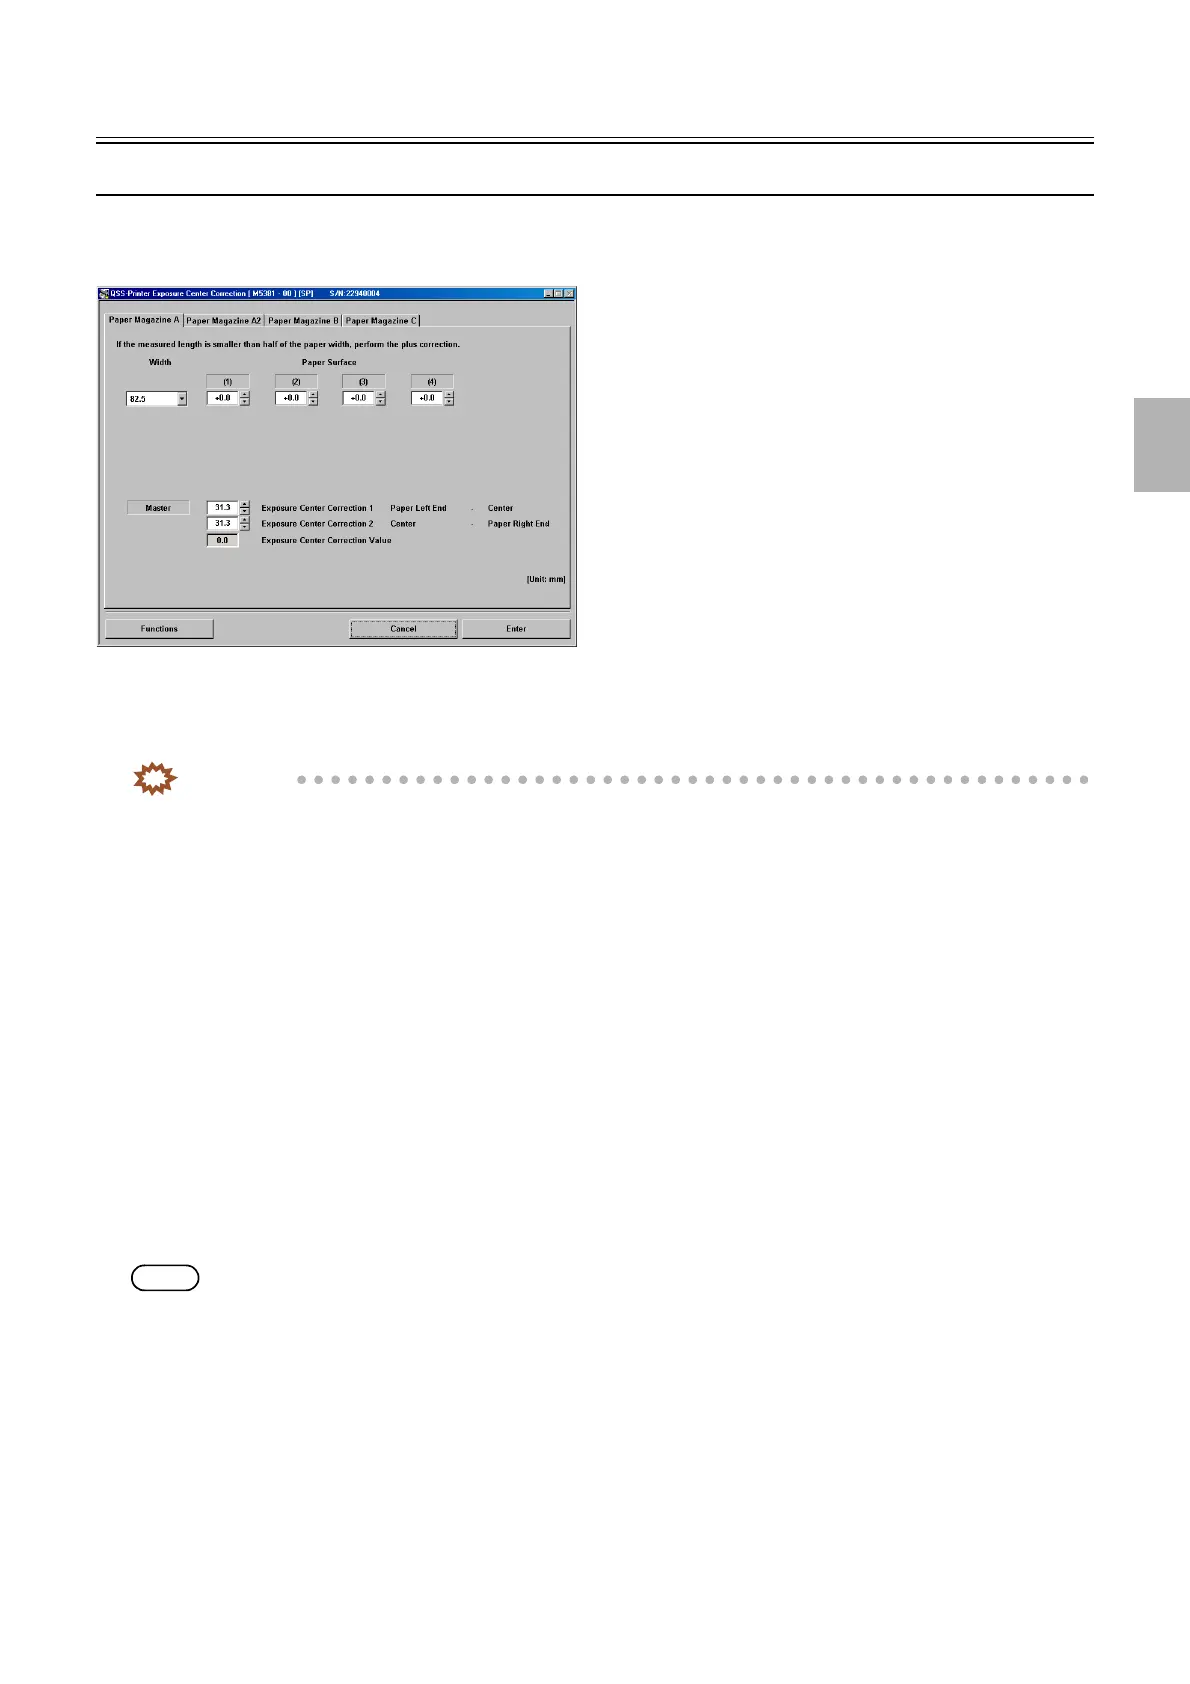
Exposure Center Correction
Bringing up the display
Maintenance → Extension → Maintenance → Various Adjustment → Printer Mechanical Adjustment → Exposure Center Correction
!
!!
! Explanation
The exposure center correction can be carried out for each paper width and surface.
IMPORTANT
• Carry out the Master (Exposure Center Correction Value) and Exposure Center Correction (for each Paper Magazine)
for each paper magazine A/A2/B/C.
!
!!
! Exposure Center Correction (for each Paper Magazine) (Initial value: 0.0 mm) (Input range: from −2.0
to +2.0 mm)
The reference line is corrected to be in the center on the test paper for each paper magazine (for each paper width and surface).
!
!!
! Master (Exposure Center Correction 1) Paper Left End − Center (Initial value: 127.0 mm) (Input range:
from 31.3 mm to 162.4 mm)
Enter the length from the left end to the center line on the leading end of the test print.
!
!!
! Master (Exposure Center Correction 2) Center − Paper Right End (Initial value: 0.0 mm) (Input range:
from 31.3 mm to 162.4 mm)
Enter the length from the center line to the right end on the leading end of the test print.
!
!!
! Master (Exposure Center Correction Value)
The exposure center correction value which is calculated from the entered values of master (Exposure Center Correction Value 1) and
(Exposure Center Correction Value 2) is displayed.
NOTE
• When the correction value is over ±9.9 mm, the correction value display part turns red and it cannot be registered.
!
!!
! Functions
!
!!
! Test print (Paper Magazine A/A2/B/C) without Correction Value
Invalidate the correction values of Master (Exposure Center Correction Value) and Exposure Center Correction (for each Paper
Magazine) to make a test print.
!
!!
! Test print confirmation (Paper Magazine A/A2/B/C) with Master Value
Validate Master (Exposure Center Correction Value) and make a test print.
M5381-00
Distributed by: minilablaser.com