2/4
3. Mode
36070
36070
Printer Mechanical Adjustment
!
!!
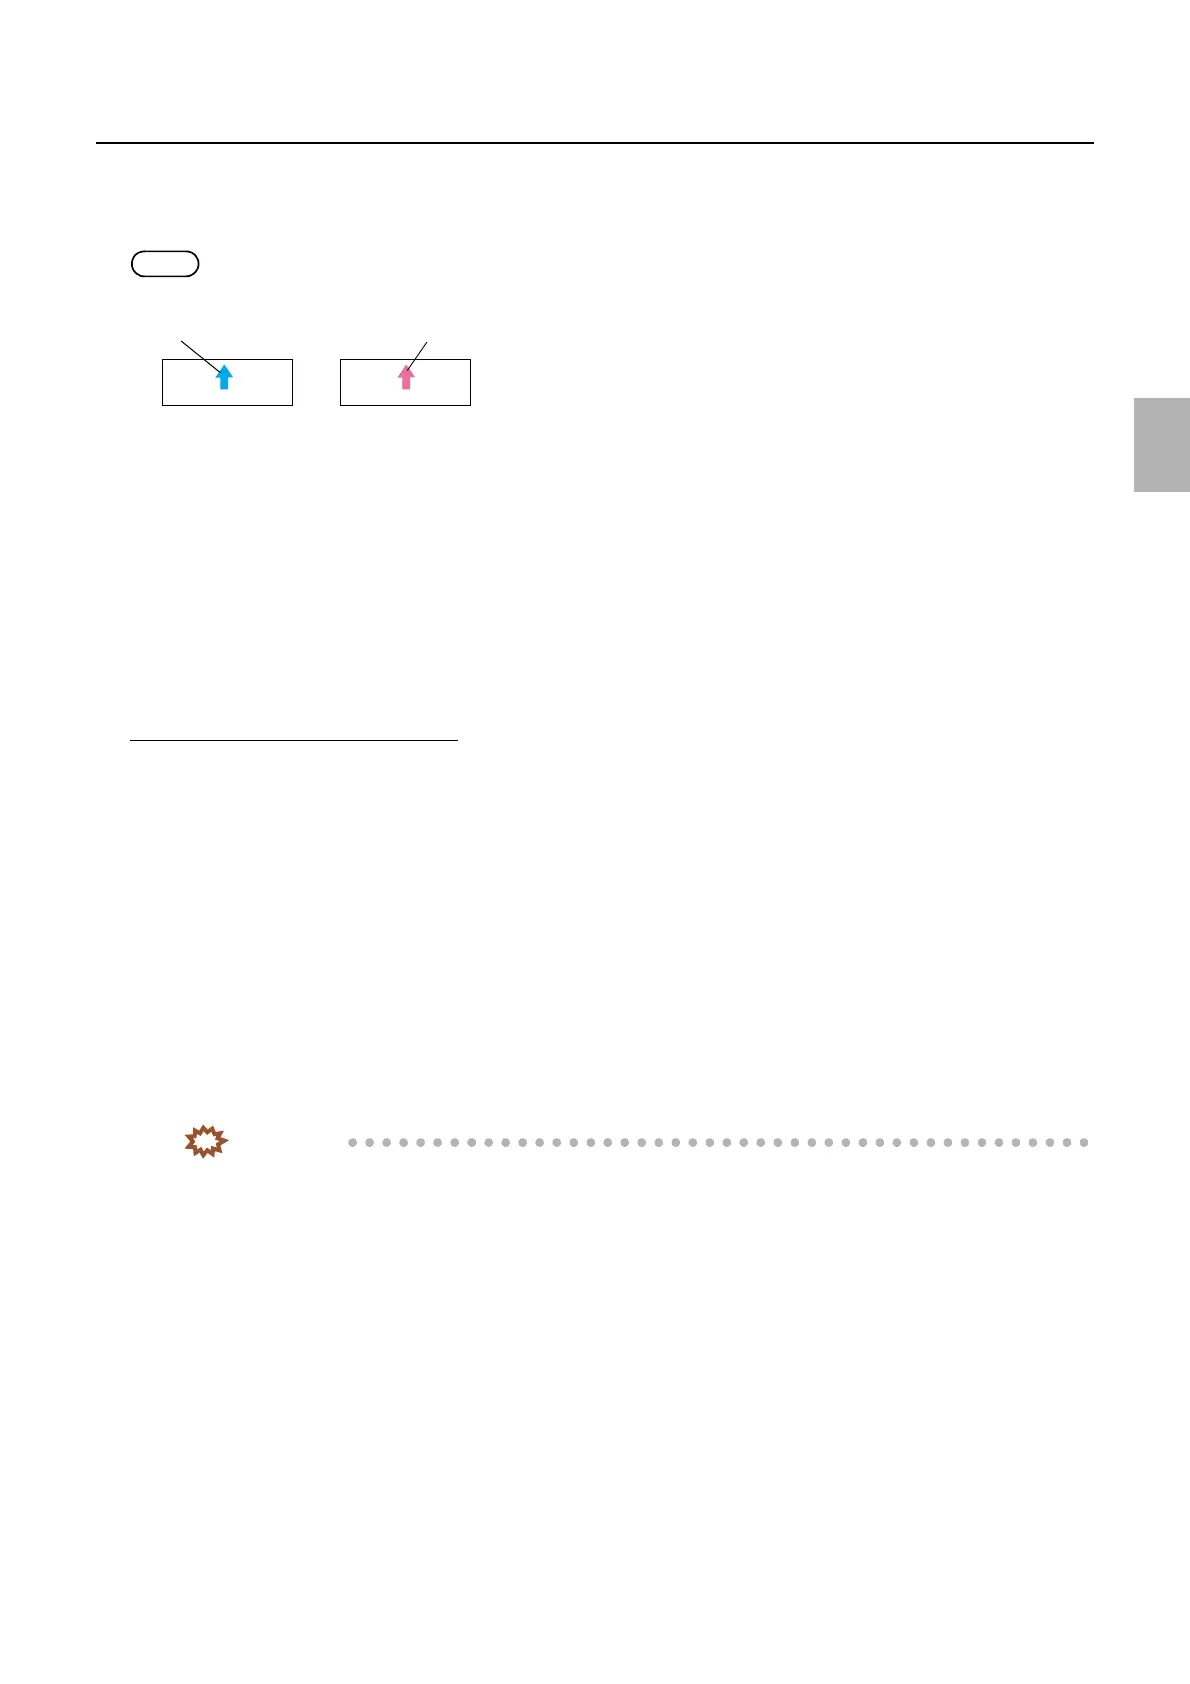
! Test Print Confirmation (Paper Magazine A/A2/B/C) with Master and Paper Magazine Values
Validate the correction values of Master (Exposure Center Correction Value) and Exposure Center Correction (for each Paper
Magazine) to make a test print.
NOTE
• A magenta arrow is shown on the Test Print Confirmation print.
• When making test prints in Functions, a print with the advance length of 100 mm is made and the paper width 〈A ####(#)〉 is
printed as the CVP imprinting.
!
!!
! Loading (Paper Magazine A/A2/B/C)
The paper is loaded.
!
!!
! Rewind
The paper which is being loaded is rewound.
!
!!
! Adjusting procedure
Exposure Center Correction (Master)
1. Check that the zigzagging adjustment of the exposure advance unit has been completed.
☞36080
2. Check that the zigzagging adjustment of the magazine mount has been completed.
☞22100
3. Check that Arm Unit 1 Zigzagging Correction has been completed.
☞36060
4. Check that Exposure Magnification Correction has been completed.
☞36020
5. Attach the paper magazine to carry out Master (Exposure Center Correction Value) to magazine mount
A/A2/B/C.
6. Select paper magazine A/A2/B/C.
7. Carry out Test Print without Correction Value of F: Functions.
IMPORTANT
• Make a test print with the maximum paper size which you use.
Test print
Test Print (Confirmation)
G066121
Distributed by: minilablaser.com