Printer Mechanical Adjustment
1/2
3. Mode
36020
36020
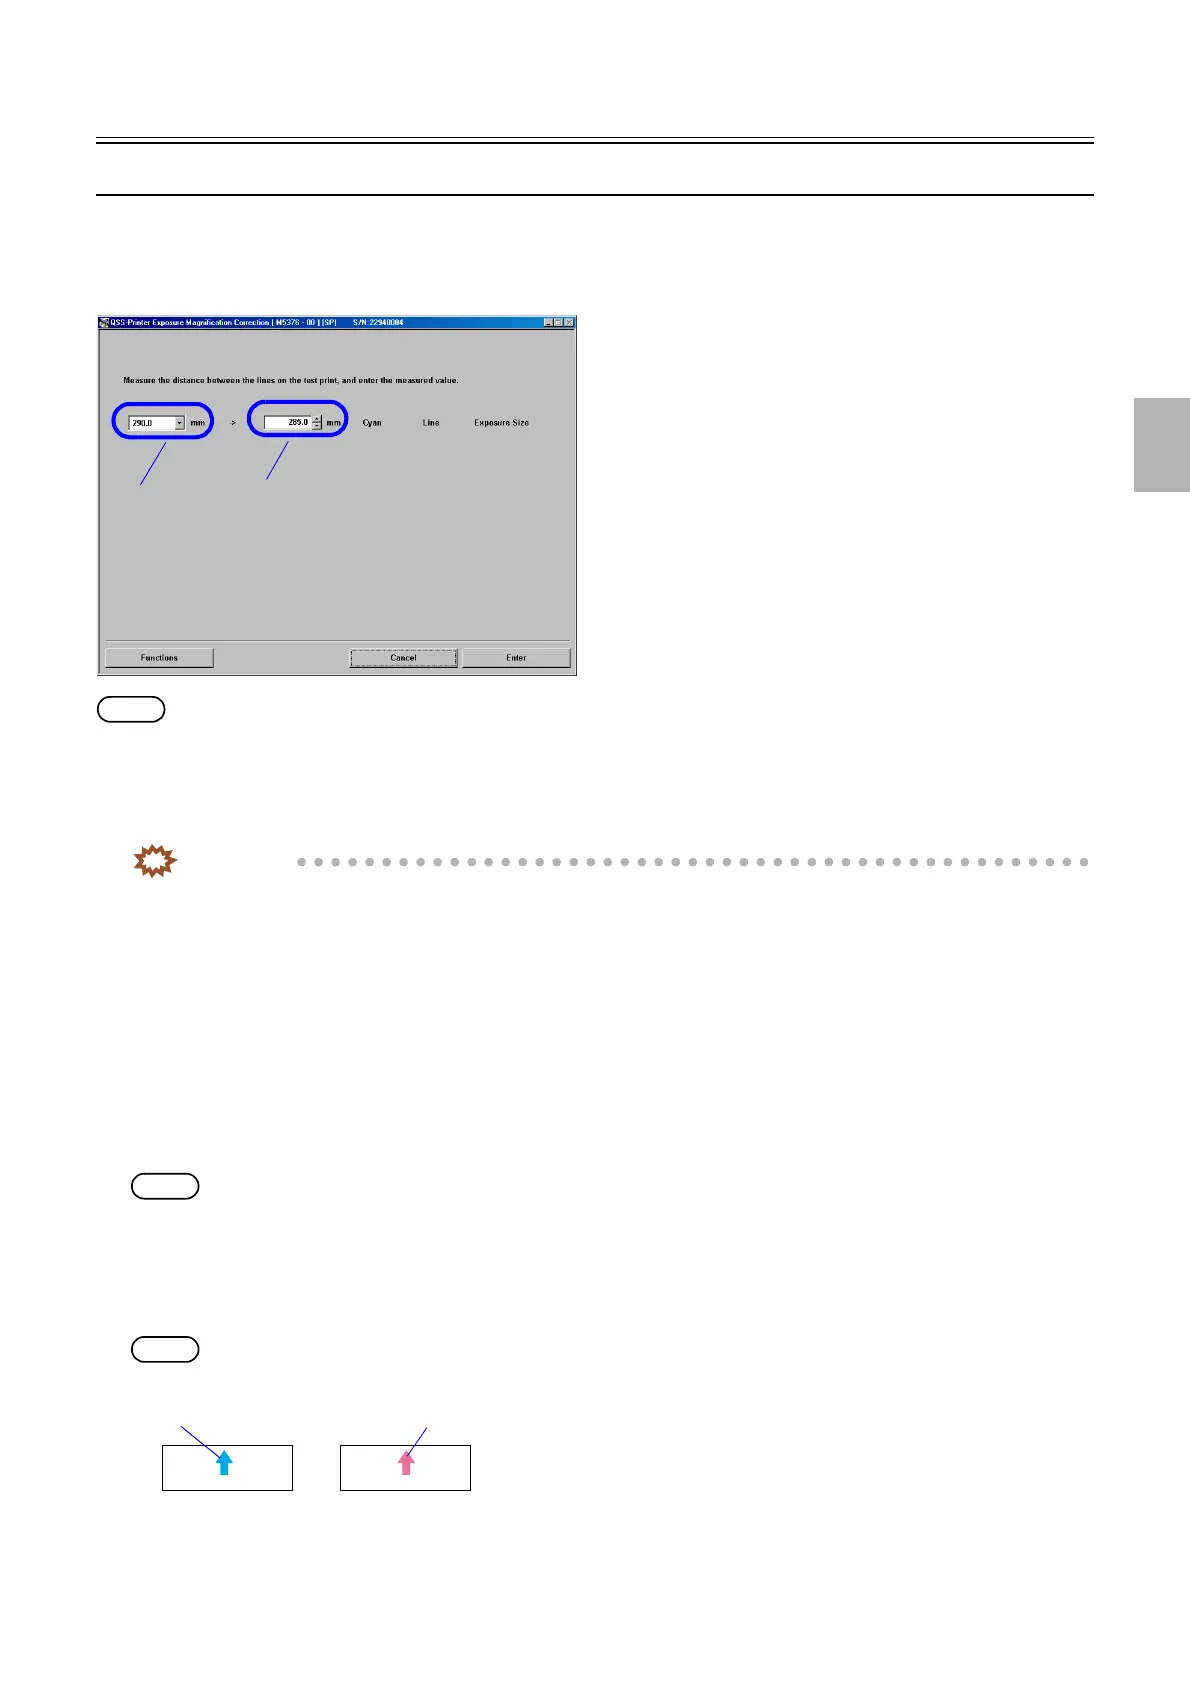
Exposure Magnification Correction
Bringing up the display
Maintenance: 2260 → Extension → Maintenance → Various Adjustment → Printer Mechanical Adjustment → Exposure Magnification
Correction
NOTE
• Enter the service personnel password (2260) to configure these settings.
!
!!
! Explanation
The image to be exposed can be expanded or reduced in the paper width direction.
IMPORTANT
• Perform Exposure Magnification Correction with any of paper magazine A, A2, B or C.
• When you do not have the paper of 178 mm width or more, make a test print with the maximum paper size which you
used, then measure the length between most outside lines of it.
!
!!
! Cyan Line Exposure Size (Initial value: 160.0 mm) (Input range: 65.0 to 295.0 mm)
The length of the test print image is measured, and then the actual measurement value can be entered.
!
!!
! Functions
!
!!
! Test Print (Paper Magazine A/A2/B/C)
A test print is made without any correction.
NOTE
• A piece of paper with the advance length 100 mm is printed.
• The paper width, [A ####(#)] is printed as the CVP imprinting.
!
!!
! Test print confirmation (Paper Magazine A/A2/B/C)
A test print is made using correction values.
NOTE
• A magenta arrow is shown on the Test Print Confirmation print.
• A piece of paper with the advance length 100 mm is printed.
• The print pattern of the test print made with Test Print (Confirmation) is as same as that made with Test Print but of which
color of the center line on the test prints differ. (Red)
A
B
M5376-00
Test print
Test Print (Confirmation)
G066121
Distributed by: minilablaser.com