2. Replacement and adjustment of parts
25650
2/2
25650
Paper supply unit
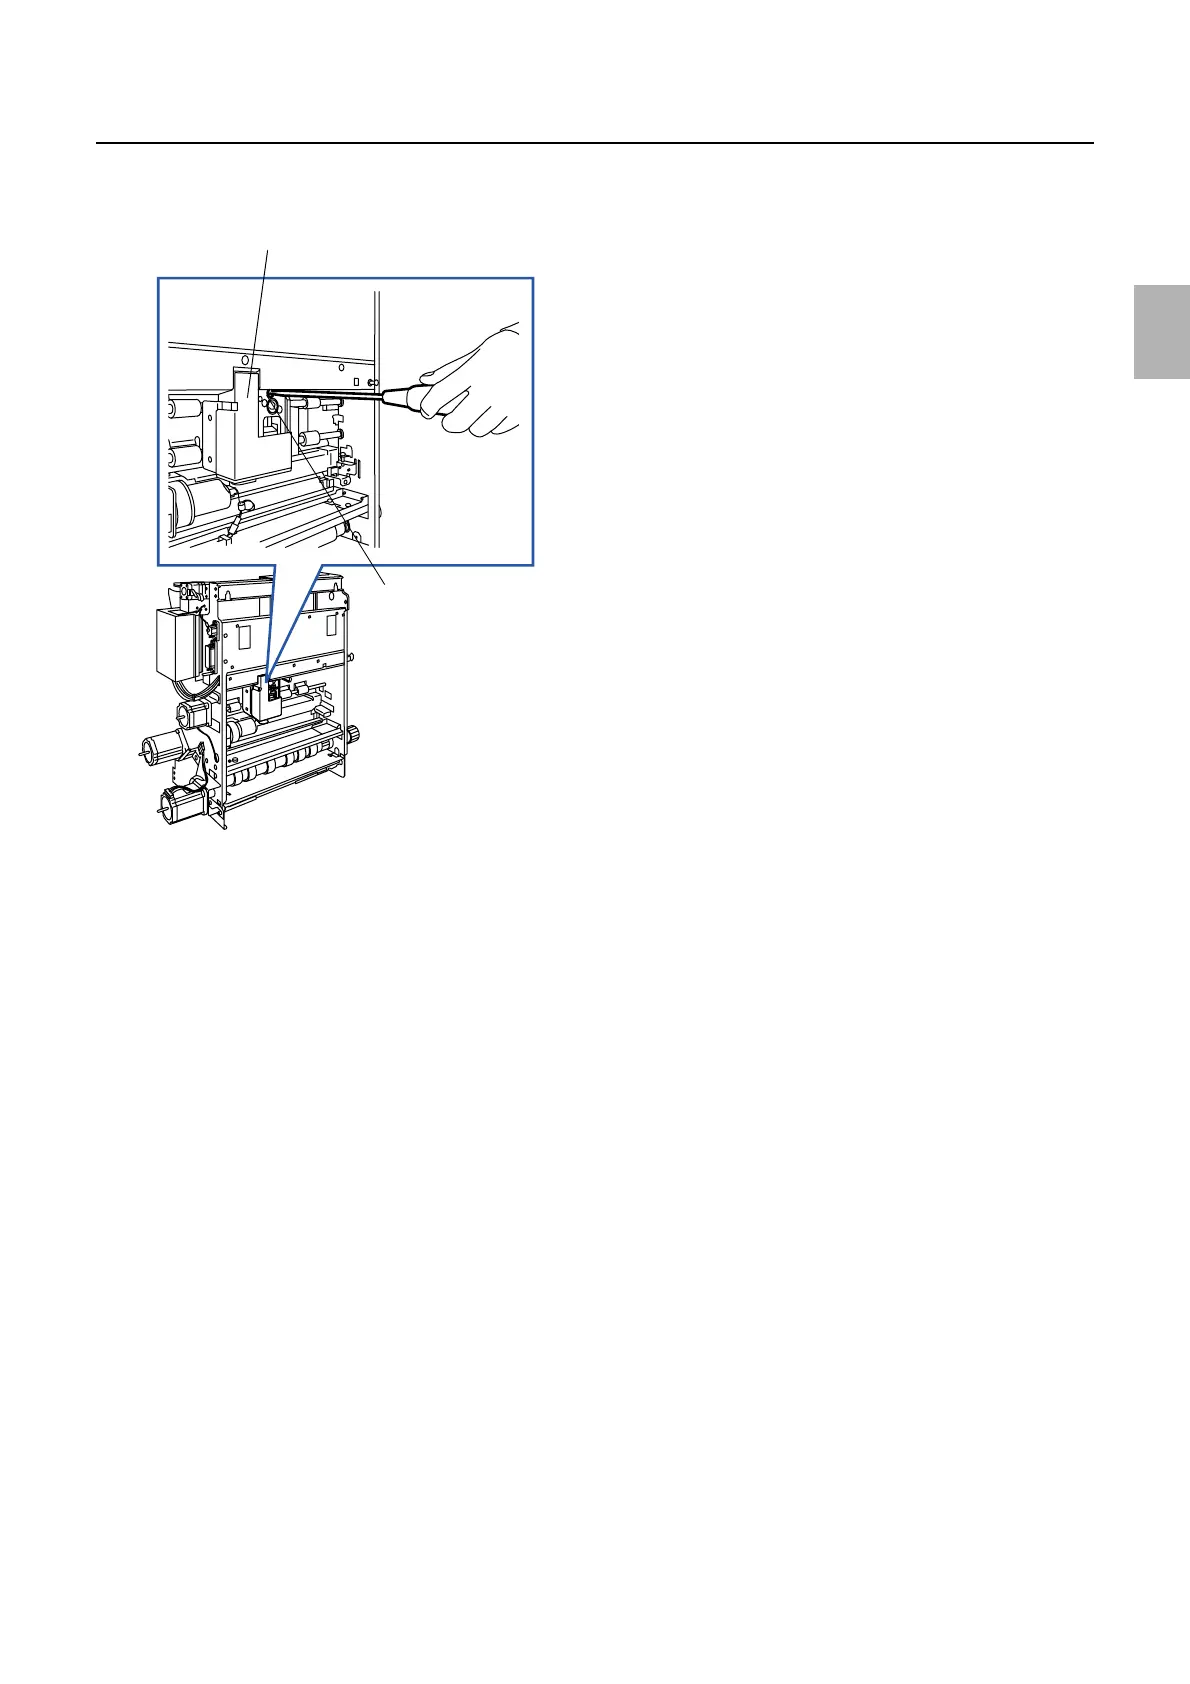
4. Adjust the correction value printing unit position by turning the adjusting screw according to the
thickness of the head adjusting jig.
5. Tighten the two screws of the correction value printing unit.
6. Make actual prints, then confirm the printing density of the CVP unit.
Correction value printing unit
Adjusting screw
G070035
Distributed by: minilablaser.com