Repair information 4-147
4024-XXX
7. Lift the HCF top door (E) and remove the shaft (C) from the hole in the frame assembly (B).
8. Remove the HCF top door spring L (F) from the slot in the frame assembly (B).
9. Remove the HCF top door assembly.
10. Remove the shaft (C).
11. Remove the top door spring R (D).
12. Remove the top door spring L (F).
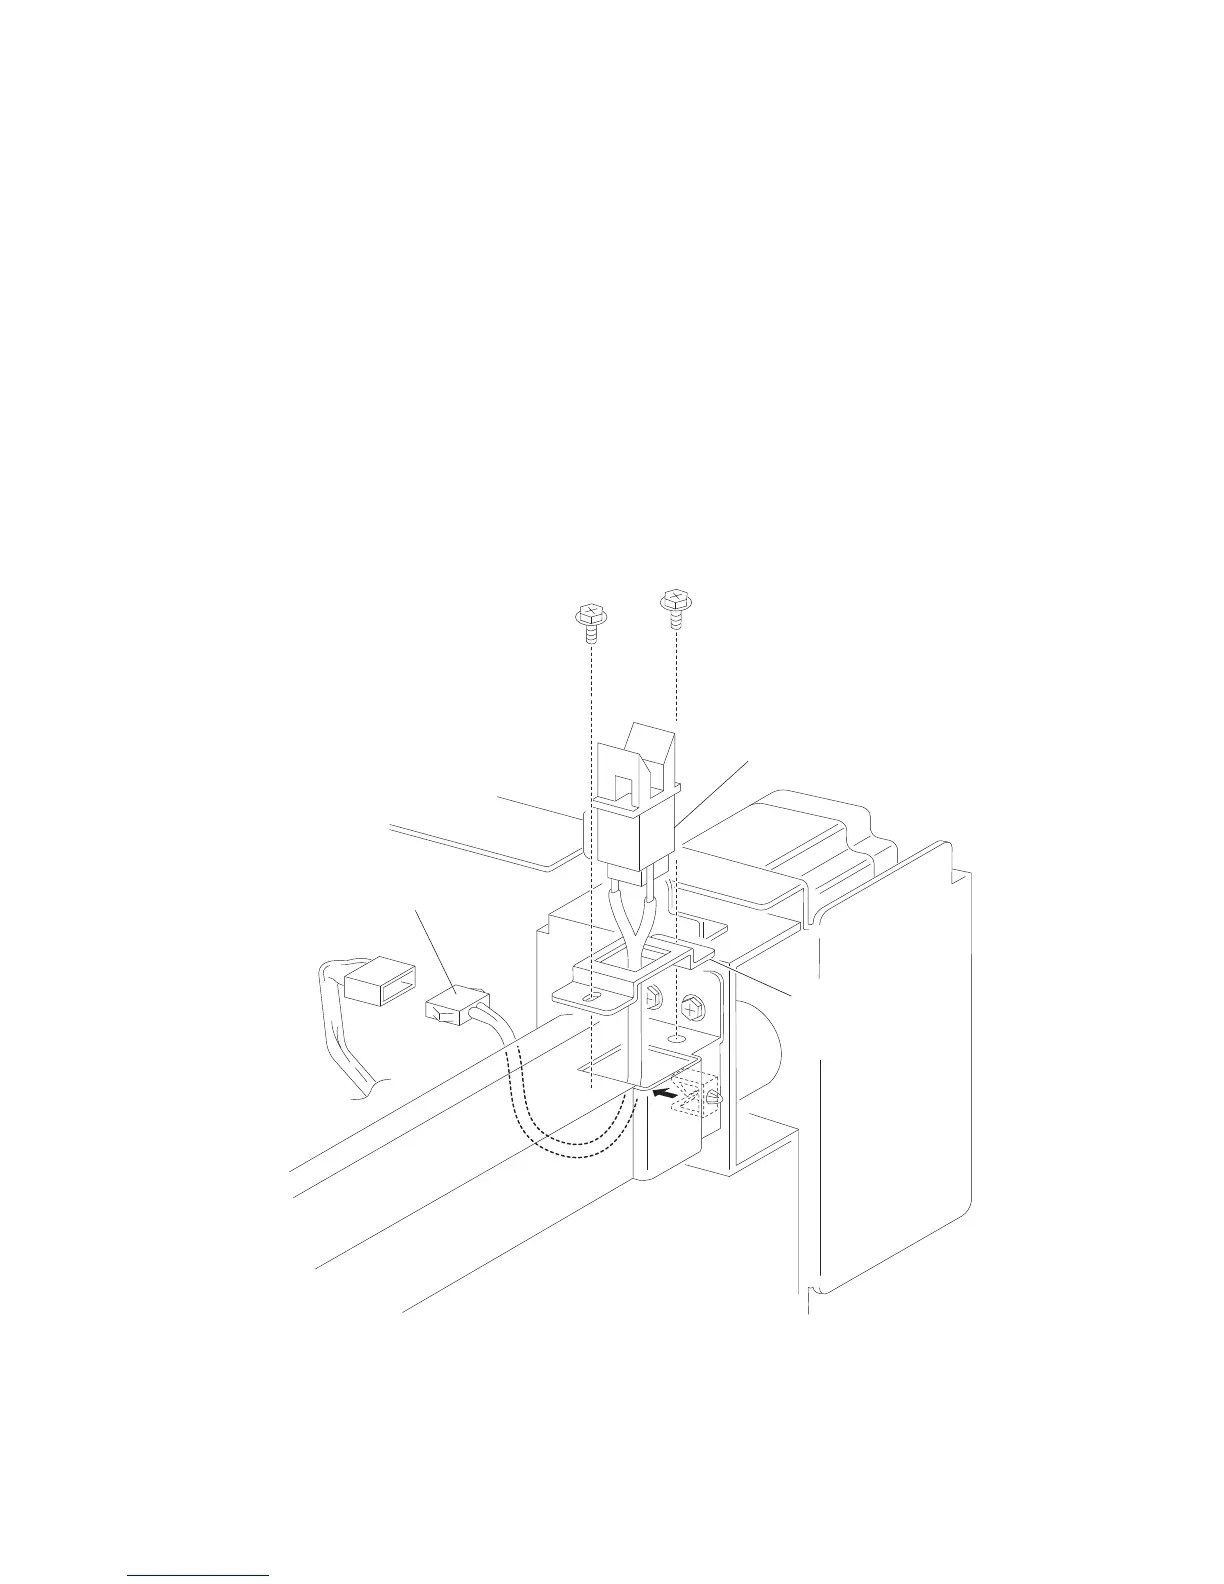
HCF switch (top door interlock) removal
1. Remove the HCF unit to the printer.
2. Remove the HCF right cover. See “HCF right cover removal” on page 4-120.
3. Open the HCF top door assembly.
4. Disconnect the connector from the switch (top door interlock) (A).
5. Remove the two screws securing the bracket (B) to the unit.
6. Remove the bracket (B).
7. Release the hooks securing the switch (top door interlock) (A) to the bracket (B).
8. Remove the switch (top door interlock) (A).