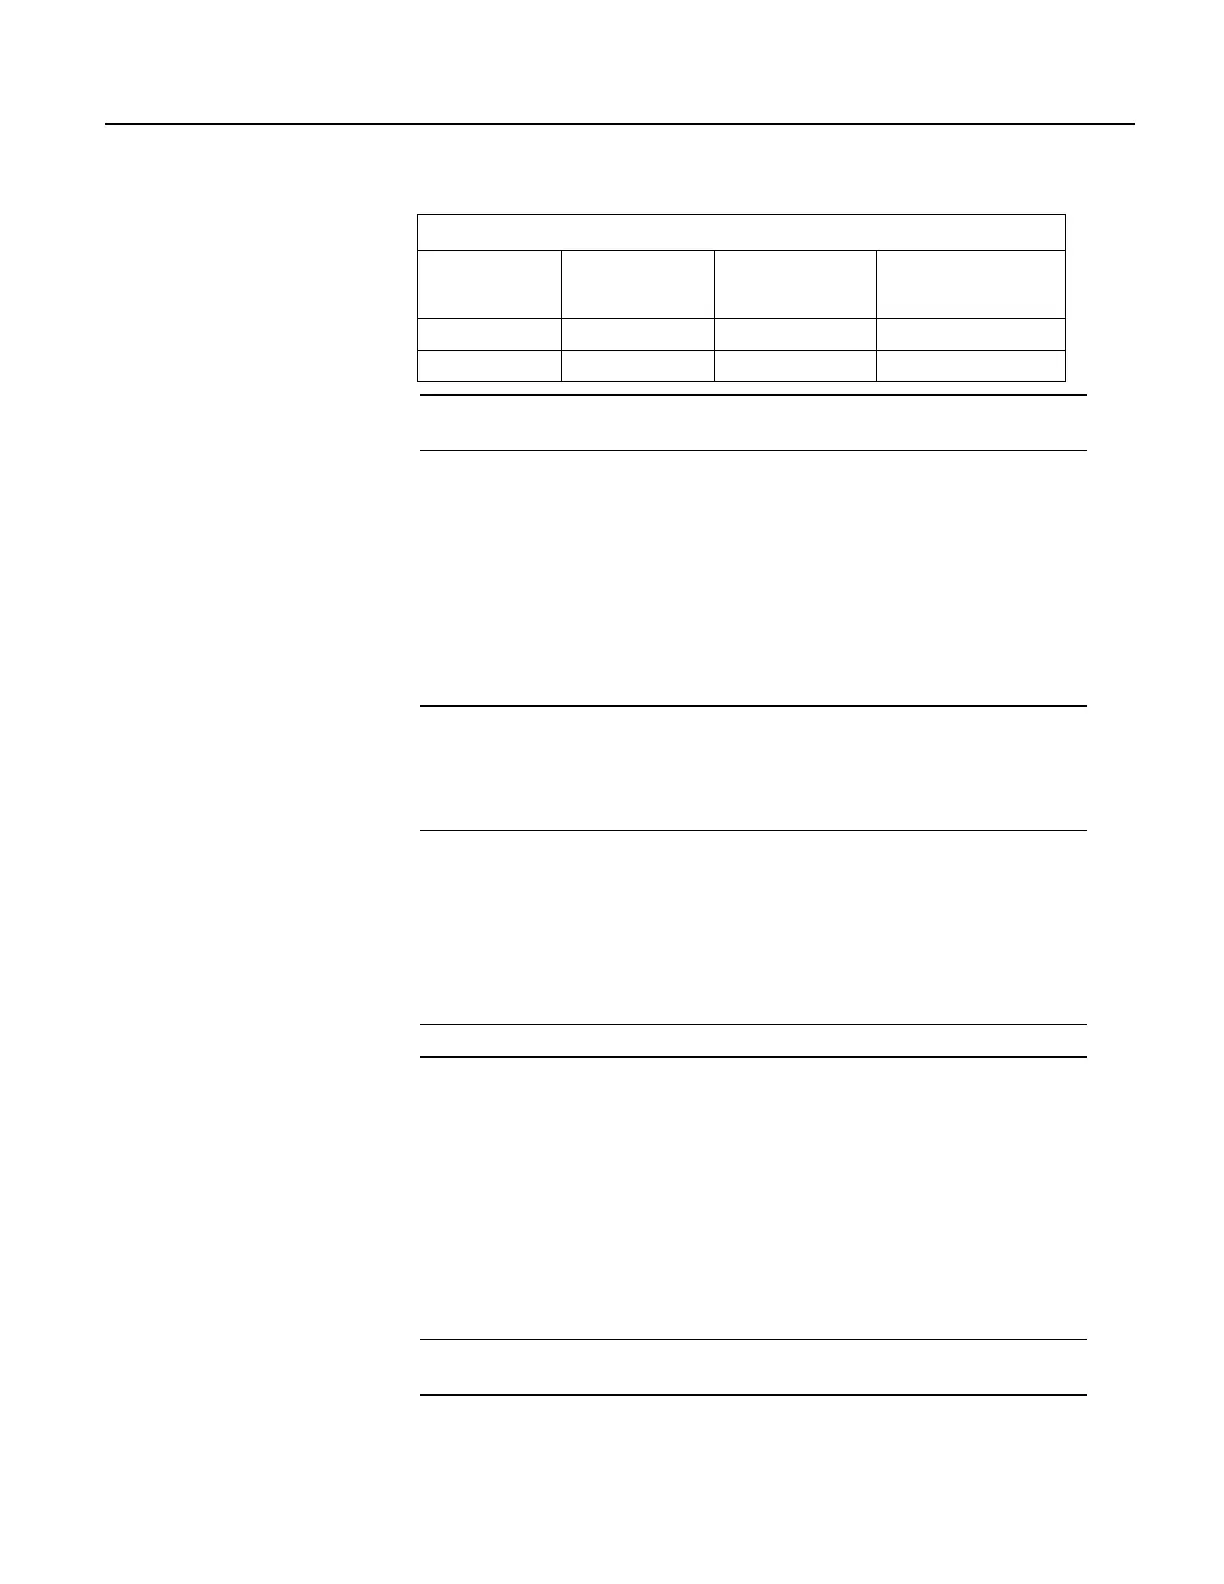
Table 41. ASCII / ANSI Equivalents
Byte
Received
ASCII
Character
Displayed
Decimal
ASCII
Code
Hex
ASCII
Code
00001101 cr 13 d
00000001 ☺ 1 1
Read More See the appendix ASCII / ANSI Table (p. 637) for a complete list of
ASCII / ANSI codes and their binary and hex equivalents.
The face value of the byte, however, is not what is usually of interest. The
manufacturer of the instrument must specify what information in the byte is of
interest. For instance, two bytes may be received, one for character 2, the other for
character b. The pair of characters together, "2b", is the hexadecimal code for "+",
"+" being the information of interest. Or, perhaps, the leading bit, the MSB (Most
Significant Bit), on each of two bytes is dropped, the remaining bits combined,
and the resulting "super byte" translated from the remaining bits into a decimal
value. The variety of protocols is limited only by the number of instruments on
the market. For one in-depth example of how bits may be translated into usable
information, see the appendix FP2 Data Format
(p. 641).
Note ASCII / ANSI control character ff-form feed (binary 00001100) causes a
terminal screen to clear. This can be frustrating for a developer who prefers to see
information on a screen, rather than a blank screen. Some third party terminal
emulator programs, such as Procomm, are useful tools in serial I/O development
since they handle this and other idiosyncrasies of serial communication.
When a standardized serial protocol is supported by the CR1000, such as
PakBus® or Modbus, translation of bytes is relatively easy and transparent.
However, when bytes require specialized translation, specialized code is required
in the CRBasic program, and development time can extend into several hours or
days.
7.9.17.2 I/O Ports
The CR1000 supports two-way serial communication with other instruments
through ports listed in table CR1000 Serial Ports
(p. 247). A serial device will often
be supplied with a nine-pin D-type connector serial port. Check the manufacture's
pinout for specific information. In many cases, the standard nine-pin RS-232
scheme is used. If that is the case then,
Connect sensor RX (receive, pin 2) to a U or C terminal configured for Tx (C1,
C3, C5, C7).
• Connect sensor TX (transmit, pin 3) to a U or C terminal configured for Rx
(C2, C4, C6, C8)
• Connect sensor ground (pin 5) to datalogger ground (G terminal)
Note Rx and Tx lines on nine-pin connectors are sometimes switched by the
manufacturer.
246
 Loading...