3. Mode
36090
2/2
36090
Printer Mechanical Adjustment
!
!!
! Rewind
The paper which has been loaded is rewound.
!
!!
! Adjusting procedure
1. Select and execute Test Print via F:Functions.
NOTE
• 13 patterns of the test prints are made as shown in the list below.
• When the CVP (optional) has been installed, the print No. and the revolution pulse count are printed on the back print.
2. Banding appears around 17 mm or 26 mm from the rear end on the test print. Check the table below
and enter the correction pattern No. as the correction value.
3. Carry out the procedure 1 and 2 for each paper magazine type.
Print No. Revolution pulse count
(pps)
Test print advance
length (mm)
1 1733 152
2 1600 153
3 1545 154
4 1502 155
5 1466 156
6 1434 157
7 1405 158
8 1378 159
9 1353 160
10 1329 161
11 1307 162
12 1285 163
13 1265 164
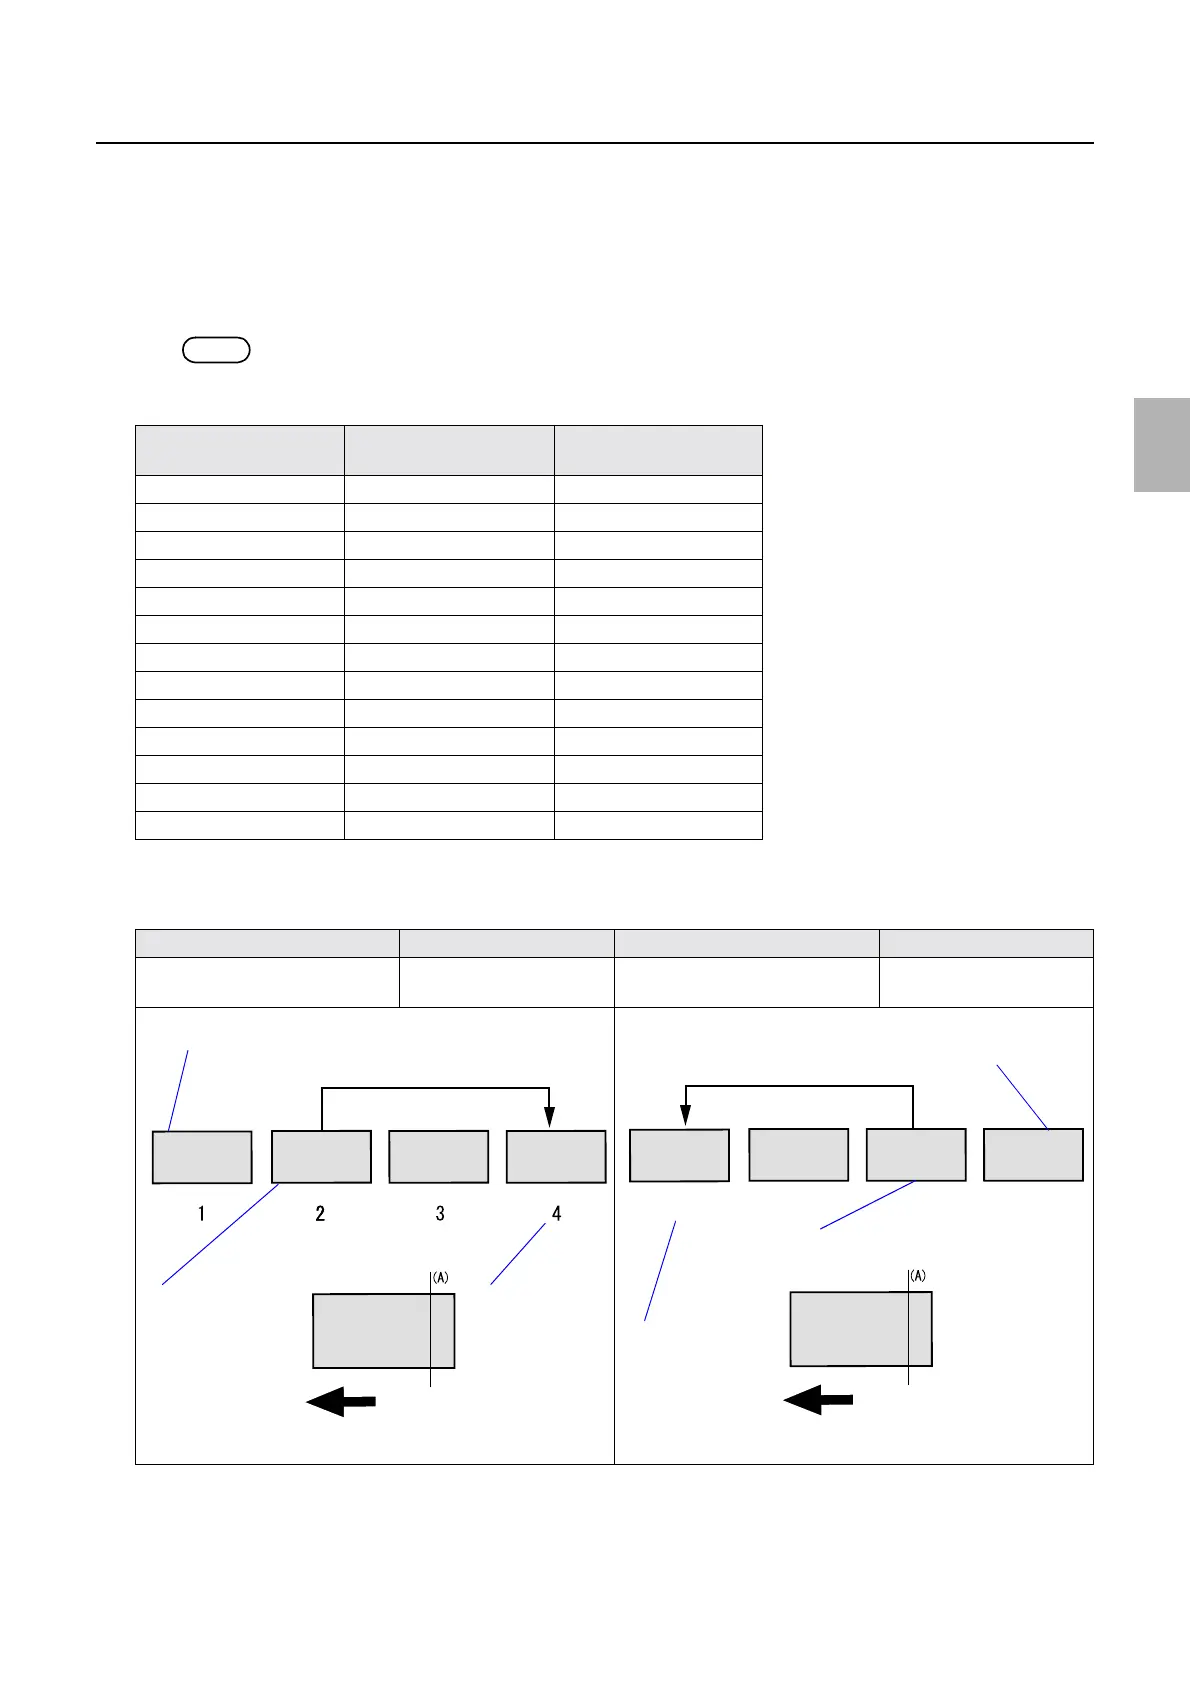
Banding position Correction Banding position Correction
Around 26 mm from the paper rear
edge
+2 Around 17 mm from the paper rear
edge
−2
Example: Around 26 mm at the rear end Example: Around 17 mm at the rear end
Banding (26 mm at the rear end)
Paper advance direction
+2
Print No.
Test print with no
banding
11
10
13
12
Banding (17 mm at the rear end)
Paper advance direction
−2
Print No.
Test print with no
banding
Distributed by: minilablaser.com