Ê "Installing the front cover 2.5-inch version" on page 377
Ê Remove the ID card from the multicage and insert the ID card into the slot
in the panelhousing.
Ê For more information about the cabling see "Configuration 6" on page 405.
Ê "Installing the fan box" on page 171
Ê "Reassembling" on page 59
Ê Connect all external cables.
Ê "Connecting the server to the power source" on page 64
Ê Update your server’s chassis information on the Chassis ID EPROM
integrated into the front panel board. For further information on how to obtain
and use the ChassisId_Prom Tool, refer to section "Using the Chassis ID
Prom Tool" on page 97.
Ê "Enabling BitLocker functionality" on page 93
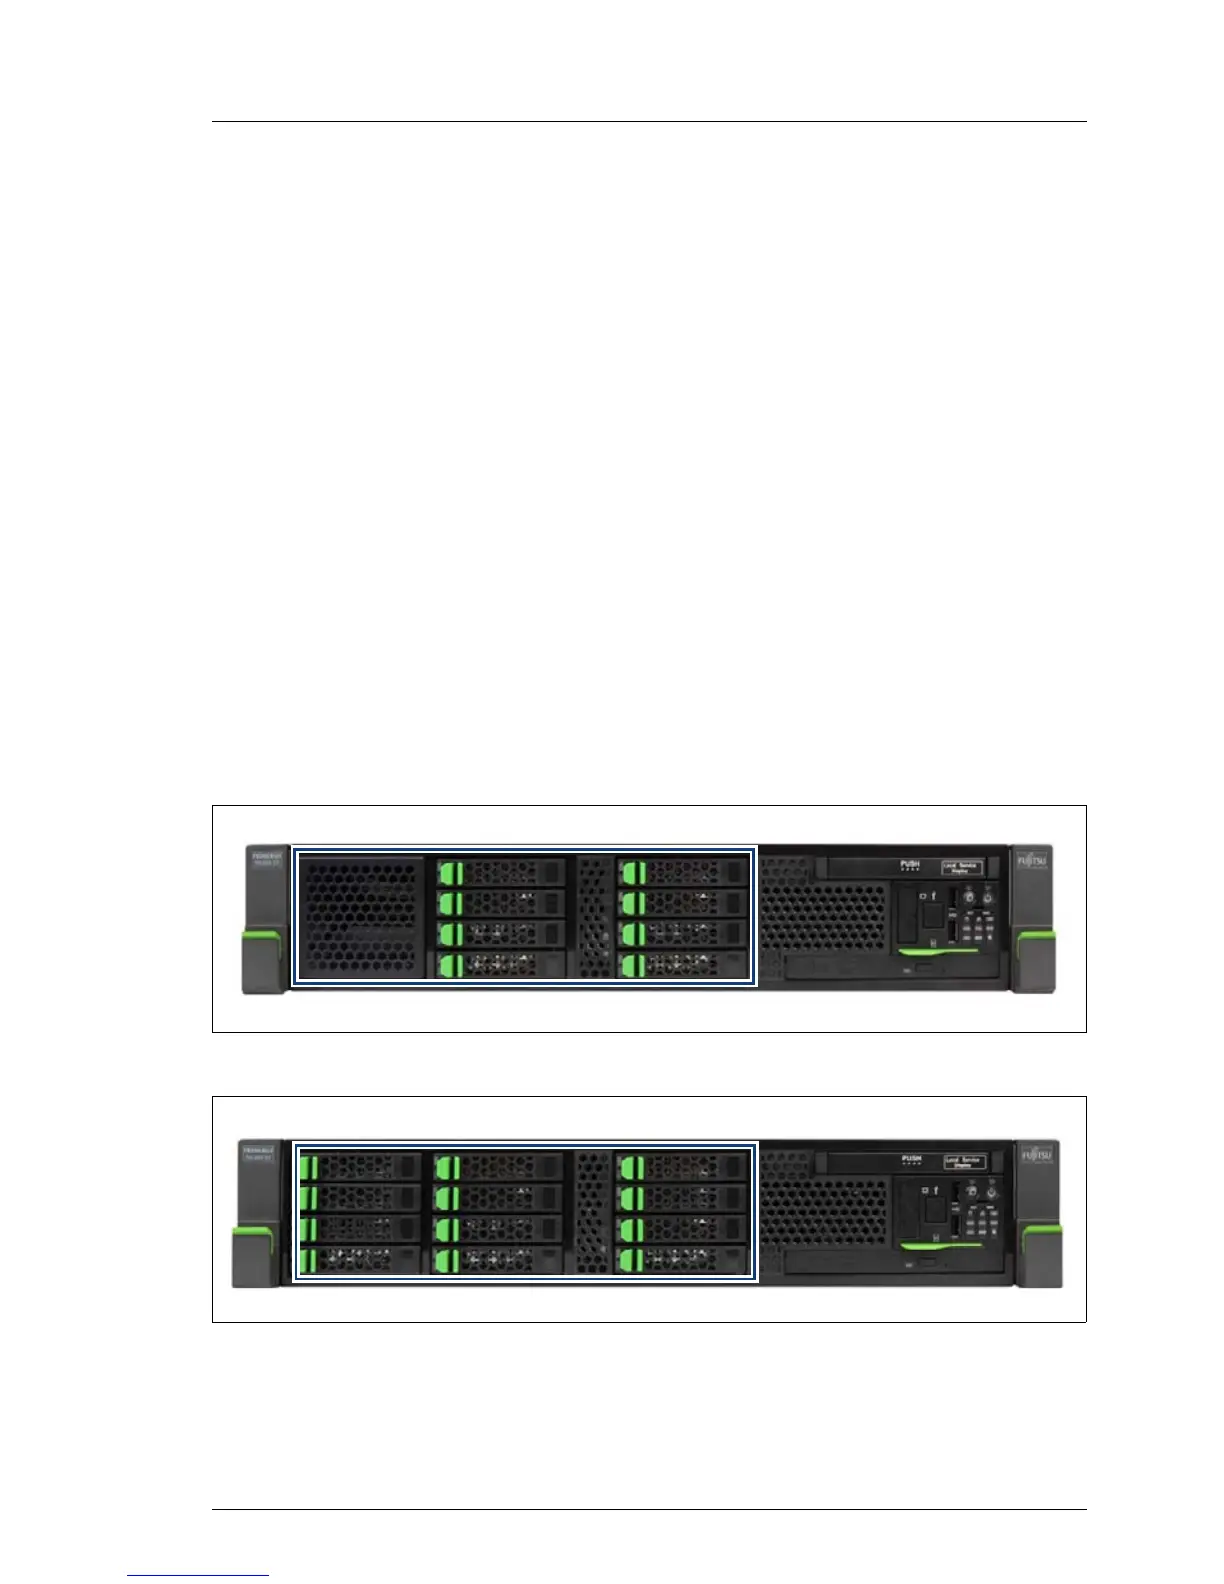
15.3.2.9 Configuration 4 to configuration 7
Figure 267: 8x 2.5-inch version
Figure 268: 12x 2.5-inch HDD version

 Loading...