13.3.1.4 Concluding steps
Ê Connect all cables from the modules that are installed in the front panel
cage.
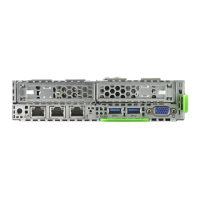
– Front panel cable:
– Front VGA cable:
– ODD cable:
– LSD cable:
Ê "Installing the fan box" on page 171
Ê "Reassembling" on page 59
Ê "Connecting the server to the power source" on page 64
Ê "Switching on the server" on page 66
Ê "Enabling BitLocker functionality" on page 93
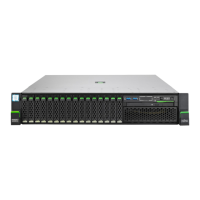
13.4 Front panel module on ear 3.5-inch version
13.4.1 Replacing the front panel module
Note on system information backup / restore
I The front panel module contains the Chassis ID EPROM that contains
system information like server name and model, housing type, serial
number and manufacturing data.
To avoid the loss of non-default settings when replacing the system
board, a backup copy of important system configuration data is
automatically stored from the system board NVRAM to the Chassis ID
EPROM. After replacing the system board the backup data is restored
from the Chassis ID board to the new system board.
Field Replaceable Unit
(FRU)
Hardware: 10 minutes
Software: 5 minutes
Tools: Phillips PH1/ (+) No. 1 screw driver

 Loading...