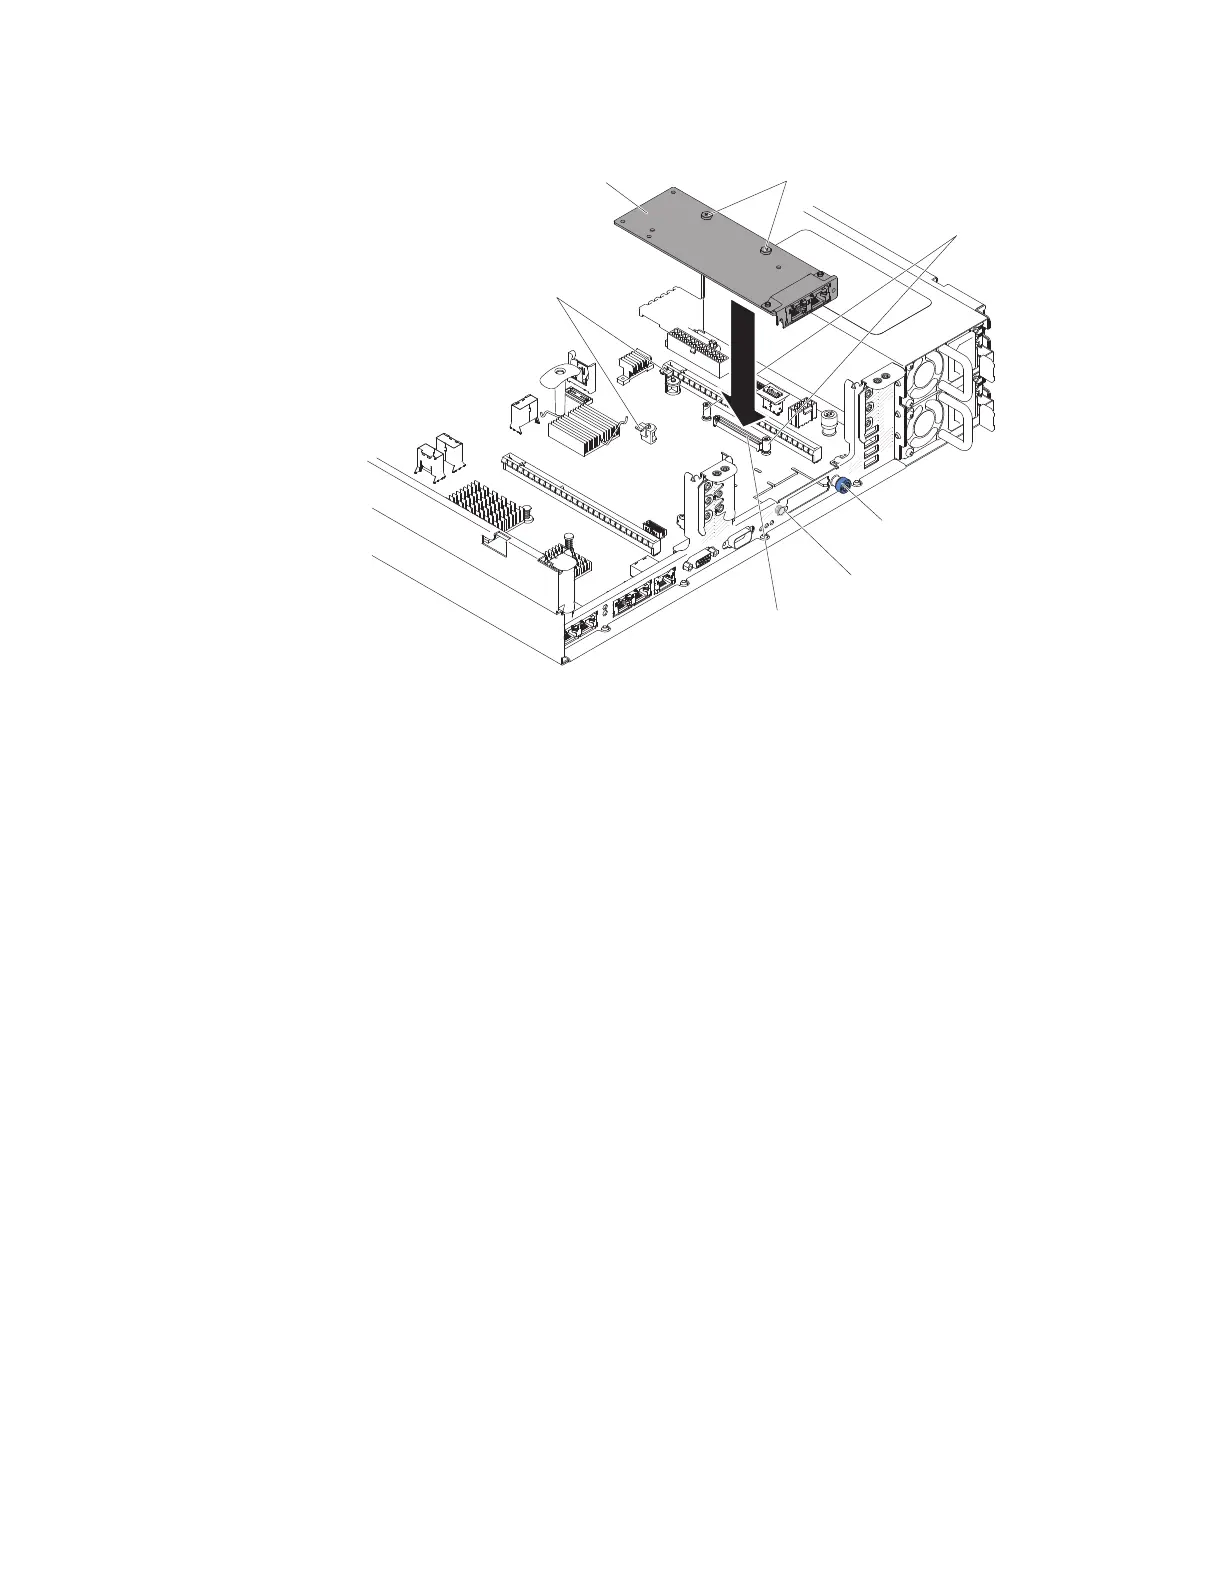
Pin
Thumbscrew
Screw holes
Retention
brackets
Network
adapter
Captive screws
Network
adapter connector
6. Press the adapter firmly until the pin, standoffs, and retention brackets engage
the adapter. Make sure the adapter is securely seated on the connector on the
system board.
Attention: Make sure the port connectors on the adapter are aligned
properly with the chassis on the rear of the server. An incorrectly seated
adapter might cause damage to the system board or the adapter.
7. Fasten the thumbscrew.
8. Install the cover (see “Installing the cover” on page 124).
9. Slide the file module into the rack.
10. Follow the steps at the end of the procedure “Removing a file module and
disconnecting power” on page 92 to reconnect the file module and resume its
use in the cluster.
Removing a hot-swap hard disk drive
The following procedure is for a Tier 1 customer replaceable unit (CRU).
Replacement of Tier 1 CRUs is your responsibility. If IBM installs a Tier 1 CRU at
your request, you will be charged for the installation. Service agreements can be
purchased so that you can ask IBM to replace these units.
About this task
To remove a hard disk drive from a hot-swap bay, complete the following steps.
148 Storwize V7000 Unified: Problem Determination Guide 2073-720
 Loading...


