Before you begin
Three persons are required at step 11 on page 360.
About this task
Attention: To prevent data loss, you must shut down the system before you
begin the procedure to replace an expansion enclosure midplane assembly.
The expansion enclosure midplane assembly must be replaced only by a trained
service provider.
There are two models of expansion enclosure. Before proceeding to replace an
expansion enclosure midplane assembly, ensure the FRU part number of the
replacement part matches that of the enclosure being repaired.
Procedure
To replace the expansion enclosure midplane, complete the following steps.
1. Read the safety information in “Preparing to remove and replace parts” on
page 295.
2. Read “Procedure: Understanding Storwize V7000 Gen2 volume dependencies”
on page 286 to determine whether to continue this procedure.
3. Disconnect each power supply unit in the expansion enclosure from its power
outlet, so that the expansion enclosure is powered off.
4. Confirm that all the LEDs on the rear of the enclosure are off.
5. Disconnect all cables, labeling each cable to record exactly which port it was
attached to (so that the cables can be inserted back into the same ports).
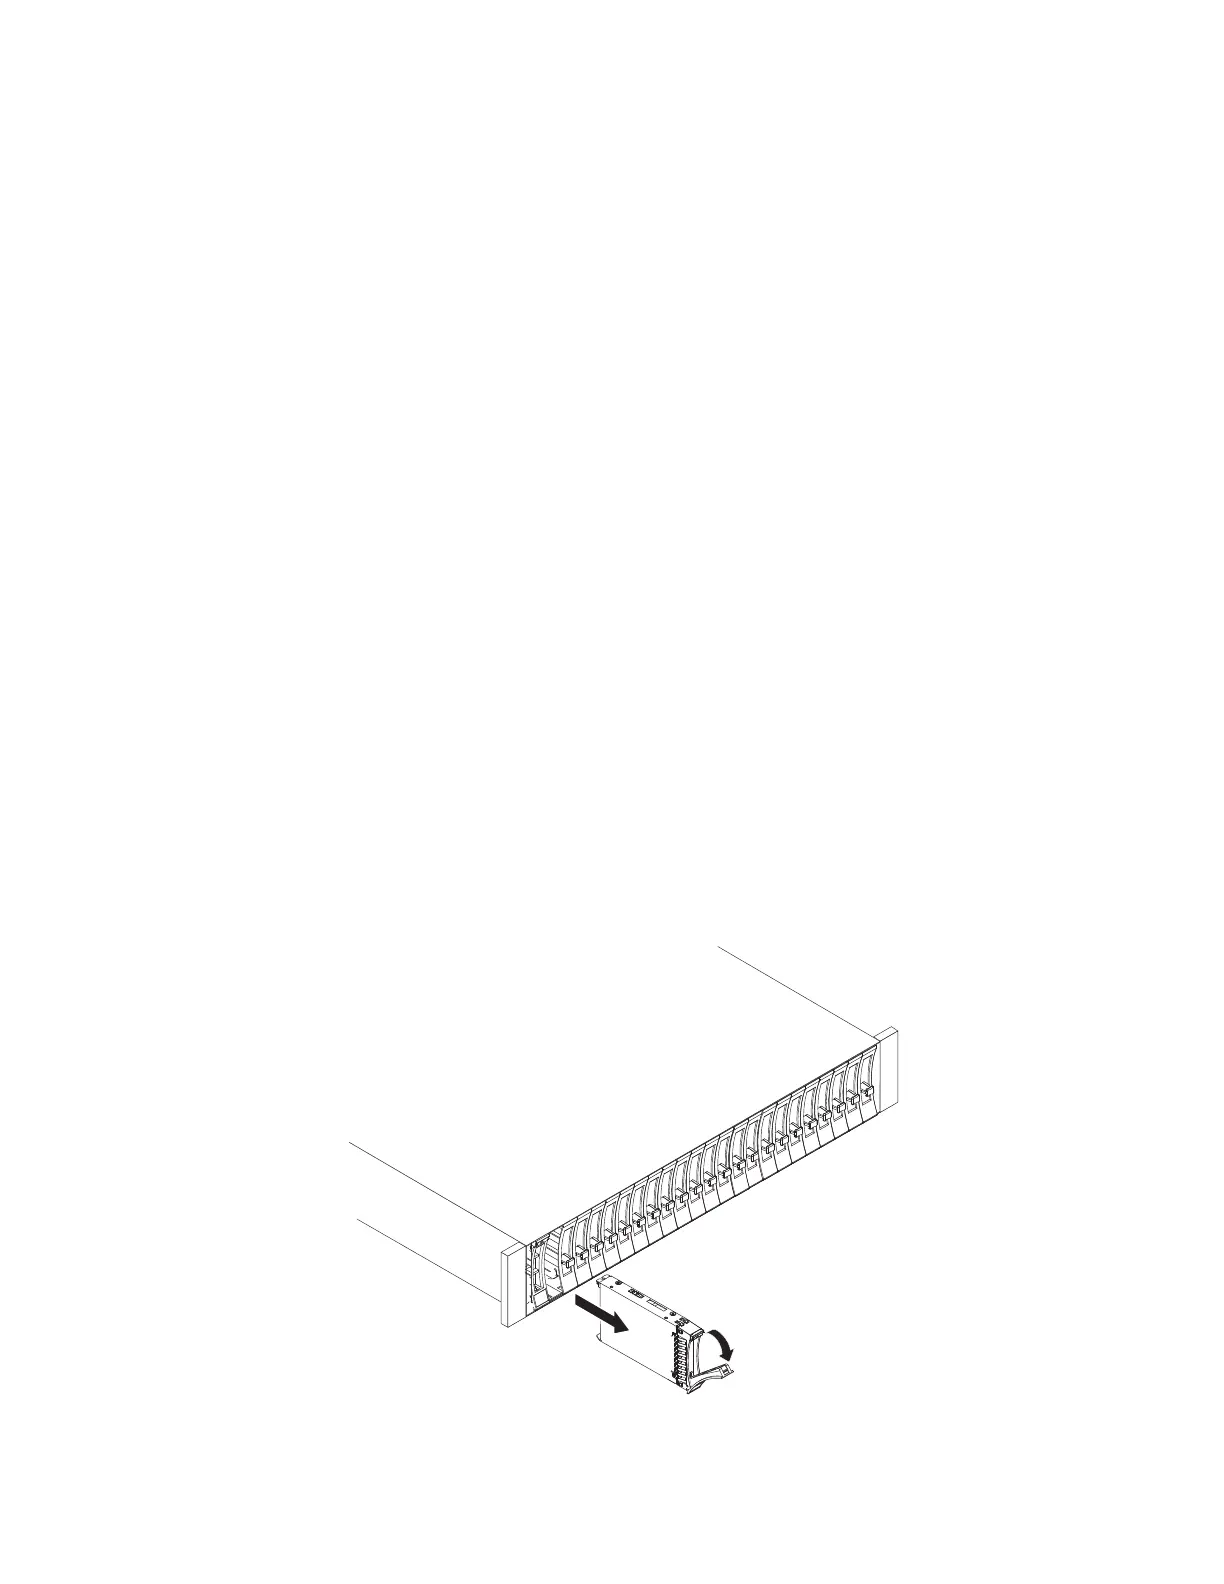
6. Carefully remove each hard disk drive and label it with the drive slot from
which it was removed (so that the drives can be inserted back into the same
slots). Refer to Figure 108 or Figure 109 on page 360.
Figure 108. Removing a vertical style hard disk drive
Chapter 5. Control enclosure 359
 Loading...


