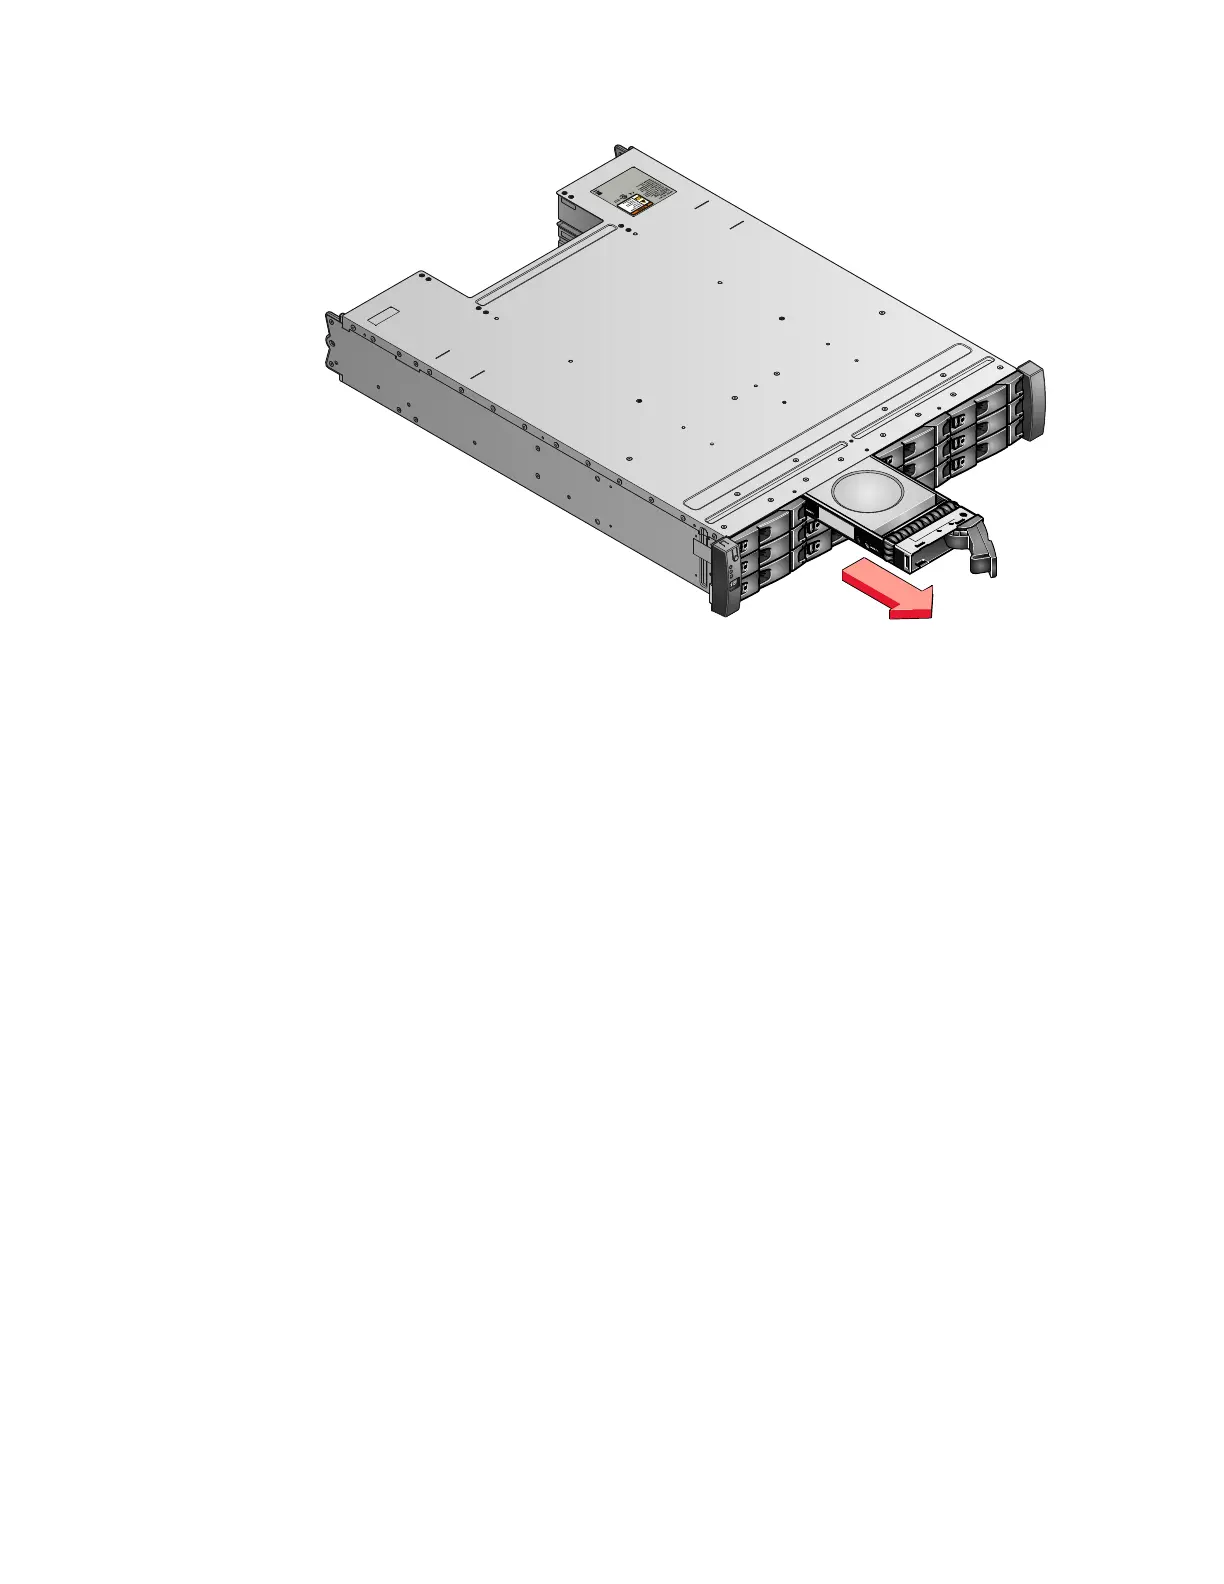
4. Pull out the drive.
5. Push the new drive back into the slot until the handle starts to move.
6. Finish inserting the drive by closing the handle until the locking catch clicks
into place.
Replacing a 2.5 inch drive assembly or blank carrier
Remove and replace a 2.5 inch drive assembly or a blank carrier.
Replacing a Storwize V7000 Gen2 2.5-inch drive assembly
You can replace a faulty 2.5-inch drive assembly with a new one received from
CRU / FRU stock.
About this task
The status of the drive must be such that it is not a spare or a member. The status
is shown in Pools > Internal Storage in the management GUI.
Attention:
v Do not replace a drive unless the drive fault LED is on or you are instructed to
do so by a fix procedure.
v If the drive is a member of an array, go to the management GUI and follow the
fix procedures. The fix procedures mitigate loss of data and loss of access to data
and manage use of the drive by the system.
v Do not leave a drive slot empty for extended periods. Do not remove a drive
assembly or a blank filler without having a replacement drive or a blank filler
with which to replace it.
Procedure
To prepare to replace a drive assembly, complete the following steps.
Figure 97. Removing the 3.5 inch drive
324 Storwize V7000 Unified: Problem Determination Guide 2073-720

 Loading...


