Procedure
1. Read the Safety information and “Installation guidelines” on page 94.
2. If only one power supply is installed, turn off the server and peripheral
devices.
3. Disconnect the power cord from the power supply that you are removing.
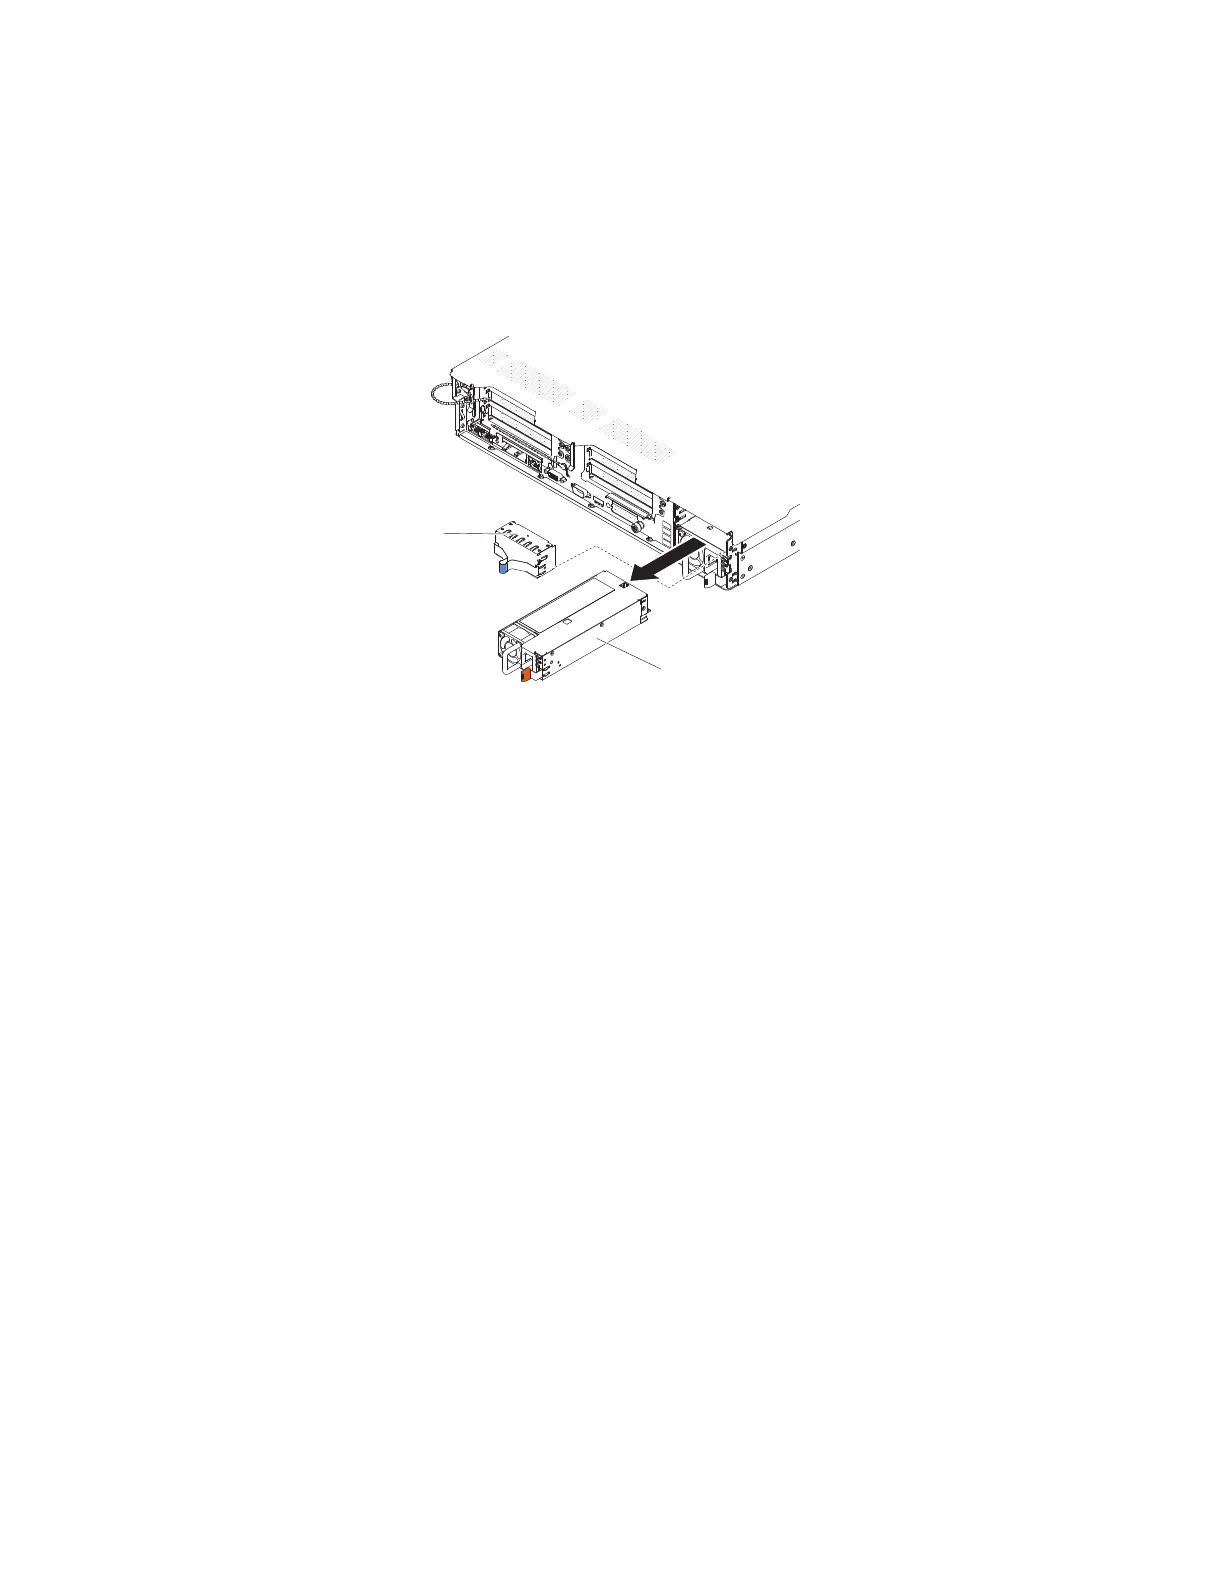
4. Grasp the power-supply handle. Refer to Figure 69.
5. Press the orange release latch to the left and hold it in place.
6. Pull the power supply part of the way out of the bay, then release the latch and
support the power supply as you pull it the rest of the way out of the bay.
7. If you are instructed to return the power supply, follow all packaging
instructions, and use any packaging materials for shipping that are supplied to
you.
Installing a hot-swap ac power supply
The following procedure is for a Tier 1 customer replaceable unit (CRU).
Replacement of Tier 1 CRUs is your responsibility. If IBM installs a Tier 1 CRU at
your request, you will be charged for the installation. Service agreements can be
purchased so that you can ask IBM to replace these units.
About this task
The following notes describe the type of ac power supply that the server supports
and other information that you must consider when you install a power supply:
v Make sure that the devices that you are installing are supported. For a list of
supported optional devices for the server, see http://www.ibm.com/systems/
info/x86servers/serverproven/compat/us/.
v Before you install an additional power supply or replace a power supply with
one of a different wattage, you may use the IBM Power Configurator utility to
determine current system power consumption. For more information and to
download the utility, go to http://www-03.ibm.com/systems/bladecenter/
resources/powerconfig.html.
v The server comes with one hot-swap 12-volt output power supply that connects
to power supply bay 1. The input voltage is 100-127 V ac or 200-240 V ac
auto-sensing.
Hot-swap
power supply 2
Power supply
filler panel
Figure 69. Removing a hot-swap ac power supply
Chapter 4. File module 159
 Loading...


