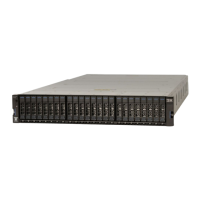
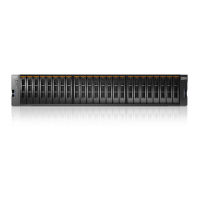
13. Turn the enclosure top side up and place it on a flat surface.
14. Remove the three screws and one screw-pin on the right side that secure the
midplane assembly to the enclosure (see Figure 110). Label the screws to
indicate the location from which they are removed and place them aside.
15. Remove the three screws and one screw-pin on the left side that secure the
midplane assembly to the enclosure (see Figure 110). Label the screws to
indicate the location from which they are removed and place them aside. See
Figure 4.
16. Remove the midplane assembly from the chassis by rotating the midplane
assembly up about 45° and then lifting it out. Set the midplane assembly on a
flat surface.
17. Unpack the replacement midplane assembly. Grasp the midplane assembly
with two hands and hold it at a 45° angle.
18. Insert the tabs on the midplane assembly into the tab holes in the enclosure
and rotate the front of the assembly down.
19. Secure the midplane assembly to the chassis on both the right and left sides of
the enclosure by using the six screws and two screw-pins that you removed in
steps 14 and 15.
20. Turn the enclosure over so the bottom faces upwards and insert the four
screws on the bottom of the enclosure that you removed in step 12 on page
360.
21. Reinstall the enclosure in the rack cabinet, securing it with the two screws that
are removed at step 10 on page 360.
22. Reinstall the end caps at the front of the enclosure, as described in “Replacing
Storwize V7000 Gen2 enclosure end caps” on page 328.
23. Reinstall the hard disk drives at the front of the enclosure. Ensure that each
drive is inserted back in the same slot from which it was removed.
24. Reinstall the canisters into the same slots they were removed from.
25. Reinstall the two power supplies.
26. Reconnect the data cables at the rear of the enclosure.
Figure 110. Removing the screws of an expansion enclosure assembly
Chapter 5. Control enclosure 361

 Loading...


