12. Repeat steps 9 on page 363 to 11 on page 364 on the right support rail.
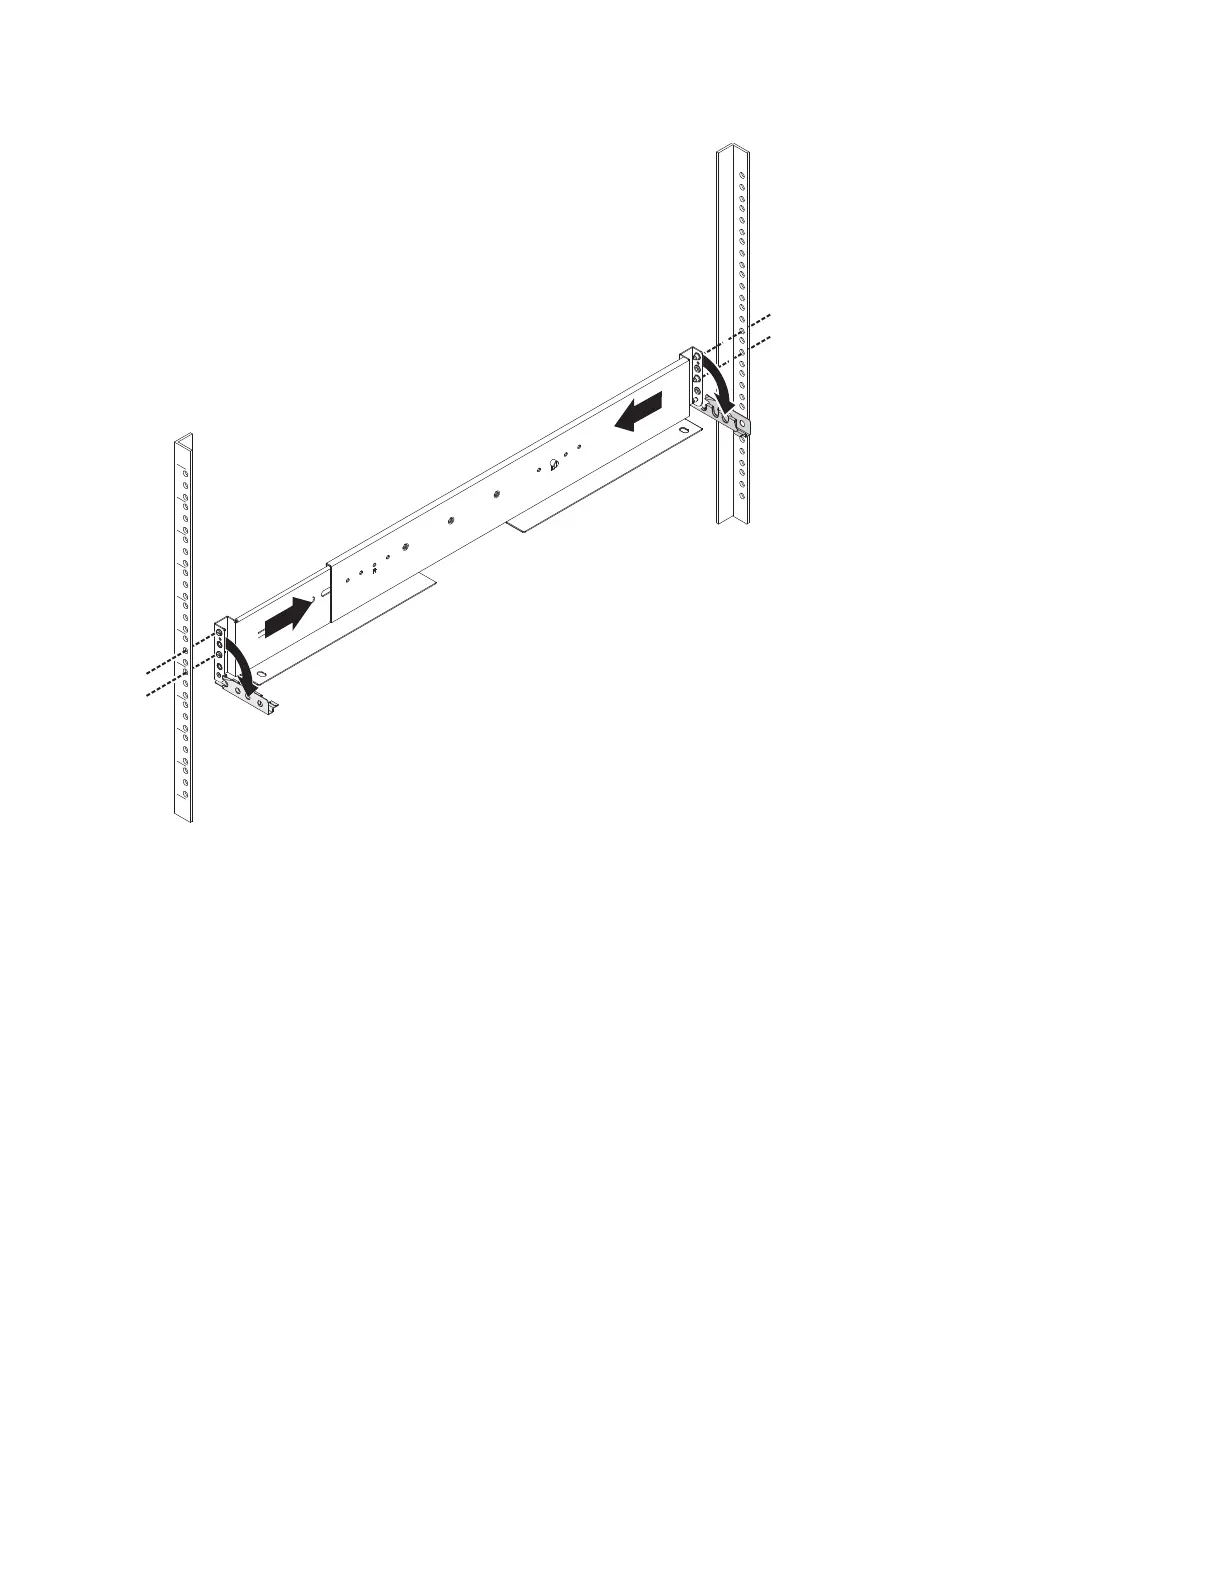
13. Install the new support rails at the rack position that is recorded at step 8 on
page 363 by following the instructions in Step 6. Installing the support rails
for the enclosures.
14. Reinstall the enclosure (removed at step 7 on page 363) and the end caps
(removed at step 5 on page 363) by following the instructions in Step 7.
Installing the enclosures.
15. If components were removed from the enclosure at step 7 on page 363, return
each canister, drive assembly, and power supply unit to its labeled slot.
16. Reconnect the cables, ensuring that they are connected to their original ports.
17. Reconnect the power supply cables to their original power supply and
electrical outlet.
The system starts.
18. After the system is online, use the management GUI to verify that the system
is correct.
Replacing the Storwize V7000 Gen2 expansion enclosure
support rails
You can replace faulty support rails with new ones received from CRU / FRU
stock.
Figure 112. Compressing rail for removal from rack
Chapter 5. Control enclosure 365
 Loading...


