5. Holding the battery by its latching arms, lift it from its cradle. Place the
battery in a safe place.
6. Remove the replacement battery from its package.
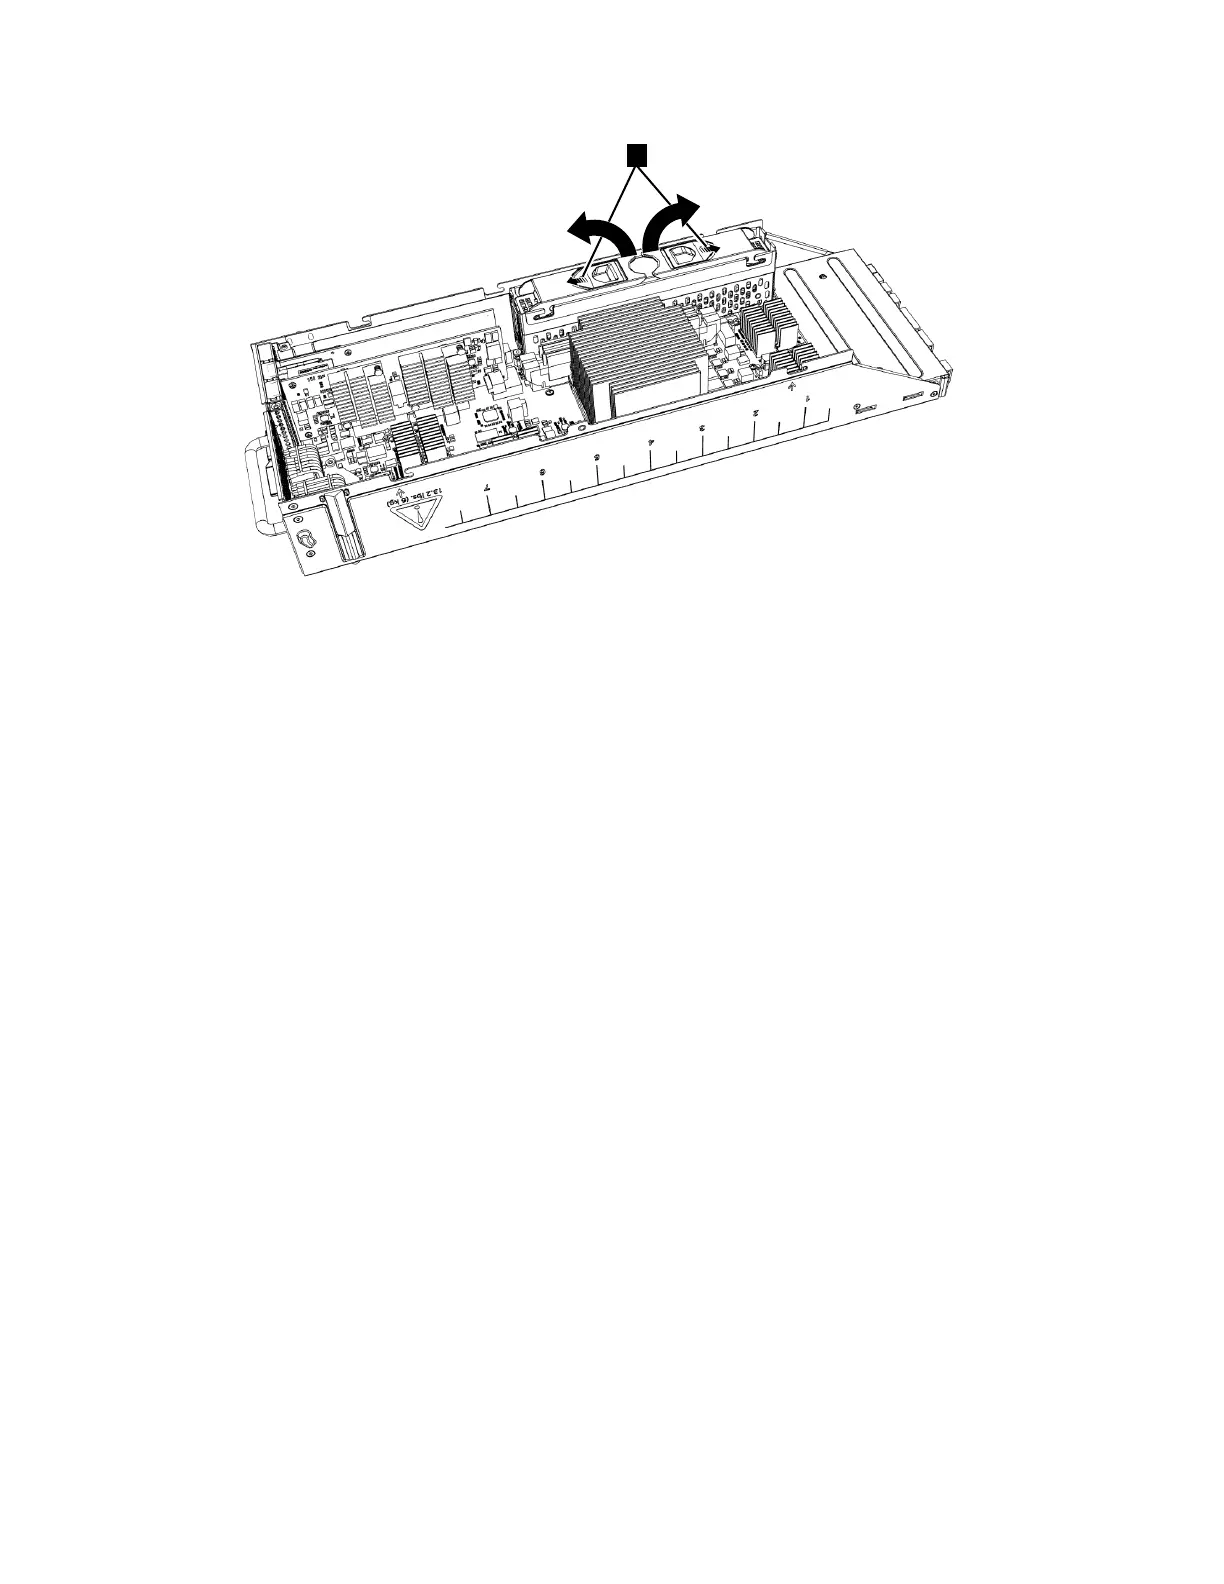
7. Open the latching arms of the replacement battery, then place the replacement
battery into the battery cradle of the node canister so that the connectors
align.
8. Apply gentle downward pressure to both battery latches so that the battery is
drawn into the battery cradle. Ensure that both latches are fully engaged by
spreading the two blue latches outward while you apply gentle downwards
pressure.
9. Replace the canister lid, as described in “Procedure: Removing and replacing
the lid of a Storwize V7000 Gen2 node canister” on page 285.
10. Reinstall the canister into the enclosure from which it was removed in step 2
on page 315.
Notes:
v If the replacement battery is sufficiently charged, the node canister starts.
v If the replacement battery is not sufficiently charged, the node canister does
not come online. The battery continues to charge.
11. Refer to “Procedure: Understanding the Storwize V7000 Gen2 system status
from the LEDs” on page 256 to understand the charge level of the replacement
battery. If the canister did not restart, use the management GUI to monitor the
canister and battery status.
12. Reconnect the cables to the canister, ensuring that each cable goes into the
same port from which it was removed in step 2 on page 315.
13. When the canister is back online, check the event log for any new events that
might indicate a problem with the reassembly.
Replacing a battery in a power supply unit
Remove and replace the battery in a control enclosure power-supply unit.
Figure 92. Opening latching arms to disconnect a Storwize V7000 Gen2 node canister battery
316 Storwize V7000 Unified: Problem Determination Guide 2073-720

 Loading...


