7. Remove the two power supplies from the enclosure. Refer to “Replacing a
power supply unit for a Storwize V7000 Gen2 expansion enclosure” on page
310 for guidance.
8. Remove the expansion canisters from the enclosure. Label them to indicate
which canister came from which slot.
9. Remove the end caps from the enclosure, as described in “Replacing Storwize
V7000 Gen2 enclosure end caps” on page 328.
10. Remove the two screws securing the front of the enclosure into the rack. Label
these screws to indicate the location from which they are removed and place
them aside.
11. Slide the enclosure from the rack cabinet, turn it onto its back so that the
bottom is facing upwards, and place the enclosure on a flat surface.
CAUTION:
The weight of this part or unit is between 32 and 55 kg (70.5 and 121.2 lb).
It takes three persons to safely lift this part or unit. (C010)
12. Remove the four screws from the bottom of the enclosure (see Figure 110 on
page 361). Remove the three screws that are near the front and the screw that
is near the middle. Label these screws to indicate the location from which they
are removed and place them aside.
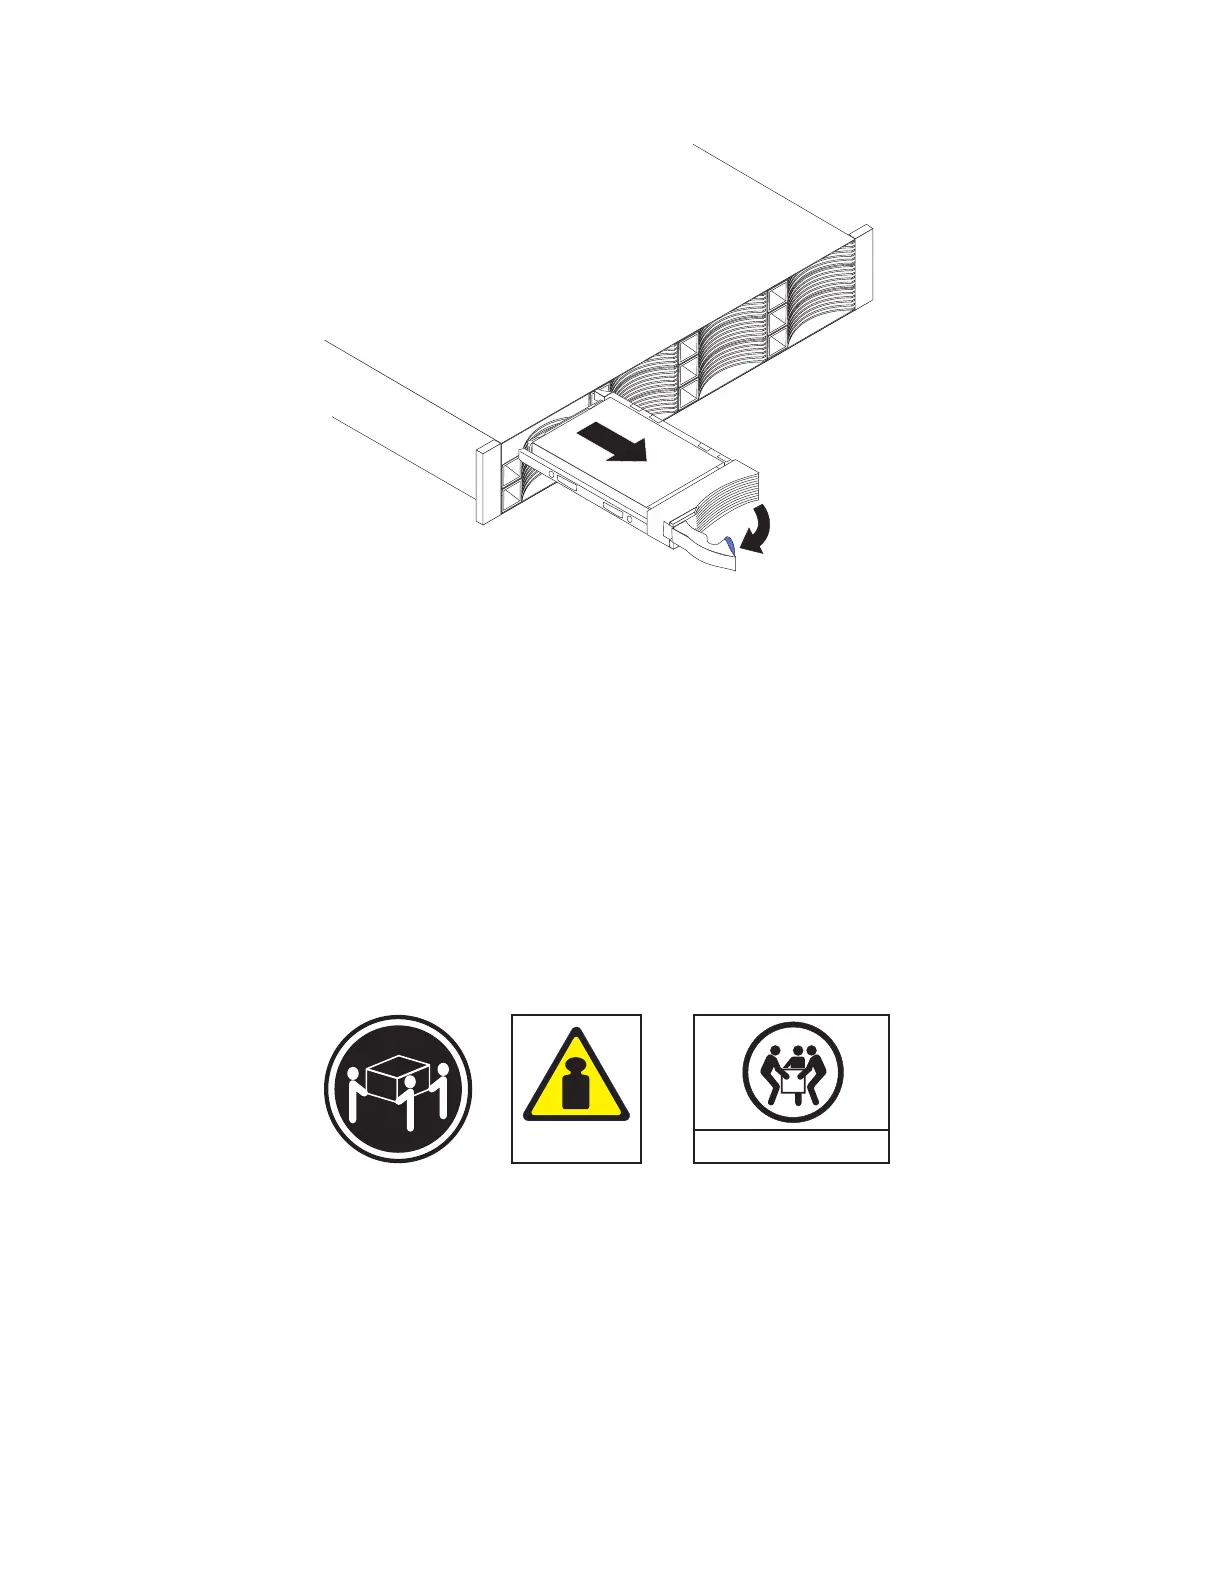
Figure 109. Removing a horizontal style hard disk drive
svc00384
32-55kg(70.5-121.2lbs)
>32kg(70.5lb)
or or
360 Storwize V7000 Unified: Problem Determination Guide 2073-720
 Loading...


