Rev. 1
Card Gr1-
9
PT1 PROBE
430#00190000
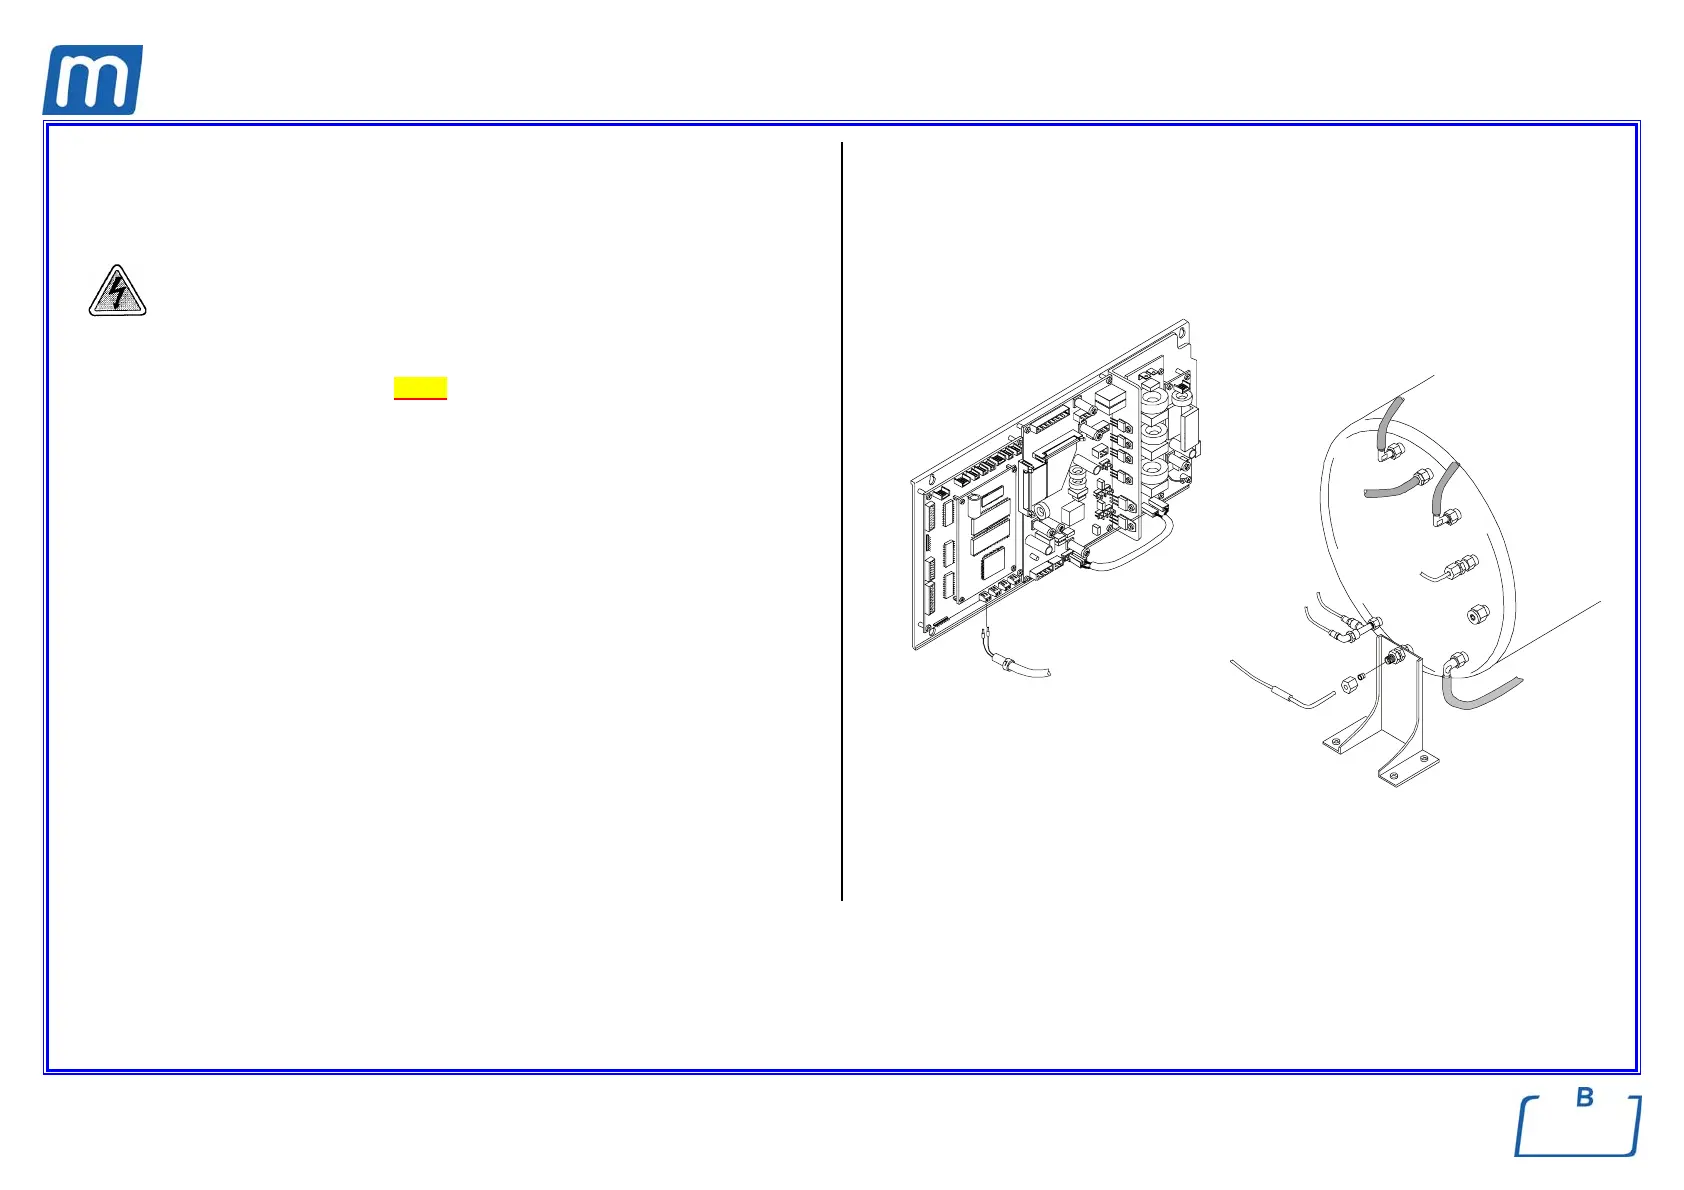
Before servicing, switch off the equipment and unplug the power
supply cable from the mains socket
1. Remove the covers (see card Gr7-1);
2. Remove the PT1 wiring from the CPU board;
3. Remove the cable marker no. 1 to be used on the new probe;
4. Withdraw the wiring up to the thermal device,
5. Access to the left side of the machine and rear side of the chamber;
6. Remove the nut and PT1 from its seat;
7. Measure the ohm value of the new PT1 and write the value on the next row
of the label attached on the right rail;
8. Mount the new PT1 device, restore connections and assembly all items
proceeding in reverse order as above;
9. Switch on the unit and enter the SETUP mode;
10. Move to SERVICE, enter the code “++--++--“ and select the option “PT1
CORRECTION”
11. Enter the new value (Ohm);
12. Exit the SETUP mode;
13. Run a sterilization cycle.
cable marker
PT1 cable
PT1