Rev. 1
Card Gr1-
17
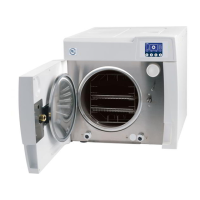
ON-BOARD PCB FUSES
Before servicing, switch off the equipment and unplug the power
supply cable from the mains socket
1. Remove the cover (see card Gr7-1);
2. Refer to the figure and remove the burned fuse;
3. Mount the new fuse (same type and rating), and assembly all items
proceeding in reverse order as above;
4. Run a sterilization cycle.
GAM version
F1: T 5A 250V (trafo’s secondary winding – 24V)
F2: T 2A 250V (5V digital circuit / 12V analogue circuit )
F3: T 2A 250V (trafo’s primary winding – 230V)
F4: F 200mA 250V (door-locking protection)
F5: F 1.25A 250V (door-locking motor overload)
TROLL version
F1: T 6,3A 250V (trafo’s secondary winding– 24V)
F2: T 3,15A 250V (trafo’s primary winding)
F1
F2
F3
F4
F5
F1 6,3A
F2 3,15A