Scanning Using the Control Panel
149
5
Specifying the scanning size according to the size of the original
This section describes how to specify the scanning size according to the size of
the current original.
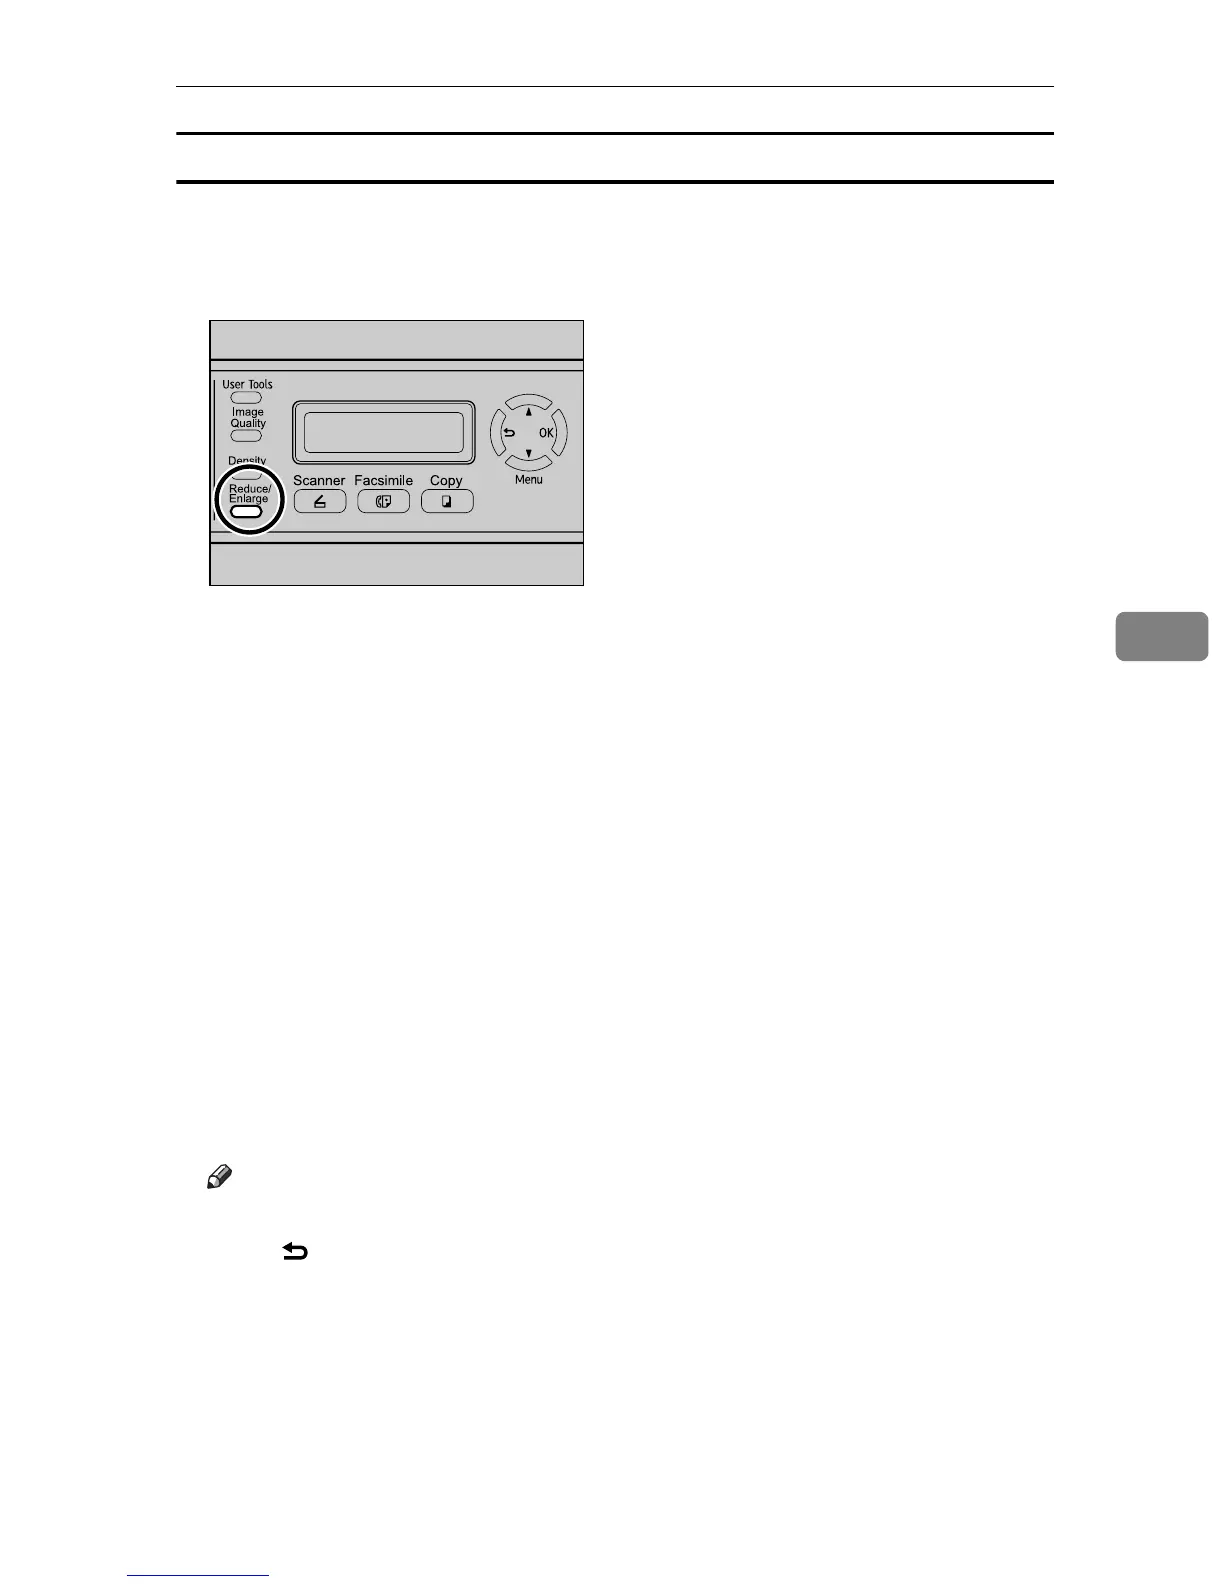
A Press the {Reduce/Enlarge} key.
B Press the {Reduce/Enlarge} key or {U}{T} keys to select the size of the orig-
inal, and then press the {OK} key.
If you selected anything other than [Custom], you do not need to perform the
remaining steps of the procedure.
C Press the {U}{T} keys to select [mm] or [Inch], and then press the {OK} key.
D Enter the horizontal value using the number keys, and then press the {OK}
key.
You can press the {U}{T} keys to change the value in 1 mm or 0.1 inch incre-
ments.
E Confirm the setting, and then press the {OK} key.
F Enter the vertical value using the number keys, and then press the {OK}
key.
You can press the {U}{T} keys to change the value in 1 mm or 0.1 inch incre-
ments.
Note
❒ Use the following keys to cancel settings:
• {}: Cancels the changes made to settings and returns the display to
the previous screen.
• {Clear/Stop}: Cancels the changes made to settings and returns the dis-
play to the initial screen.
❒ You can change the machine's default [Document Size] setting to always
scan originals with a specific scanning size.
BPC021S

 Loading...