Configuring the IP Address Settings
3
1
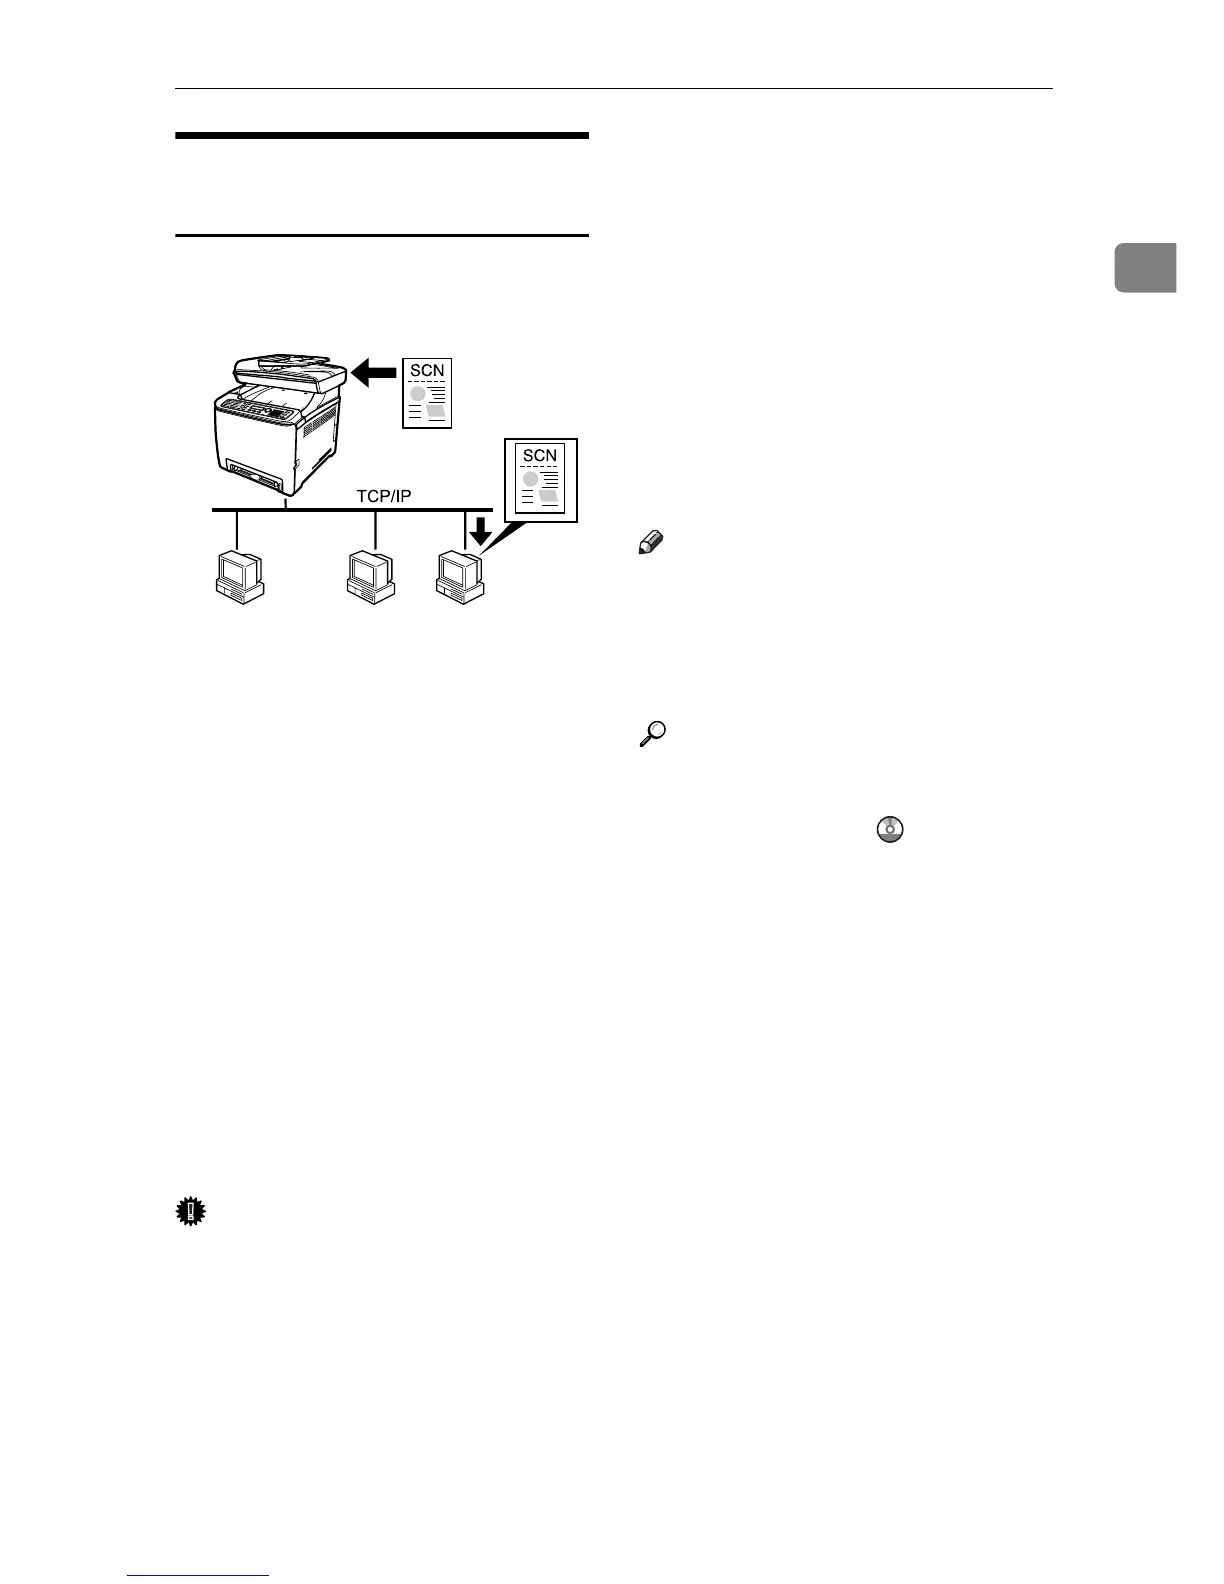
Sending scanned files to a
computer's shared folder
You can send scanned files to the
shared folder of a computer on a net-
work using the control panel.
❖ Preparation for sending scanned files
to a computer's shared folder
A Connect the machine to the net-
work.
B Configure the IP address, sub-
net mask, and gateway address
using the control panel.
For details, see p.3 “Configur-
ing the IP Address Settings”.
C Create a destination folder on
the computer's hard disk drive,
and configure it as a shared
folder.
For details, see your operating
system's documentation.
D Register the destinations to the
Address Book using Web Image
Monitor.
For details, see p.4 “Registering
Scan Destinations”.
Note
❒ If you are using the Scan to Folder
function on a network that uses
Active Directory, you must specify
the server name and domain name
in the DNS settings.
Reference
For details about the DNS settings,
see "Configuring the DNS Set-
tings", User Guide .
Configuring the IP Address Settings
The machine is set to obtain IP ad-
dress information automatically by
the network by default (DHCP). If
you want to assign IP address infor-
mation manually, follow the proce-
dure below.
Important
❒ If you are using the machine on a
network that uses DHCP, print the
configuration page to check the IP
address information assigned to
the machine. Perform steps 19 to 21
of the procedure below.
A Press the {User Tools} key.
B Press the {U}{T} keys to select
[Network Settings], and then press
the {OK} key.
C If you are requested to enter a
password, enter the password us-
ing the number keys, and then
press the {OK} key.
D Press the {U}{T} keys to select [IP
Configuration], and then press the
{OK} key.
E Press the {U}{T} keys to select
[DHCP Activated], and then press
the {OK} key.
F Press the {U}{T} keys to select
[Off], and then press the {OK} key.
BPC058S

 Loading...