Data Recorder Module
How to Perform a Data Recorder Measurement
Collecting Recorder Measurements Using the Default
Measurement Setup
Previewing the Measurement
To initiate a standard Recorder measurement (using its default settings):
• From the Recorder screen, use the arrow keys to highlight the General icon, and
press the Start function button to initiate the Recorder’s preview mode. The
Recorder – Taking Data screen displays and the initial measurement results
display.
If you highlight a measurement’s icon and press the Enter (Fire)
button instead of the Start function button, you will display the
measurement’s setup screen, not start the measurement.
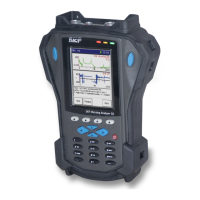
Figure 6 - 2.
A Recorder Measurement Display in Preview Mode.
In Preview mode, the Recorder – Taking Data screen continuously updates to display
a channel’s live time waveform signal and overall vibration reading to allow you to view
the validity of the measurement parameters. Note that recording is not yet initiated.
• For two channel measurements, as prompted in the message area, press 1/2 to
preview the other channel’s time waveform data.
Signal Clipped message- In the message area, if a sensor’s
Range setting (full scale setting) is too small to accommodate the
signal’s amplitude, a Signal Clipped message displays. In this
case, press the Back function button to return to the Setup
screen and increase the Range setting.
SKF Microlog - GX Series 6 - 3
User Manual
 Loading...