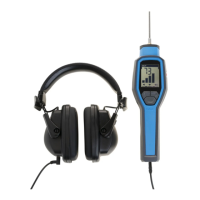
The ROUTE Module
How to Attach Coded Notes
How to Attach Coded Notes
To access the Notes screen:
• From a data display screen, press the Notes function button. The Notes screen
displays.
OR
• From the hierarchy screen, press the Notes function button.
To store coded notes with the data collected for the POINT:
• Use the up and down arrow buttons to position the pointer bar over the desired
coded note.
• Press an Enter button to select the note code. A checkmark displays to the right of
the selected note.
Up to six coded notes can be selected for the same measurement
POINT in this fashion.
• If necessary, press the Enter button again to de-select the coded note.
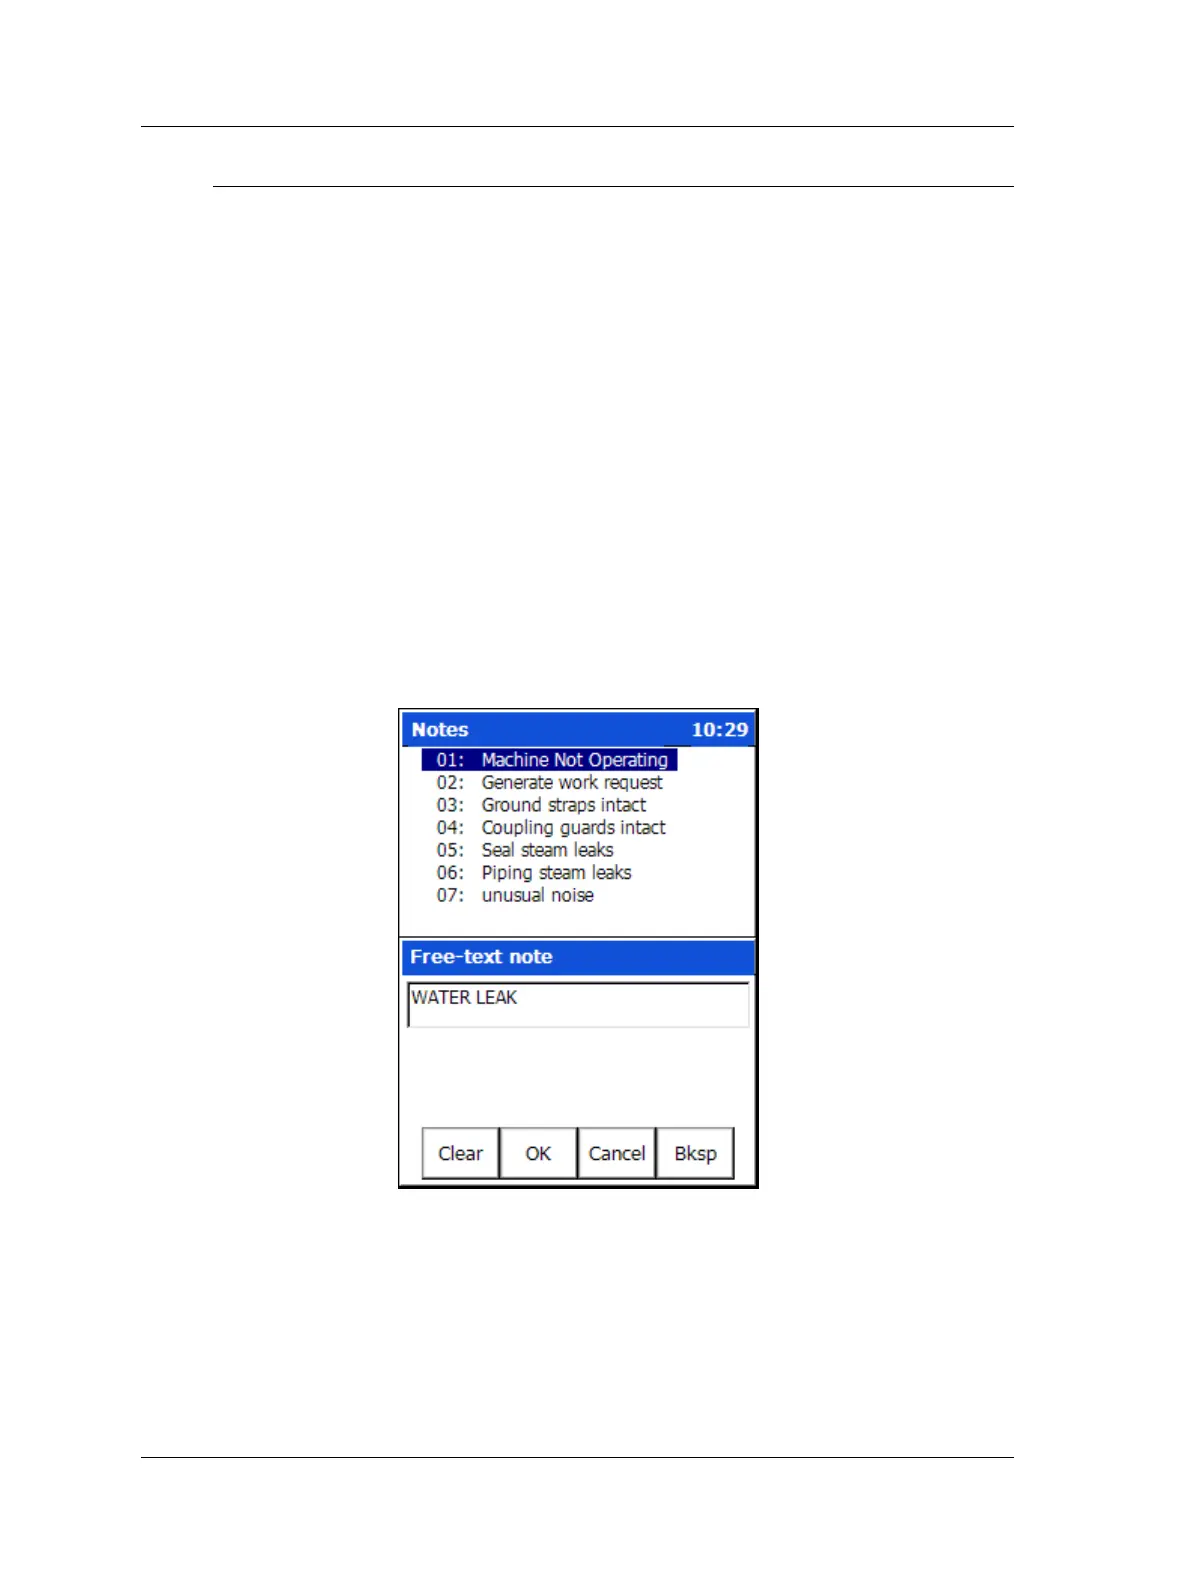
• To manually enter a new note, select the Text function button. A text entry screen
displays where you can type a note using the Microlog’s keypad.
Figure 3 - 13.
The Coded Notes Text Entry Screen.
• To input letters, repeatedly press the number key representing the specific letter 2,
3, or 4 times. For example, for B, press the 2 key 3 times. This works in a similar
manner to a cellular phone’s text entry capability.
To enter a space, press the 0/Shift key twice.
• Press OK to save the note. It appears beneath the Coded Notes list.
3 - 22 SKF Microlog - GX Series
User Manual
 Loading...