ID 442426.04 77WE KEEP THINGS MOVING
Installation
6
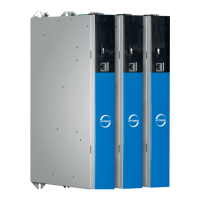
Manual SD6
6.3 Terminal modules
WARNING!
Danger of personal injury and material damage due to electric shock!
Always switch off all power supply voltage before working on the drive
controller! Note that the discharge time of the DC link capacitors is 5
minutes. You can only determine the absence of voltage after this time
period.
CAUTION!
Danger of property damage due to electrostatic discharge, among
others!
Provide suitable protective measures while handling open PCBs (e.g., ESD
clothing, environment free of dirt and grease).
Do not touch the contact surfaces.
Analog and binary signals can only be connected via one of terminal modules
XI6, RI6 or IO6. Installation is identical for all terminal modules.
You need:
• A Torx screwdriver TX10.
• The accessory enclosed with the terminal module.
Terminal module installation
1. Press the spring lock on the front cover lightly to unlock it.
2. Push the front cover down as far as it will go.
3. Remove the cover towards the front.
4. Insert the terminal module so that the recesses on the module and the
holding down mechanisms on the drive controller can be guided past one
another. The rear of the plug-in card must be resting against the drive
controller.
5. Push the terminal module up so that the pin contacts are pushed into the
female connector strip.
6. Fasten the terminal module onto the drive controller with the fastening
screw.