SV-ADSB-472 ADS-B IN Receiver Installation and Configuration
14-6 SkyView HDX System Installation Manual - Revision E
RX and TX lines must be connected to all displays in parallel. The same
numerical serial port must be used on each display.
• Connect the SV-ADSB-472 TX wire (pin 3) to the SkyView serial RX of your
choosing. If you have multiple displays, the SV-ADSB-472 TX wire must be
connected to the same serial RX wire on each display.
• Connect the SV-ADSB-472 RX wire (pin 2) to the SkyView serial TX of your
choosing. If you have multiple displays, the SV-ADSB-472 RX wire must be
connected to the same serial TX wire on each display.
• Record the SkyView serial port that you have chosen on each display as you
will need to configure it later for use with the SV-ADSB-472.
The SV-ADSB-472 communicates with the SkyView system using serial
ports, not SkyView Network. Thus, the SV-ADSB-472 will not be listed as a
device in the list of SkyView Network devices (such as SV-ADAHRS-200/201,
SV-EMS-220, etc.) This is normal.
14.3 Antenna Selection and Installation
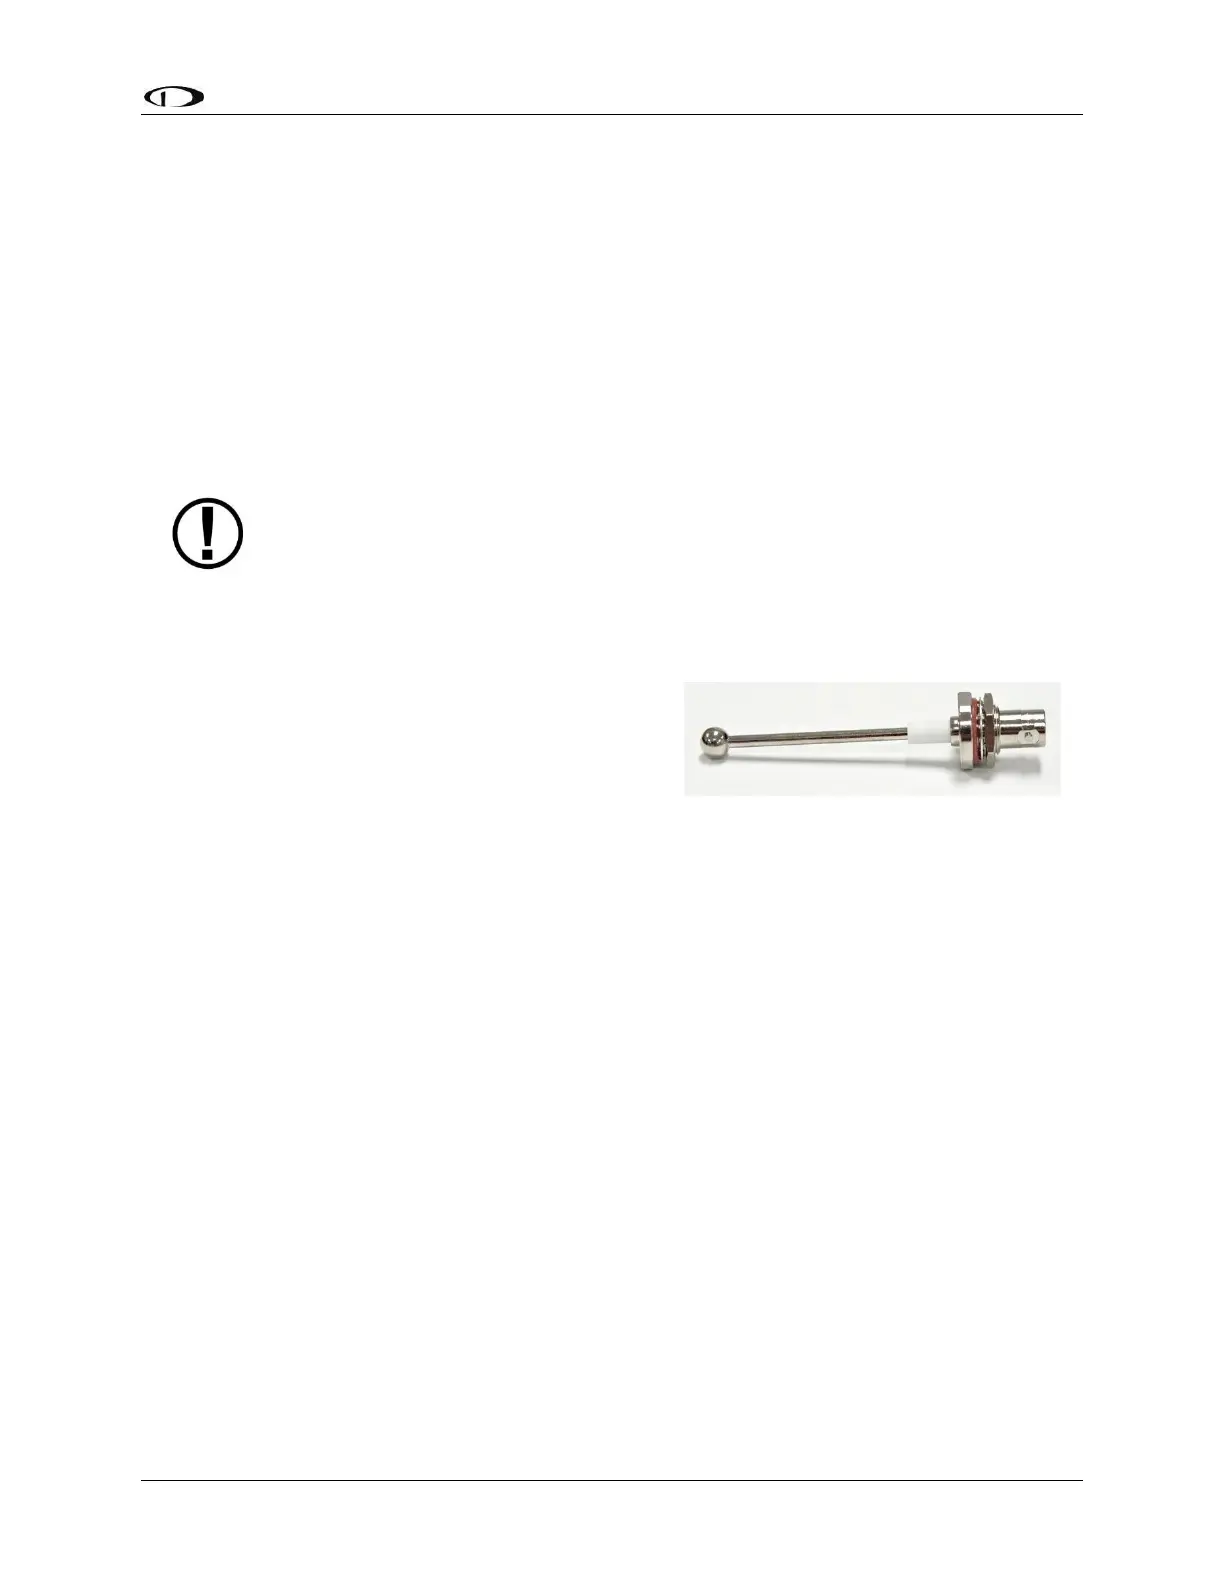
Dynon Avionics offers a 978 MHz Rod type
antenna (Part #503367-000) suitable for use with
the SV-ADSB-472. The 978 MHz Rod type
antenna is supplied with a BNC connector. Dynon
Avionics does not supply coaxial cables for this
antenna.
The Dynon Avionics 978 MHz Rod type antenna
is preferred for use with the SV-ADSB-472 receiver. However, any UAT 978 MHz antenna
conforming to TSO-C74 is acceptable.
Figure 97: Dynon Avionics
978 MHz Antenna