SV-MAG-236 Remote Magnetometer Installation and Configuration
SkyView HDX System Installation Manual - Revision E 8-1
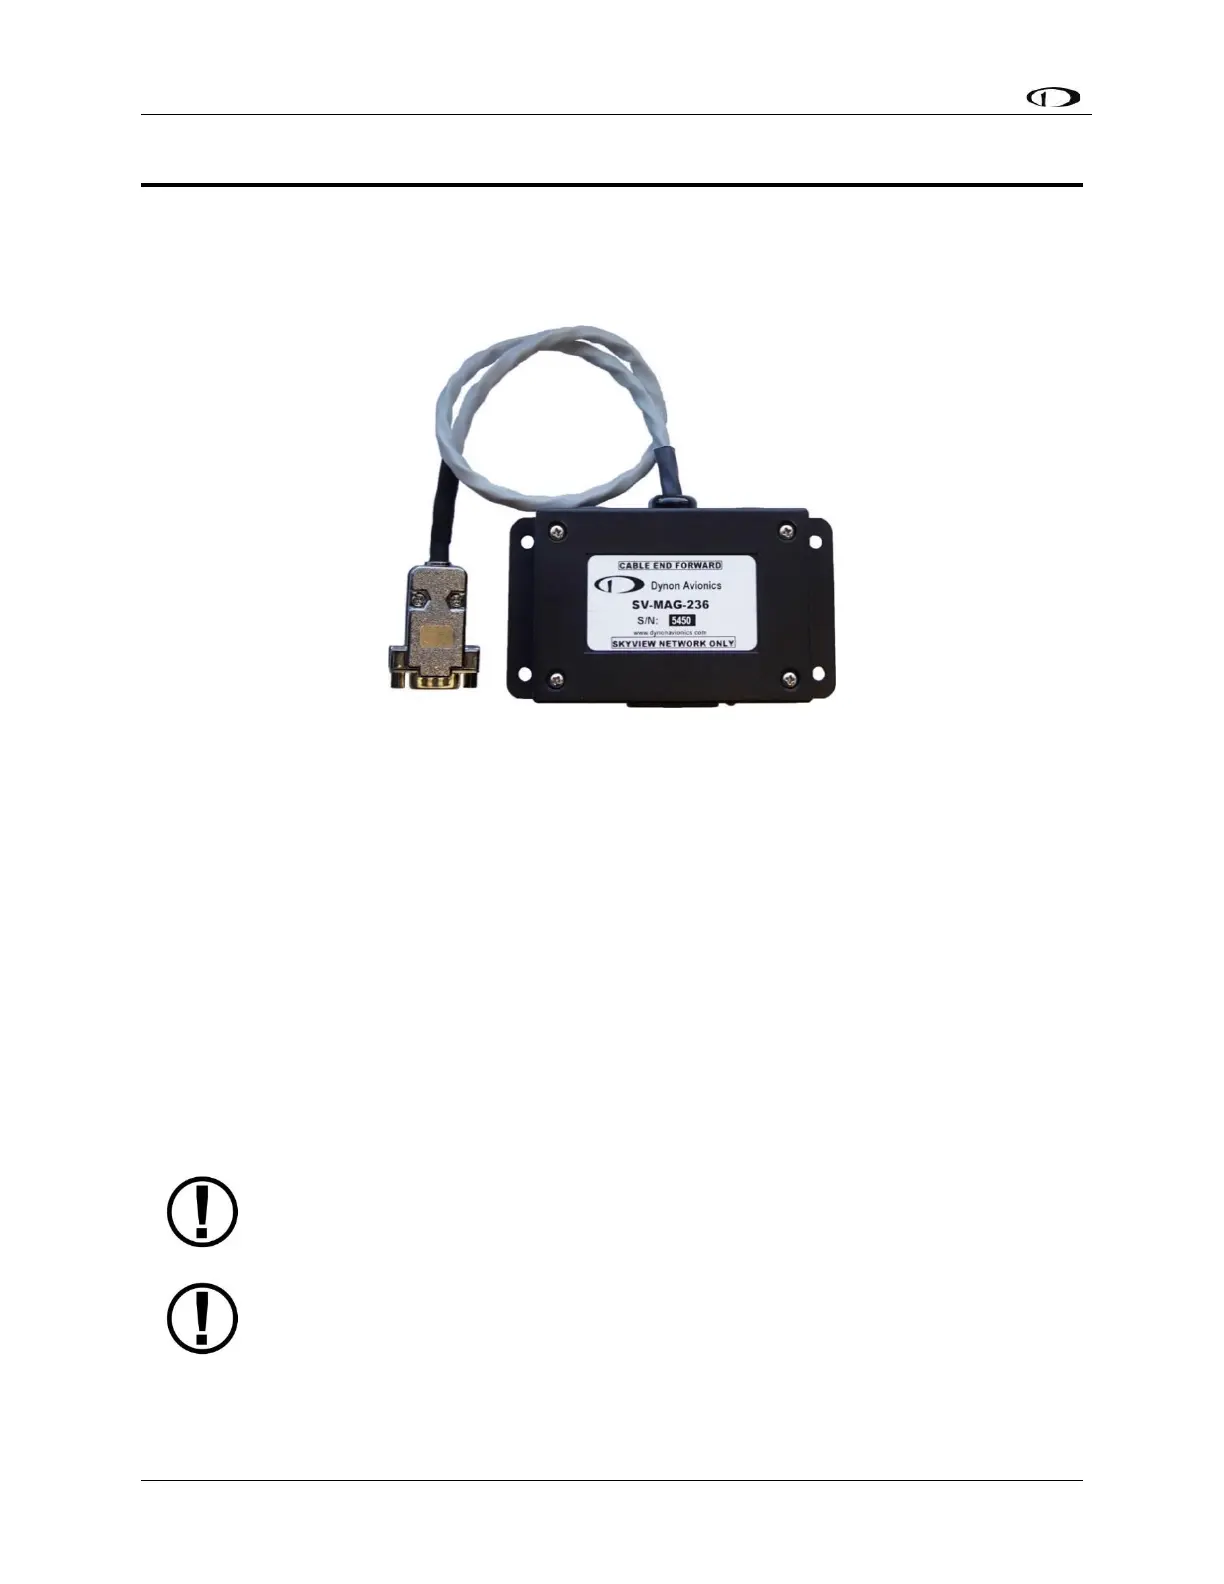
8 SV-MAG-236 Remote Magnetometer Installation
The SV-MAG-236 provides SkyView with the magnetic heading data. To minimize the
possibility of magnetic interference from the connector assembly, the SV-MAG-236 uses
an 18-inch integral cable, so that metal connector is removed from the magnetometer
sensor.
Figure 41: SV-MAG-236 (Photo)
8.1 Mechanical Installation
The most critical factor in the SV-MAG-236 being able to accurately sense magnetic
heading is for it to be installed in an area of the plane that is magnetically benign.
Given that it may be difficult or impossible to avoid all sources of magnetic interference,
it is possible to characterize and compensate for small, static magnetic fields with
calibration. Calibration cannot, however, compensate for dynamic magnetic fields (e.g.,
AC currents, non-constant DC currents, and non-stationary ferrous material such as
electric turn coordinators and control surfaces). Thus, you must avoid mounting the
module close to sources of dynamic magnetic fields, avoid wires that carry large amounts
of current, and use non-magnetic fasteners for installation (see caution below). Dynon
Avionics’ general rule of thumb is that 1 to 2 feet (30.5 cm and 61 cm) between the module
and sources of magnetic fields is generally good enough, but 2 (61 cm) or more feet is
better.
Stainless steel mounting hardware is not always non-magnetic, and thus is
not recommended. The best type of mounting hardware (screws, bolts,
washers, AND nuts) to install the SV-MAG-236 is brass.
If you use a magnet to test whether possible interfering materials are non-
magnetic, do not actually touch the magnet to the material you are testing,
as this contact can cause the material you are testing to become
magnetized.