SkyView HDX Display Installation and Configuration
SkyView HDX System Installation Manual - Revision E 4-3
4.1 Avionics Tray Installation
Dynon Avionics offers optional avionics trays for convenient and orderly mounting of
SkyView HDX displays and components. The trays have pre-configured holes for riveting
to an instrument panel. They also have pre-configured threaded inserts for mounting a
SkyView HDX display and components to the tray. The following list details the available
trays and the components that mount to them.
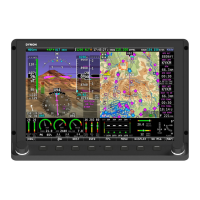
SV-HDX1100 Avionics Tray (Figure 25):
• SV-HDX1100 Display
• SV-EMS-220 EMS module
• SV-ADAHRS-200 ADAHRS module
• SV-ARINC-429 ARINC module
• SV-ADSB-472 ADS-B IN Receiver
• SV-BAT-320 Backup Battery
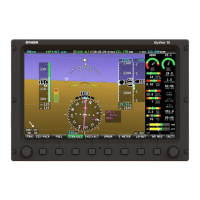
SV-HDX800 Secondary Tray (Figure 26):
• SV-HDX800 Display (Secondary)
• SV-BAT-320 Backup Battery
• SV-COM-T8 Transceiver or SV-XPNDR-261 Transponder
Prepare the instrument panel cut out for the SkyView HDX display the same as you would
without an avionics tray. The panel cut-out dimensions are provided in both the HDX
Display panel drawings as well as the following avionics tray drawings.
Attach the avionics tray to the instrument panel with rivets. To attach the avionics tray,
complete the following:
1. Clamp avionics tray into position surrounding display cut out.
2. Use avionics tray as template to mark (6) rivet hole locations.
3. Remove avionics tray, and then drill marked holes with a #40 drill bit.
4. Countersink finished panel side of drilled holes to allow rivets to fit flush.
5. Permanentlt attach avionics tray to instrument panel with (6) 3/32" rivets.