Diagnostic information 2-177
7462
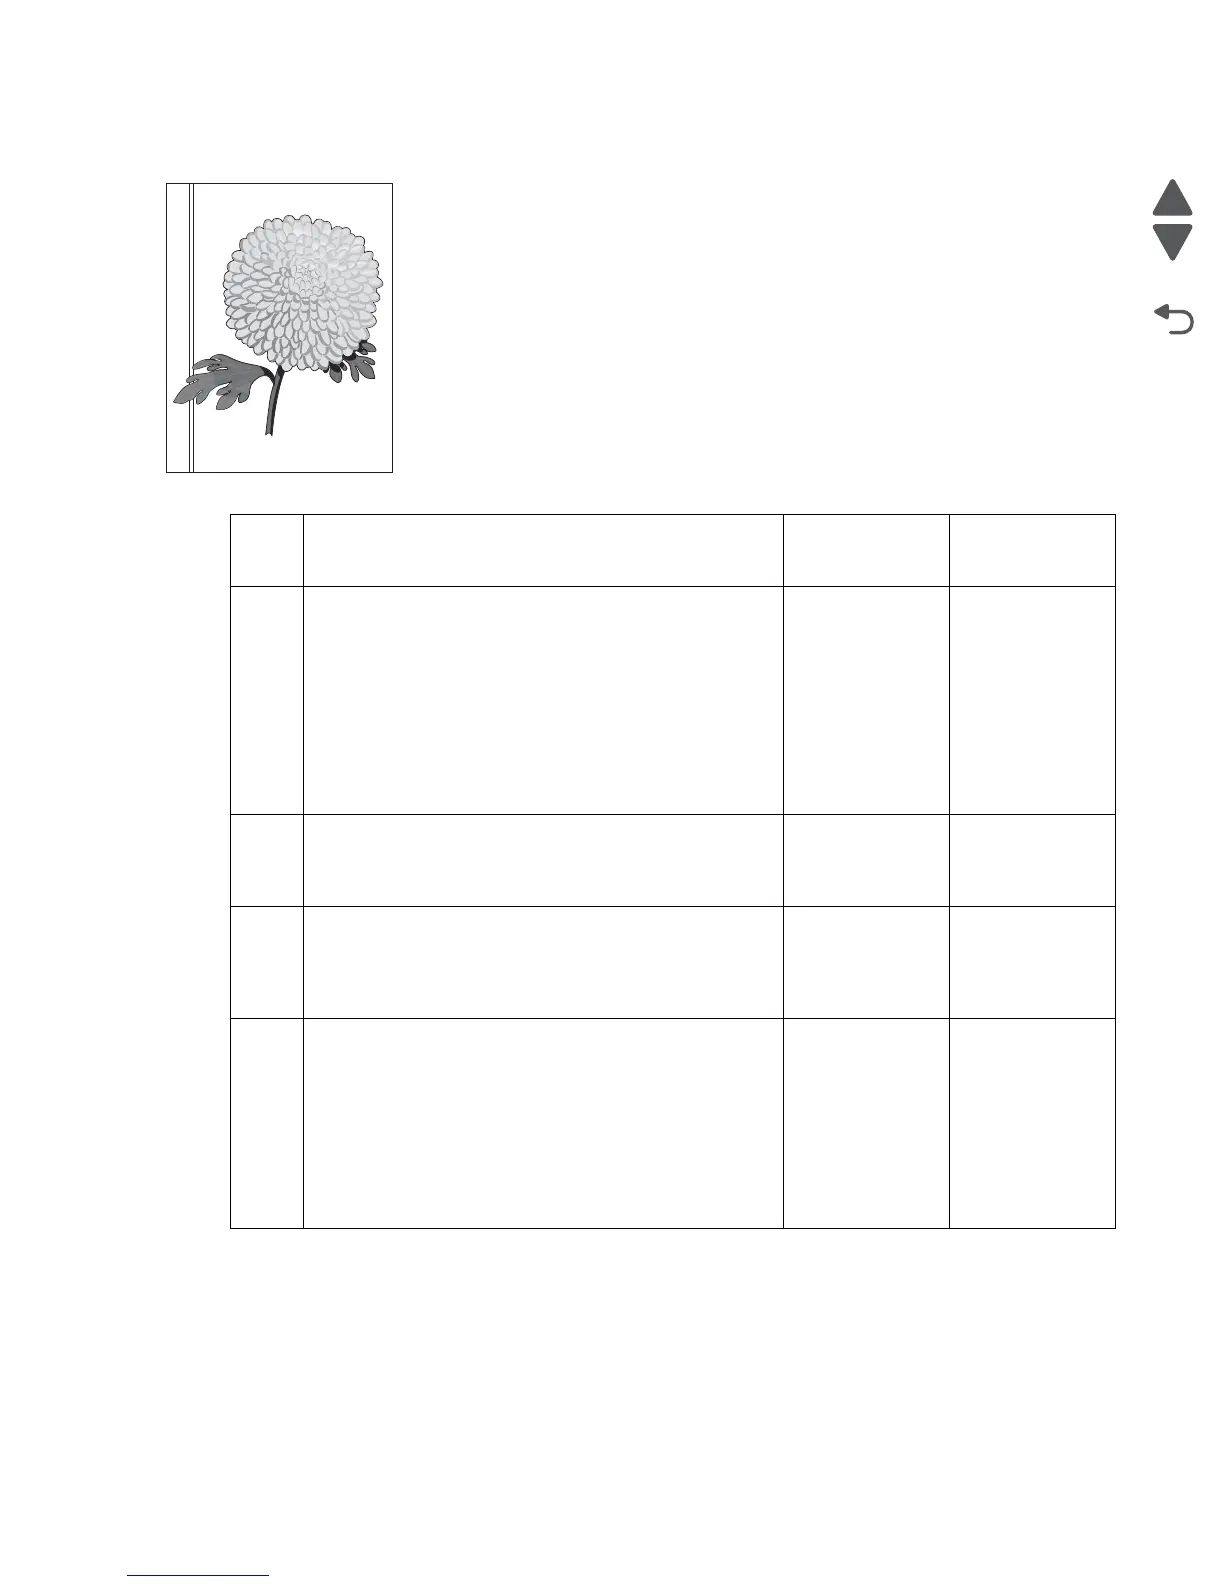
Vertical lines (process direction using the ADF)
Step Check Yes No
1 Check the small platen glass on the scanner unit
assembly.
Is the large and small platen glass contaminated or
damaged?
Clean or replace
the scanner
platen glass
cover.
Go to “Scanner
platen glass
cover
assembly
removal (model
X658)” on
page 4-136.
Go to step 2.
2
Check the three mirrors in the scanner unit assembly.
Are the three mirrors contaminated or show signs of
dust?
Clean the three
mirrors in the
scanner unit
assembly.
Go to step 3.
3
Check the white strip on the bottom of the large platen
glass.
Is the white strip contaminated?
Clean the white
strip and POR
the machine.
Go to step 4.
4
Perform a print test using the scanner unit assembly.
Does the error continue?
Replace the
scanner unit
assembly.
Go to “Scanner
unit assembly
removal
(models X651,
X652, X654 and
X656)” on
page 4-89.
Problem
resolved.
Leading edge
Trailing edge
Leading edge
Trailing edge
 Loading...