Security Settings
SM 2-127 D0AP/D0C4/D0C5/D0C6/M0BQ/M0D1
2.28.2 DATA OVERWRITE SECURITY
Before You Begin the Procedure
1. Make sure that the following settings (1) to (3) are not at their factory defaults.
(1) Supervisor login password
(2) Administrator login name
(3) Administrator login password
If any of these settings are at a factory default value, tell the customer these settings must
be changed before you do the installation procedure.
2. Make sure that “Admin. Authentication” is ON and "Available Settings" is selected.
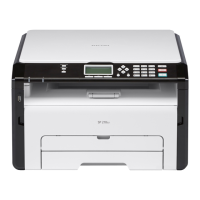
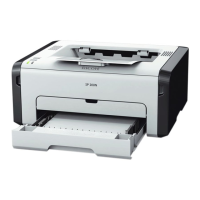
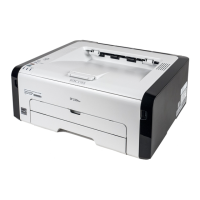
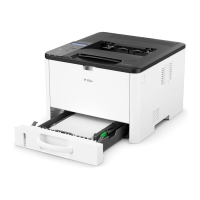
Printer model:
You can specify administrator privileges using Web Image Monitor from networked
computers.
(1) Login the Web Image Monitor as the administrator.
(2) Point to [Device Management], and then click [Configuration].
(3) Click [Administrator Authentication Management] under "Device Settings".
(4) Make sure that the administrator authentication setting is [On].
If this setting is off, tell the customer that this setting must be on before you can
do the installation procedure.
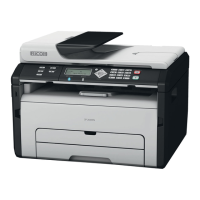
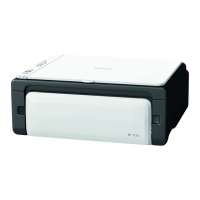
MF model:
(1) [User Too l s ] icon > [Machine Features] > [System Settings] > [Administrator Too l s ] >
[Administrator Authentication Management] > [Admin. Authentication] > [On]
If this setting is off, tell the customer that this setting must be on before you can
do the installation procedure.
(2) [User Too l s ] icon > [Machine Features] > [System Settings] > [Administrator Too l s ] >
[Administrator Authentication Management] > [Available Settings]
When [Admin. Authentication] set to [On], "Available Settings" appears.
If this setting is not selected, tell the customer that this setting must be selected
before you can do the installation procedure.
Using Auto Erase Memory (Printer Model)
The Auto Erase Memory function can be enabled by the following procedure.
A print data sent from a printer driver is temporarily stored on the machine's hard disk when the
optional hard disk is installed. Even after the job is completed, it remains on the hard disk as
temporary data. Auto Erase Memory erases the temporary data on the hard disk by overwriting
it.
1. Press the [Menu] key.
2. Log in as the machine administrator.


 To Next Page